Recovering your system
26
Recovering your system
System recovery is a data destructive process. You should backup all
data and applications prior to restoring. Please make sure your system is
connected to AC Power before continuing.
The system recovery methods listed below are only available when your
Joybook comes pre-installed with a Windows operating system.
Should your system become unstable and you wish to restore it to its
original state or make a backup, you can do so following either of the
methods below:
•
Method 1: The QDataTrove function of your Joybook. For details, refer
to “Using QDataTrove” below.
•
Method 2: The supplied “Operating System Disc” and “Drivers and
Applications” discs (available depending on your purchased model).
For details, refer to
"Protecting your Joybook from viruses and other
The name of the Operating System Disc may vary depending on your
purchased model. It may look like one of the following.
• Windows Vista
™
Home Basic
• Windows Vista™ Home Premium
• Windows Vista™ Business
• Windows Vista™ Ultimate
Using QDataTrove
Launching QDataTrove:
1. Start your Joybook.
2. During the startup process, press the <F10> key when you see “Press
F10 key to enter QDataTrove” on the upper left part of the screen.
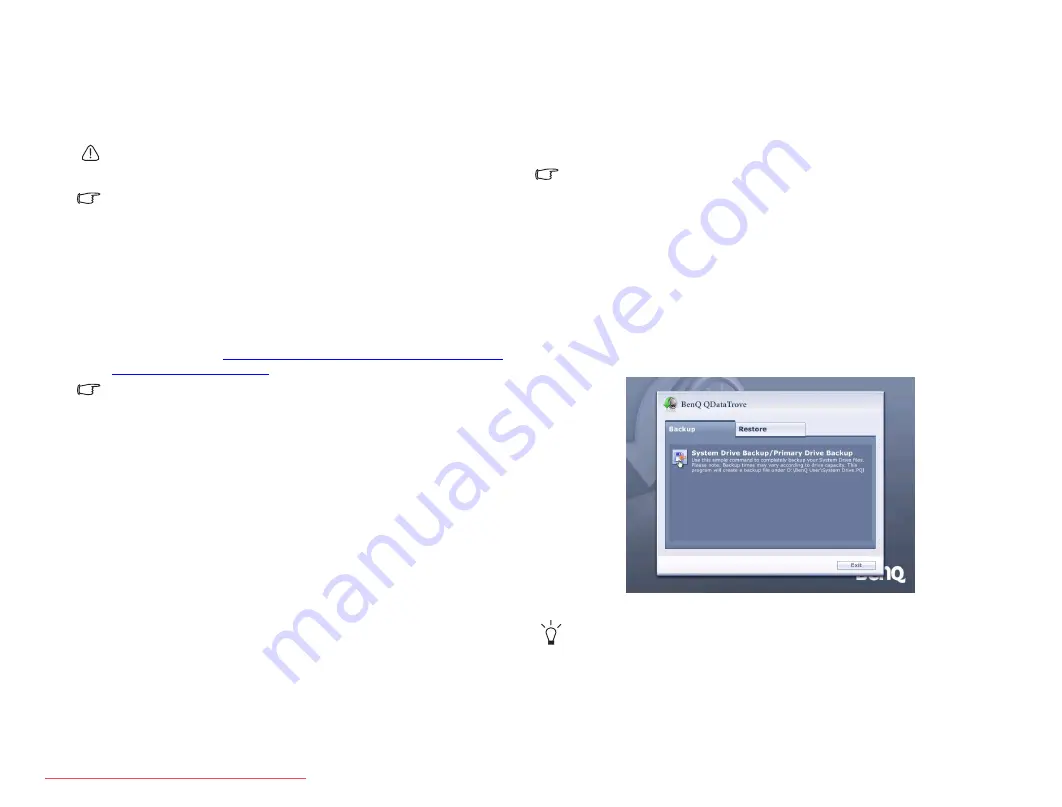
3. The following options will then display on the screen. Click Backup or
Restore to proceed according to your need.
Backing up your files:
• Make sure your system is connected to AC Power before performing the
task.
• If you already have a previous backup file on drive (D:), then it will be
replaced.
• The backup files will occupy a large amount of disk space, over 10GB,
so make sure your D: drive has sufficient free space available. Simply
click the D: drive under “Computer” in Windows Vista. The total size
and available free space appear in the Details pane at the bottom of the
folder window.
a. Make sure your drive (D:) has sufficient free space. For details,
refer to the note above.
b. To back up your complete system drive files, click System Drive
Backup/Primary Drive Backup to proceed.
c. Follow the on-screen instructions to complete the task.
The backup creates a "BenQ user" folder on the D: drive, which can be
burnt to disk and archived independently of QDataTrove.
JB_R55V.book Page 26 Wednesday, February 7, 2007 4:56 PM


