


25
How to adjust your monitor
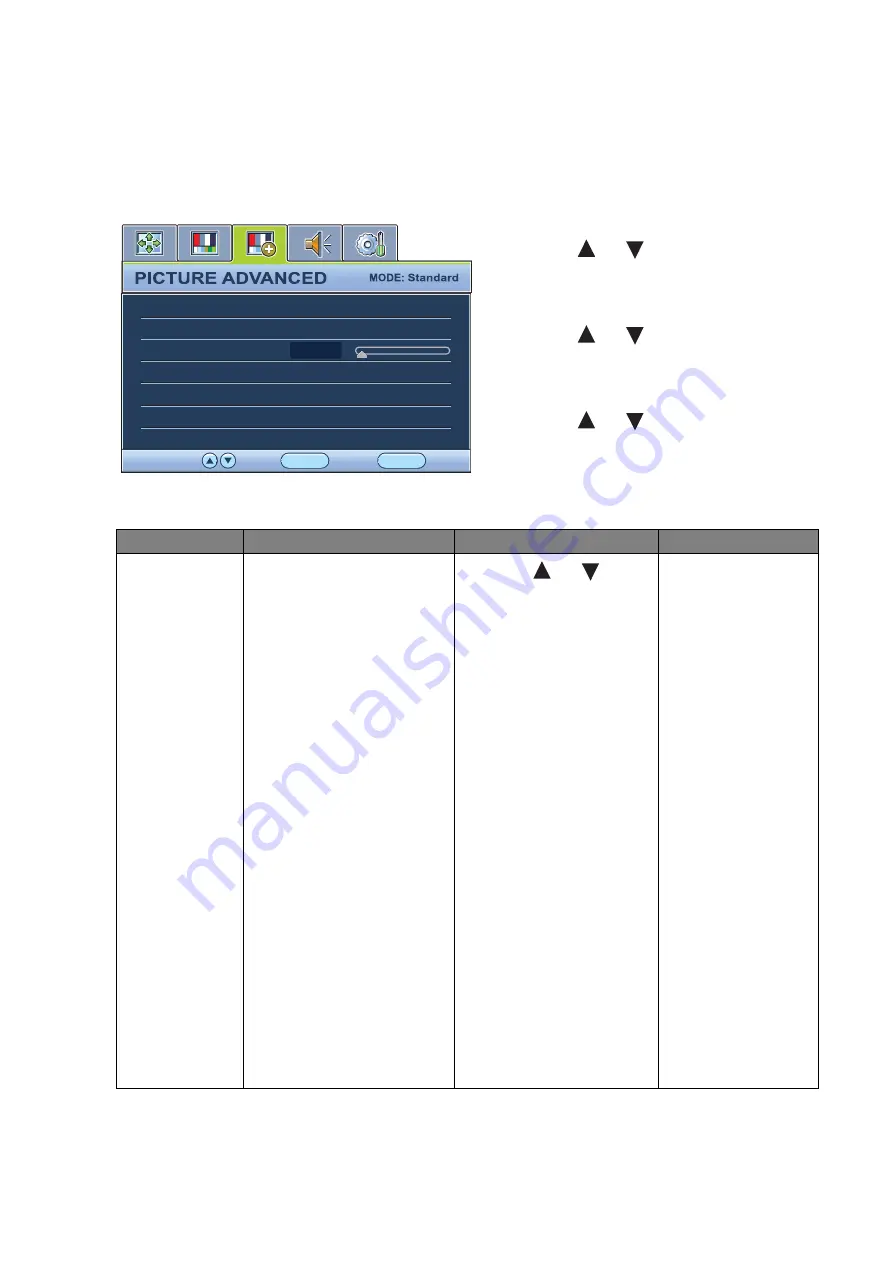
Picture Advanced menu
Available menu options may vary depending on the input source, functions and settings.
1. Press the
MENU
key to display the main
menu.
2. Press the
or
keys to select
PICTURE ADVANCED
and then press the
ENTER key to enter the menu.
3. Press the
or
keys to move the
highlight to a menu item and then press
the
ENTER
key to select that item.
4. Press the
or
keys to make
adjustments or selections.
5. To return to the previous menu, press the
MENU
button.
Picture Mode
Senseye Demo
Dynamic Contrast
Display Mode
Color Format
HDMI RGB PC Range
0
Standard
OFF
RGB
RGB(16~235)
ENTER
MENU
Exit
Select
Move
Item
Function
Operation
Range
Picture Mode
Selects a picture mode that
best suits the type of
images shown on the
screen.
•
Standard - for basic PC
application.
•
Movie - for viewing
videos.
•
Game - for playing video
games.
•
Photo - for viewing still
images.
•
sRGB - for better color
matching representation
with the peripheral
devices, such as printers,
DSCs, etc.
•
Eco - for saving
electricity with low
power consumption by
providing minimum
brightness for all
running programs.
Press the
or
keys
to change the settings.
•
Standard
•
Movie
•
Game
•
Photo
•
sRGB
•
Eco
Содержание GL2440HM
Страница 1: ...Welcome LCD Monitor User Manual GL2440HM...


