background image

  5

  Getting started

Consider keeping the box and packaging in storage for use in the future when you may need to transport 

the monitor. The fitted foam packing is ideal for protecting the monitor during transport.
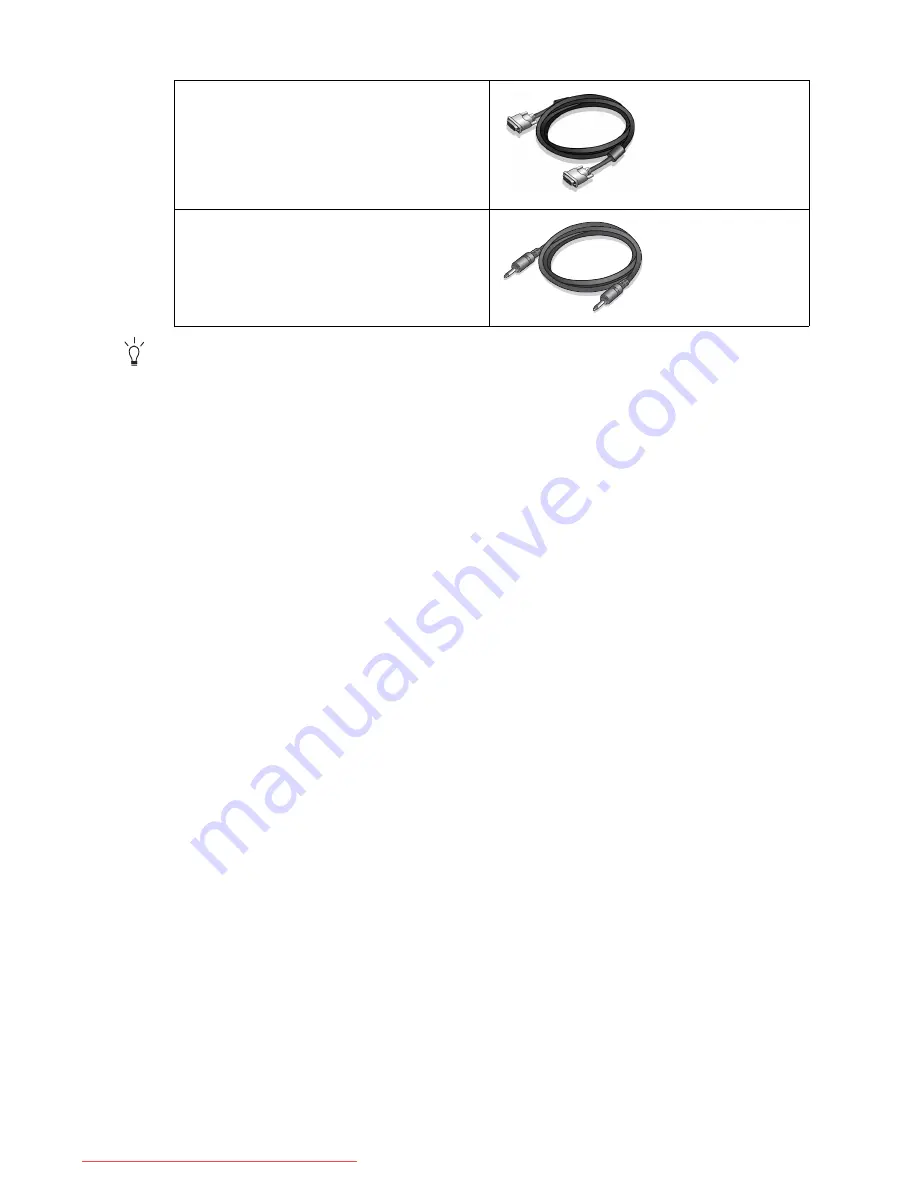
Video Cable: DVI-D 
(Optional accessory for models with 
DVI inputs, sold separately)

Audio Cable

Downloaded from ManualMonitor.com Manuals

Содержание BL902M

Страница 1: ...LCD Monitor User Manual BL902M Downloaded from ManualMonitor com Manuals...

Страница 2: ...vice for pluggable equipment The socket outlet should be installed near the equipment and be easily accessible This product should be operated from the type of power indicated on the marked label If y...

Страница 3: ...nQ monitor 12 How to install the monitor on a new computer 13 How to upgrade the monitor on an existing computer 14 How to install on Windows 8 system 15 How to install on Windows 7 system 16 How to i...

Страница 4: ...lowing items If any are missing or damaged please contact the place of purchase for a replacement BenQ LCD Monitor Monitor Base Quick Start Guide CD ROM Power Cord Picture may differ from product supp...

Страница 5: ...use in the future when you may need to transport the monitor The fitted foam packing is ideal for protecting the monitor during transport Video Cable DVI D Optional accessory for models with DVI input...

Страница 6: ...ontrol buttons 3 Speakers 4 AC Power Input jack 5 Line In 6 Headphone jack 7 Cable clip 8 DVI D socket 9 D Sub socket 10 Lock switch 1 2 3 3 4 10 5 6 8 9 7 Above diagram may vary depending on the mode...

Страница 7: ...aring a flat open area on your desk and placing a soft item like the monitor packaging bag on the desk for padding Gently lay the screen face down on a flat clean padded surface While holding the moni...

Страница 8: ...cable at the end without the ferrite filter to the monitor video socket Connect the other end of the cable at the end with the ferrite filter to the computer video socket Tighten all finger screws to...

Страница 9: ...ia the cable clip 6 Connect to and turn on the power Plug the other end of the power cord into a power outlet and turn it on Picture may differ from product supplied for your region Turn on the monito...

Страница 10: ...Turn off the computer before unplugging the monitor signal cable Protect the monitor and screen by clearing a flat open area on your desk and placing a soft item like a towel on the desk for padding...

Страница 11: ...monitor stand to the monitor The use of a magnetic head screwdriver is recommended to avoid of losing the screws Then pull the monitor stand backward away from the monitor In case you intend to use y...

Страница 12: ...tor to your computer Windows will automatically recognize the new or different hardware and will launch its Found New Hardware wizard Follow the wizard instructions until it asks you to select a monit...

Страница 13: ...g the instructions for How to upgrade the monitor on an existing computer 1 Follow the instructions in How to assemble your monitor hardware on page 7 When Windows starts it will automatically detect...

Страница 14: ...river on other versions of Windows and cannot guarantee its operation on those systems Installing monitor driver software involves selecting an appropriate information file inf on the BenQ LCD Monitor...

Страница 15: ...button 5 Click the Driver tab and the Update Driver button 6 Insert the BenQ LCD Monitor CD ROM into a CD drive on the computer 7 In the Update Driver Software window select the option Browse my compu...

Страница 16: ...utton 6 Insert the BenQ LCD Monitor CD ROM into a CD drive on the computer 7 In the Update Driver Software window select the option Browse my computer for driver software 8 Click Browse and navigate t...

Страница 17: ...button 6 Insert the BenQ LCD Monitor CD ROM into a CD drive on the computer 7 In the Update Driver Software window select the option Browse my computer for driver software 8 Click Browse and navigate...

Страница 18: ...screen test image utility which you can use to check for screen color grayscale and line gradient display 1 Run the test program auto exe from CD ROM You could also use any other image such as the de...

Страница 19: ...formation 4 Display Mode key For Right Increase adjustment The key is the hot key for Display Mode 5 ENTER key Enters sub menus and select items For models with DVI inputs this key is also the hot key...

Страница 20: ...t can be accessed by this key Press the or keys to change the settings if needed To change the default settings see Custom Key on page 32 for more information Press the key continually to switch among...

Страница 21: ...der OSD Settings for more details For more information on each menu please refer to the following pages Display menu on page 22 Picture menu on page 24 Picture Advanced menu on page 26 Audio menu on p...

Страница 22: ...Press the or keys to make adjustments or selections 5 To return to the previous menu press the MENU button DISPLAY MODE Standard Auto Adjustment H Position V Position Pixel Clock Phase 50 52 50 18 ENT...

Страница 23: ...l Clock Adjusts the pixel clock frequency timing to synchronize with the analog input video signal Not applicable to a digital input signal See also Picture optimization on page 18 0 to 100 Phase Adju...

Страница 24: ...2 Item Function Operation Range Brightness Adjusts the balance between light and dark shades Press the key to increase the brightness and press the key to decrease the brightness 0 to 100 Contrast Ad...

Страница 25: ...ss the or keys and the ENTER key to select Red Green or Blue Then use the or keys to make the color adjustments Red Tailors the image color tint Decreasing one or more of the colors will reduce their...

Страница 26: ...revious menu press the MENU button PICTURE ADVANCED MODE Standard Picture Mode Senseye Demo Dynamic Contrast Display Mode Color Format 0 Standard OFF RGB ENTER MENU Exit Select Move Item Function Oper...

Страница 27: ...ange the settings 0 to 5 Display Mode This feature is provided to allow aspect ratios other than 5 4 to be displayed without geometric distortion Overscan Slightly enlarges the input image Use this fe...

Страница 28: ...ub Component from a video device The default Color Format is YUV You might need to manually set the Color Format if colors shown on the monitor screen do not display properly DVI for models with DVI i...

Страница 29: ...keys to move the highlight to a menu item and then press the ENTER key to select that item 4 Press the or keys to make adjustments or selections 5 To return to the previous menu press the MENU button...

Страница 30: ...menu item and then press the ENTER key to select that item 4 Press the or keys to make adjustments or selections 5 To return to the previous menu press the MENU button SYSTEM MODE Standard Input OSD S...

Страница 31: ...r region English French German Italian Spanish Polish Japanese Czech Traditional Chinese Hungarian Simplified Chinese Serbo Croatian Romanian Dutch Russian Swedish Portuguese H Position Adjusts the ho...

Страница 32: ...e monitor settings to be set through the software on the PC Press the ENTER key to select this option Press the or keys to change the settings ON OFF Auto Power Off Sets the time to power off the moni...

Страница 33: ...rn to the previous menu press the MENU button ERGONOMICS MODE Standard Smart Reminder Time Intervel min Duration sec OFF 20 5 ENTER MENU Exit Select Move Item Function Operation Range Smart Reminder D...

Страница 34: ...D screen Cycle power on off These are pixels that are permanently on or off and is a natural defect that occurs in LCD technology The image has a faulty coloration It has a yellow blue or pink appeara...

Страница 35: ...in one direction Read the instructions on the link Adjusting the Screen Resolution on the CD and then select the correct resolution refresh rate and make adjustments based on these instructions The OS...

Отзывы: