background image

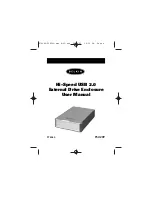
The Hi-Speed USB 2.0 External Drive Enclosure (the External Drive) is
a portable compact storage drive that incorporates the USB 2.0
(Universal Serial Bus 2.0) high-speed interface. The External Drive
provides a fast and easy way to add more storage space to your
computer. The Plug-and-Play feature gives you great convenience on
the road, the External Drive can be easily connected to your
computer by USB interface, and can even be disconnected and
reconnected while the computer is running.

Note:

To enable Hi-Speed USB 2.0 mode (480Mbps), your computer

must be equipped with built-in USB 2.0 ports or a USB 2.0 host
adapter card. 

INTRODUCTION

1

P74080-F5U209-man_8-02.qxd  8/26/02  12:36 PM  Page 1

Содержание F5U209

Страница 1: ...P74080 F5U209 Hi Speed USB 2 0 External Drive Enclosure User Manual P74080 F5U209 man_8 02 qxd 8 26 02 12 36 PM Page a...

Страница 2: ...P74080 F5U209 man_8 02 qxd 8 26 02 12 36 PM Page b...

Страница 3: ...duction 1 System Requirements 2 Assembling Your Drive Enclosure 3 Driver Installation 8 Safe Removal of the USB Disk 10 Format the USB 2 0 External Drive 11 Information 16 P74080 F5U209 man_8 02 qxd 8...

Страница 4: ...P74080 F5U209 man_8 02 qxd 8 26 02 12 36 PM Page d...

Страница 5: ...e space to your computer The Plug and Play feature gives you great convenience on the road the External Drive can be easily connected to your computer by USB interface and can even be disconnected and...

Страница 6: ...SYSTEM REQUIREMENTS 2 Hardware Notebook and desktop computer with USB 1 0 or USB 2 0 port Operating System Windows 98 SE Me 2000 or XP P74080 F5U209 man_8 02 qxd 8 26 02 12 36 PM Page 2...

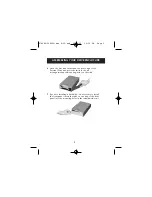
Страница 7: ...then connect the 34 position data cable and 4 position power cable 3 If you are installing a CD CD RW drive check to make sure your drive is set to Master then connect the 34 position data cable 4 pos...

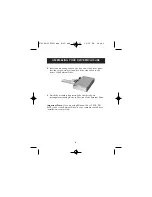
Страница 8: ...ith your Hi Speed External Drive Enclosure Kit Be sure to choose the screws that match the mounting holes for your drive Do not try to force a course threaded screw into a fine threaded mounting hole...

Страница 9: ...d press the rail into the six rectangular shaped mounting holes on the side 7 If you are installing a hard disk it is necessary to install the front panel Insert the tabs on one side of the front pane...

Страница 10: ...nto the front of the External Drive 9 Finish the assembly by pressing the rail into the six rectangular mounting holes in the side of the External Drive Important Note If you are using Windows 98 or 9...

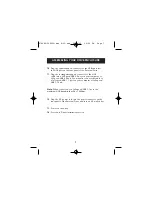
Страница 11: ...r Hi Speed USB 2 0 hub You may also connect the cable to a full speed USB 1 1 port on your computer or full speed USB 1 1 hub Note When connected to a full speed USB 1 1 port the maximum USB bandwidth...

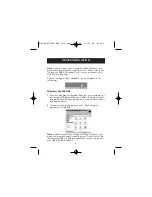
Страница 12: ...6 You may now connect the External Drive to your computer 7 Windows will now detect USB Storage Adapter and finish installation of the required device drivers 8 If your new drive is already partitione...

Страница 13: ...plugging the External Drive into your computer for the first time Windows will detect USB 2 0 Storage Device and install the USB mass storage device class driver which is built into Windows 2 Your ne...

Страница 14: ...B cable from the USB port of your computer Windows Me 2000 XP 1 Double click on the Unplug or Eject Hardware icon in the system tray 2 Select the USB Mass Storage Device then click Stop 3 Choose the U...

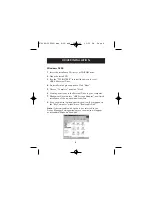
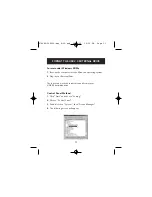
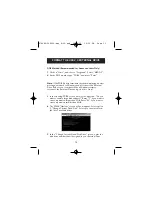
Страница 15: ...tem 2 Plug in your External Drive There are two methods to partition and format your USB 2 0 hard disk drive Control Panel Method 1 Click Start and choose Setting 2 Choose Control Panel 3 Double click...

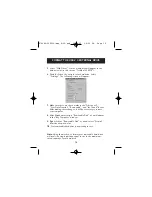
Страница 16: ...le and Int 13 unit boxes After making these changes it will be necessary to restart your computer 8 After Windows restarts a Removable Disk icon will appear in the My Computer window 9 Right click the...

Страница 17: ...ct the External Drive and go back to Step 1 3 In the opening FDISK screen answer the question Do you want to enable large disk support Enter Y if you want to create a partition larger than 2GB Enter N...

Страница 18: ...ernal disk drive or if you want to create multiple partitions 7 After completing the disk partition procedure exit FDISK and restart Windows Any new drives created through the disk partition procedure...

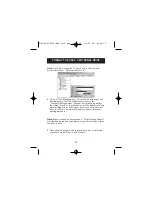
Страница 19: ...the status of each of your disk drives will be displayed in this window Right click on the status bar for your new external drive to create or delete new partitions and or format an existing partition...

Страница 20: ...replace the product at no charge provided it is returned during the warranty period with transportation charges prepaid to the authorized Belkin dealer from whom you purchased the product Proof of pu...

Страница 21: ...Express Business Park Shipton Way Rushden NN10 6GL United Kingdom Tel 44 0 1933 35 2000 Fax 44 0 1933 31 2000 Belkin Corporation 501 West Walnut Street Compton CA 90220 USA Tel 310 898 1100 Fax 310 8...

Отзывы: