Belco Multi-Biometric Скачать руководство пользователя страница 11


9


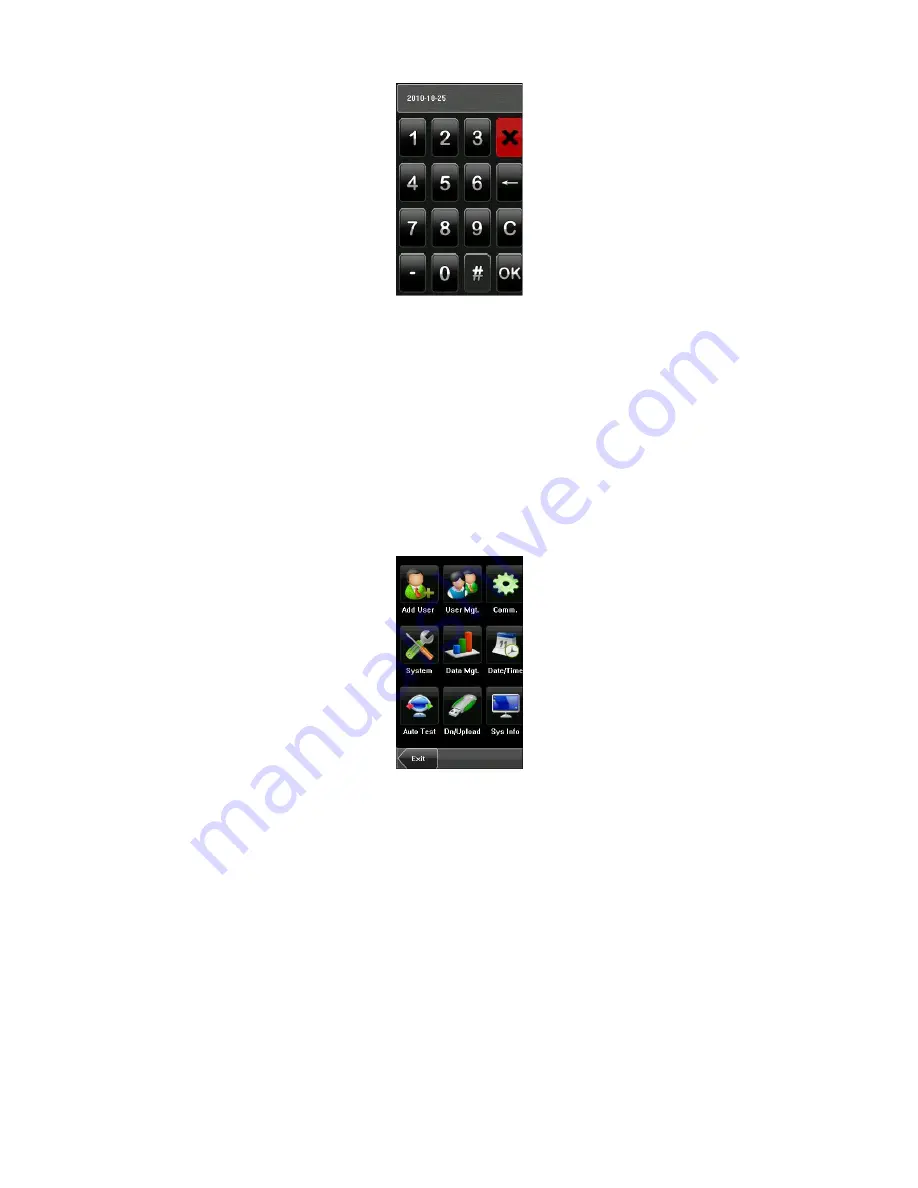
This screen allows you to manually set the date and time. 

Enter the correct Date and Time. 


4. When finished, Press [

Save

] to save the current information and return to the previous interface. 

Press [

Exit

] to return to the previous interface without saving the current information. 


13. User Enrollment 

1. To start user enrollment, press the [

Menu]

 key on the Multi-Biometric, it will prompts 


2. From the Main Menu, select [

User Mgt]

 to add/modify/delete users’ fingerprint(s), password or 

authority (Admin or user). 


13.1 Entering a User ID 


Unique identification number associated with each user.   

1. Press [

User ID

] on the [

Add User

] menu to display the user ID management interface. 

Содержание Multi-Biometric

Страница 1: ...ide Important Notes Do not place the Multi Biometric under strong light Use regulated DC 12V 3A power source supplied from control panel or separately purchased power supply Do not place the Multi Biometric in a vulnerable location ...

Страница 2: ...6 9 1 Front 6 9 2 Side 6 9 3 Rear 7 10 Installation Diagram 7 11 Product Dimensions mm 8 12 Date and Time Setup 8 13 User Enrollment 9 13 1 Entering a User ID 9 13 2 Entering a Name 10 13 3 Enrolling New User Fingerprint FP 11 13 4 Enrolling a Password 12 13 5 Enrolling Card 13 13 6 Enrolling a Face 13 13 7 Setting New User Authority 14 14 Deleting a User 15 15 Setting Communications Options 15 ...

Страница 3: ...ove the screw at the bottom of the unit when held vertically This will remove the back plate of the unit Install the back plate of the unit on to the wall and connect the power and network cables from the behind the back plate Connect the wires of the access control terminal of the device including lock control exit button door sensor doorbell and alarm etc Secure the front of the unit on the back...

Страница 4: ... GND pins on the back of the unit The power supply is not supplied with the unit Please make sure that the power requirements are strictly met to avoid permanent damage to the unit After the Power on the device will show the date day and time on the screen 3 Cable Specification ...

Страница 5: ...makes offline data backup management fast easy 20 verification modes are available to improve security level Default verification modes are Fingerprint only Face only or RFID only Other 19 modes are available Anti pass back function and Access control interface for 3rd party electric lock door sensor exit button alarm and doorbell Infra red optical system enables machine to work well at night ...

Страница 6: ... IP RS232 485 USB host Wiegand signal Input Output Anti pass back Function Yes Standard Access control Function Time Zone Access Group Multi identification duress mode Anti passback Tamper alarm Optional Functions ID Card Mifare Card Power Supply 12V DC Operating Temperature 0 45 Operating Humidity 20 80 Gross Weight 0 87Kg Dimension 209 88 87mm L W D 7 Basic Contents Multi Biometric Fingerprint T...

Страница 7: ...ional Accessories FR1200 Fingerprint Slave Reader K1 Exit Button Alarm Indicator Electric Strike Lock Electric Magnetic Lock Power Supply Controller Mifare Integrated Module and Card USB Memory 12V Power Adapter Environmental Protection Notice Stylus Pen ...

Страница 8: ...6 9 Product Introduction 9 1 Front 9 2 Side ...

Страница 9: ...7 9 3 Rear 10 Installation Diagram ...

Страница 10: ...Dimensions mm 12 Date and Time Setup Press Menu on the initial interface to display the main menu 2 Press Date Time to display the time setting interface 3 Select the desired date and time by pressing the parameter ...

Страница 11: ...interface without saving the current information 13 User Enrollment 1 To start user enrollment press the Menu key on the Multi Biometric it will prompts 2 From the Main Menu select User Mgt to add modify delete users fingerprint s password or authority Admin or user 13 1 Entering a User ID Unique identification number associated with each user 1 Press User ID on the Add User menu to display the us...

Страница 12: ...ut once enrolled it cannot be modified 2 On the displayed keyboard interface enter a user ID and press OK 13 2 Entering a Name 1 Press Name on the Add User menu to display the name input interface 2 On the displayed keyboard interface enter a user name and press X ...

Страница 13: ...e current information 13 3 Enrolling New User Fingerprint FP Finger Placement The user s finger should completely cover the sensor The finger should be placed flat and in the center of the sensor The finger should cover at least 80 of the sensor as shown below Notice the following screen appears 1 Press Fingerprint on the Add User menu to display the Enroll Fingerprint interface ...

Страница 14: ... enroll the backup fingerprint by pressing Fingerprint again A user can enroll 10 fingerprints at maximum If the enrollment fails the system will display a prompt message and return to the Enroll Fingerprint interface In this case you need to repeat the operations of step 2 4 Press Save to save the current information and return to the previous interface Press Exit to return to the previous interf...

Страница 15: ...he device will display a prompt message Read Successfully Card No and returns to the Add User interface 13 6 Enrolling a Face 1 Press Face on the Add User interface to display the face enrollment interface 2 On the displayed face enrollment interface turn your head to the left and right slightly raise and lower your head according to the voice prompts so as to enroll different parts of your face i...

Страница 16: ...eturn to the previous interface without saving the current information 13 7 Setting New User Authority Identifies a user as a normal User or an Administrator 1 On the Add User interface press Role User to change the user to an administrator 2 After the modification is done Press Save to save the current information and return to the previous interface press Exit to return to the previous interface...

Страница 17: ...Fingerprint Face or Password to delete the related user information and to re enroll the new information follow the device prompt 15 Setting Communications Options The Multi Biometric can communicate via the Network Ethernet RS 232 or RS485 Network Ethernet 1 Press Comm on the Menu to configure Communication Settings 2 From within the Communication Menu Press the Comm ...

Страница 18: ...If using RS485 communication select On Tips RS232 485 only 2 to 1 Baud rate This parameter is used to set the baud rate for the communication between the device and the PC It includes five options 9600 19200 38400 57600 and 115200 Device ID This parameter is used to set the ID of device from 1 to 254 If the RS232 RS485 communication is adopted you need to enter the device ID on the software commun...

Отзывы: