


12
6.3.2-Manual tuning of channels and
storing in the memory
Press
MENU
button in digital mode
and
MAIN MENU
will be displayed.
Select
SETUP
tab with
Down
movement button and confirm with
the
OK
button.
SETUP
menu will
be displayed. Select
MANUAL
TUNING
tab and confirm by
pressing the
OK
button.
Manual Search
Parameters
menu will be displayed.
Add Channels :
With this option, the new
channels in the frequency which is desired to
be manually searched will be scanned and
added to the existing channel list.
Replace Channels :
With this option, you
can update the existing channel list with the
modifications made by the broadcasting
enterprise.
Erase Channel List :
With this option,
you can delete all channels in the existing
channel list to store only the new channels in
the desired frequency into the memory.
Note:
You can also access
Manuel Tuning
menu from the
System Menu
submenu
under
Digital Features
menu.
6.3.3-First Time Installation
If you select this function, all channel
information in the memory will be deleted.
The OSD where country selection shall be
made is displayed and channel search is
made automatically. First, digital channels
are searched. You can start Analog channel
search by pressing the
OK
button after the
digital channel search is completed.
Highlight the
Channel
tab by
means of
Up/Down
buttons and
directly enter the frequency number
of the channel you want to search,
if you know, by using the numeric
keys on the remote control. If you
don’t know the frequency number,
you can scan frequencies by using
the
Left/Right
movement buttons.
After entering the frequency you
want to search, highlight
Update of
Channel List
tab with
Up/Down
movement
buttons and select either one of
Add
channels, Replace channels
or
Erase
channel list
items, then press
OK
button to
start searching. Channels will be searched
or changed according to the search method
you have chosen.
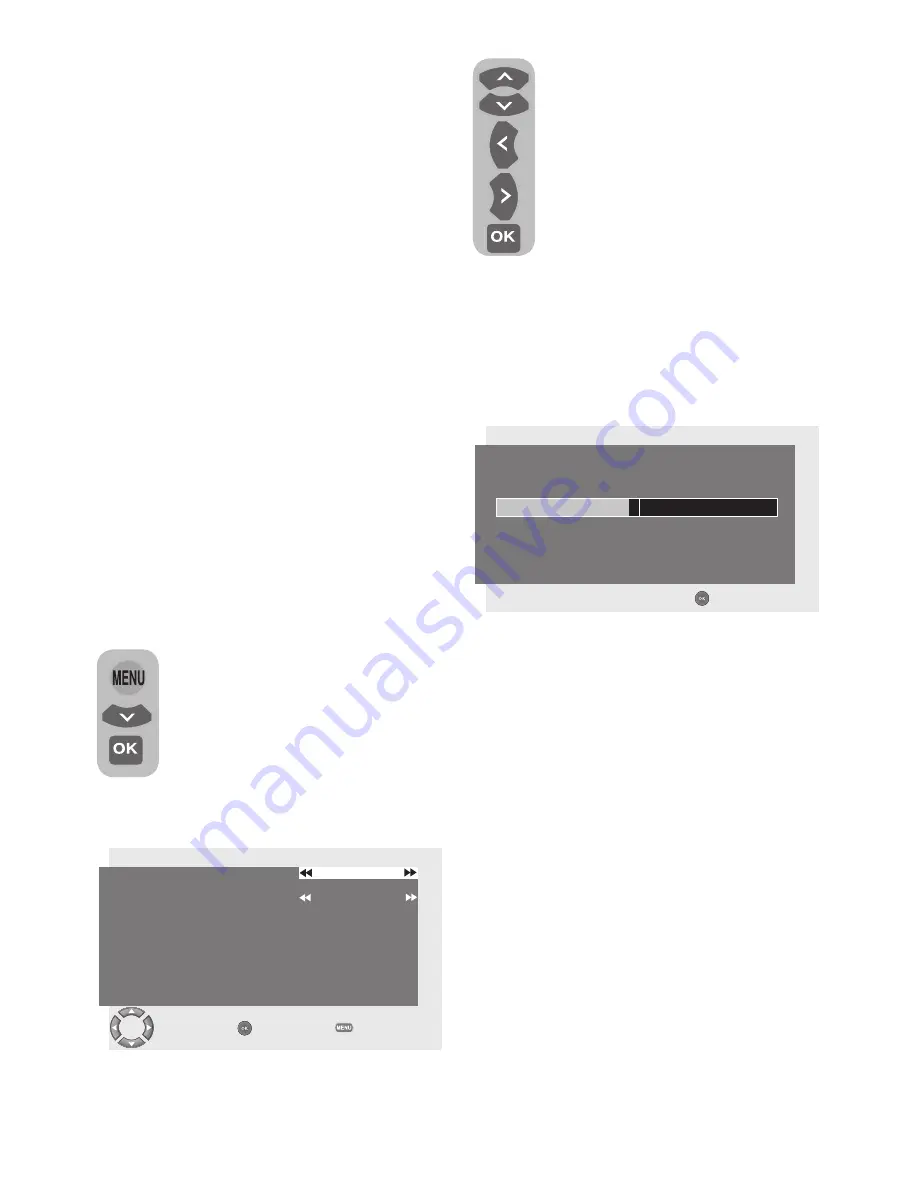
Manual Search Parameters
Channel
Frequency
Update of Channel List
21
474000
Add channels
Change
Start
Back
Channel Search
Waiting for signal...
Service found:
TV: 0
Radio: 0
Other: 0
Stop Search
ADDITIONAL INFORMATION
Please note that Encrypted channels
may not be stored after scanning in
the Digital TV channels. If this is the
case then you will need to rescan the
channels again but this time change the
LIST SCRAMBLED CHANNELS
from
AUTO
to
ON
:
1
Press Menu.
2
Selected Features.
3
Select Digital Features.
4
Select User Interface Options.
5
List Scrambled Channels will show.
Change “Auto” setting to “ON”
6
Press Exit button to exit the Menu.
You will need to rescan the digital TV
channels:
1
Press Menu.
2
Select Setup.
3
Select Auto Tuning and press the OK
button to start the channel scan and this
time store the Scrambled channels.
Содержание 37WLU550FHID
Страница 1: ...INTEGRATED DIGITAL FULL HD COLOUR TELEVISIONS Operation Instructions 37WLU550FHID ...
Страница 37: ...V7P 801 ...


