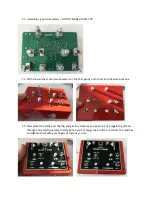
20.
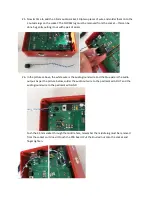
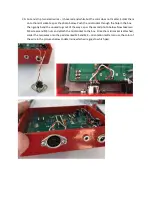
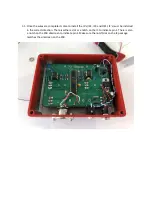
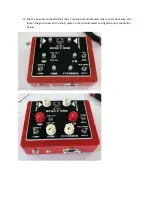
Now its time to install the switches and potentiometers. Start with the switches first. The two
outermost lugs on the switches must be bent inward slightly using pliers (refer to picture
below). This is required so that the switches fit. Note the switches will be a tight fit even when
bent
–
this is because the switches will hold the PCB board in place and must be very snug. It
might take a minute or two to push them into place .. be patient
–
they don’t need to be flush
with the PCB board. Refer to the pictures below. DO NOT SOLDER THEM YET!
Содержание BEAST BOX 1.0
Страница 1: ...BEAST BOX 1 0 BUILD GUIDE ...
Страница 6: ...4 Install IC1 the LD1117v33 voltage regulator and solder into place ...
Страница 7: ...5 Install the seven 10K resistors R18 R23 R24 R25 R26 R27 and R30 and solder into place ...
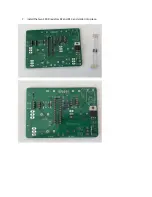
Страница 8: ...6 Install L1 the 100uh inductor and solder into place ...
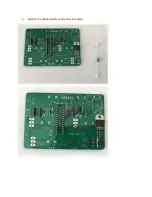
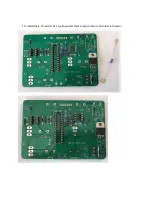
Страница 9: ...7 Install the two 100R resistors R2 and R13 and solder into place ...
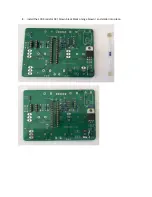
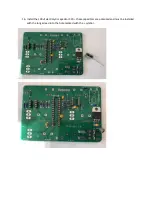
Страница 10: ...8 Install the 100K resistor R3 brown black black orange brown and solder into place ...
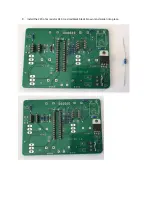
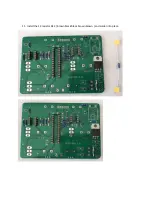
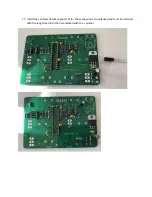
Страница 11: ...9 Install the 220 ohm resistor R10 red red black black brown and solder into place ...
Страница 12: ...10 Install the 4 7K resistor R11 yellow violet black brown brown and solder into place ...
Страница 13: ...11 Install the 1K resistor R12 brown black black brown brown and solder into place ...
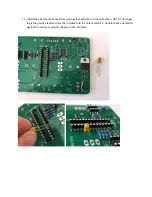
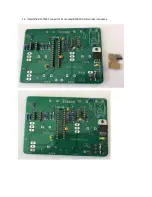
Страница 16: ...14 Install the 82nf MKT capacitor C1 marked 823K100 and solder into place ...
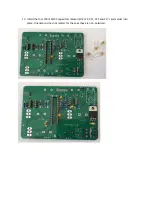
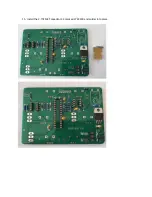
Страница 17: ...15 Install the 2 7nf MKT capacitor C3 marked 272K100 and solder into place ...
Страница 24: ...24 Gently flip the box back over and solder the switches and potentiometers into place ...

