DinBox Router 3G User Manual
Page 17 of 71
Chapter 3 Configuration and Management
This chapter describes how to configure and manage the router.
3.1 Configuration Connection
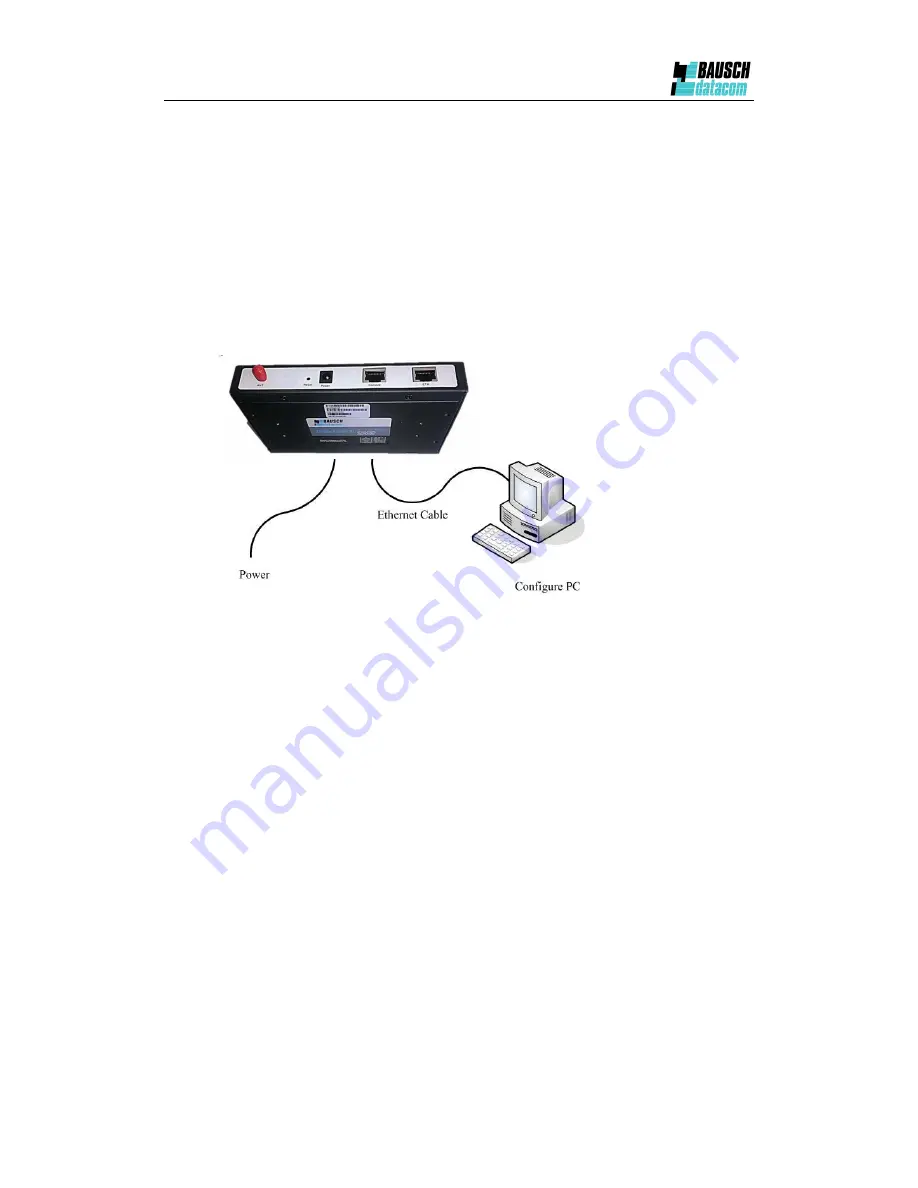
Before configuration, you should connect the router and your configuration PC with the
supplied network cable. Plug the cable’s one end into the Local Network port of the router,
and another end into your configure PC’s Ethernet port. The connection diagram is as
following:
Please modify the IP address of PC as the same network segment address of the router,
for instance, 192.168.1.9. Modify the mask code of PC as 255.255.255.0 and set the
default gateway of PC as the router’s IP address (192.168.1.2).
3.2 Access the Configuration Web Page
The chapter is to present main functions of each page. Users visit page tool via web
browser after connect users' PC to the router. There are eleven main pages: Setting,
Wireless, Service, VPN, Security, Access Restrictions, NAT, QoS Setting, Applications,
Management and Status. Users enable to browse slave pages by click one main page.
Users can open IE or other explorers and enter the router's default IP address of
192.168.1.2 on address bar, then press the button of Enter to visit page Web
management tool of the router. The users login in the web page at the first name, there will
display a page shows as blow to tip users to modify the default user name and password
of the router. Users have to click "change password" to make it work if they modify user
name and password.
Содержание DinBox ROUTER 3G
Страница 2: ...DinBox Router 3G User Manual Page 2 of 2 ...
Страница 4: ...DinBox Router 3G User Manual Page 4 of 4 ...
Страница 12: ...DinBox Router 3G User Manual Page 12 of 71 ...
Страница 18: ...DinBox Router 3G User Manual Page 18 of 71 After access to the information main page ...
Страница 45: ...DinBox Router 3G User Manual Page 45 of 71 ...


