122
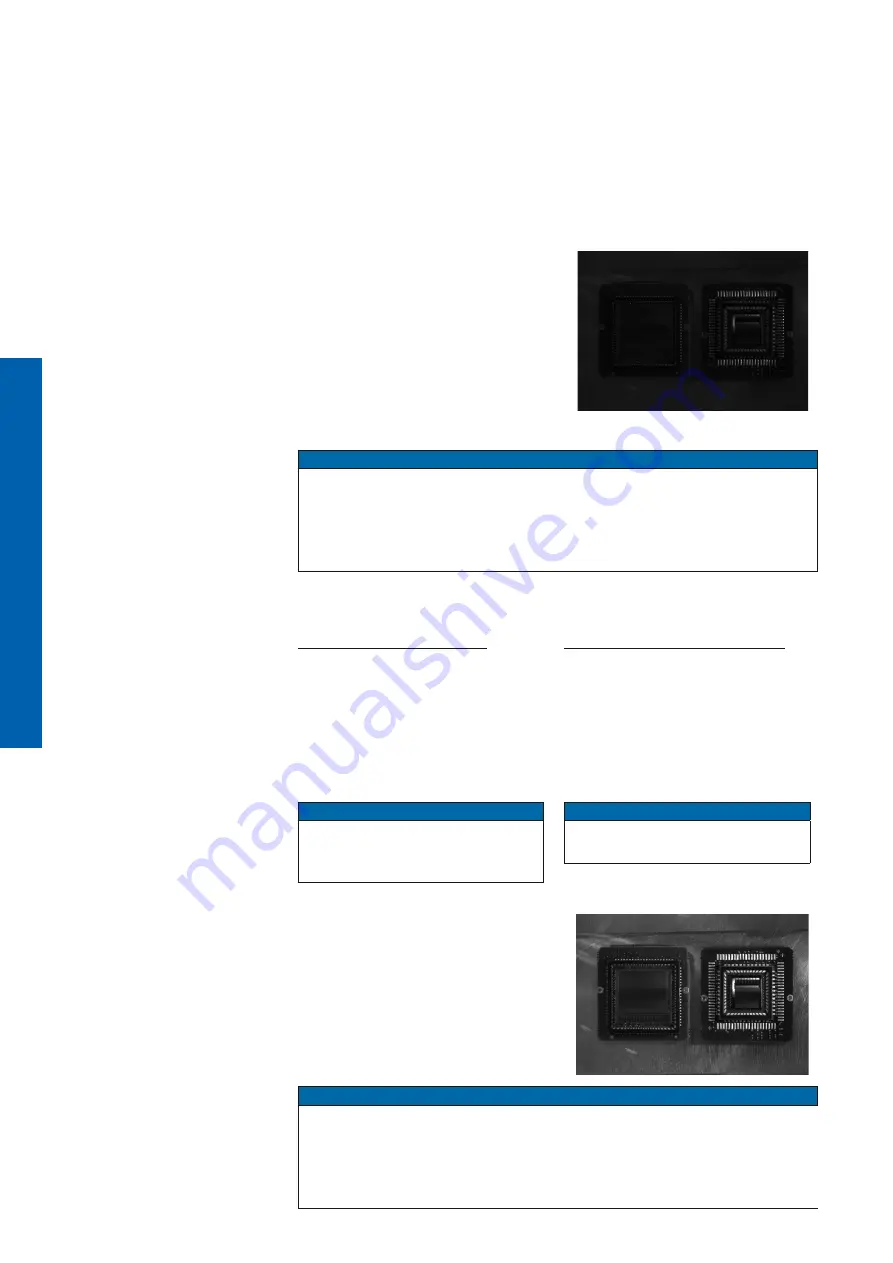
How to set up HDR with Baumer Camera Explorer
1.
Start the
Camera Explorer
. Open the camera. Select the profile
GenICam Guru
if necessary.
2.
Make sure HDR is inactive (Category: HDRControl →
HDREnable = False
).
Configure the lighting situation as it will be for the planned application.
3.
Open the Diagram Tool [F7]. Activate the Selection. Select the brightest area
in the image.
4.
Set the exposure time (Category: Ac-
quisitionControl → ExposureTime) of
the camera so that the histogram peak
value is between the values of 175 to
235.
→ Now you do not lose information in
the bright area.
5.
Stop the camera.
Notice
Do not use the feature (Category: AcquisitionControl →
AcquisitionStop
) in
the feature tree.
This has other influences on the image acquisition too.
Use the button on the toolbar of the Camera Explorer or [F11].
6.
Activate HDR (Category: HDRControl →
HDREnable = True
).
7.
Gain-Controlled (row-based)
Select the gain ratio with the
HDRGain-
RatioSelector
feature.
Select the value for
HDRGainRatioSe-
lector
so that the dark image areas
contain sufficient gray value informa
-
tion.
Notice
HDRGainRatioSelector
is set by
default to the value of 12dB (high-
est possible gain).
Exposure-Controlled (row-based)
Select the exposure ratio with the
HDRExposureTimeRatio
feature.
Select the value for
HDRExposure-
TimeRatio
so that the dark image ar-
eas contain sufficient gray value infor
-
mation.
Notice
HDRExposureTimeRatio
is set by
default to the value of 16.
8.
Start the camera again.
Notice
Do not use the feature (Category: AcquisitionControl →
AcquisitionStart
) in
the feature tree.
This has other influences on the image acquisition too.
Use the button on the toolbar of the Camera Explorer or [F12].
Содержание 11192208
Страница 225: ...225 V2 6 8 30 2022 1120758 ...
Страница 226: ...www baumer com worldwide ...


