27
o
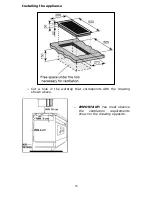
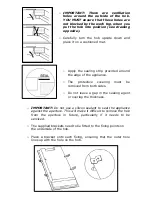
Fasten the bracket to the position on the hob with a screw.
Adjust the bracket position to suit different table top thicknesses.
o
Place the long screw into the fixing hole on the outer edge of the
bracket but do not fully tighten.
o
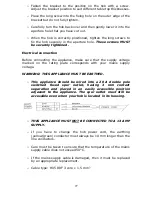
Carefully turn the hob back over and then gently lower it into the
aperture hole that you have cut out.
o
When the hob is correctly positioned, tighten the long screws to
fix the hob securely in the aperture hole. These screws MUST
be securely tightened.
Electrical connection
Before connecting the appliance, make sure that the supply voltage
marked on the rating plate corresponds with your mains supply
voltage.
WARNING: THIS APPLIANCE MUST BE EARTHED.
o
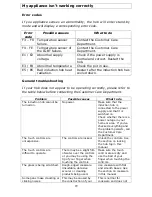
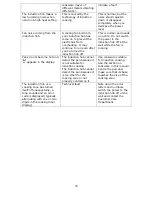
This appliance should be wired into a 20 A double pole
switched fused spur outlet, having 3 mm contact
separation and placed in an easily accessible position
adjacent to the appliance. The spur outlet must still be
accessible even when your hob is located in its housing.
o
THIS APPLIANCE MUST NOT BE CONNECTED TO A 13 AMP
SUPPLY.
o
If you have to change the hob power cord, the earthing
(yellow/green) conductor must always be 10 mm longer than the
line conductors.
o
Care must be taken to ensure that the temperature of the mains
supply cable does not exceed 50°C.
o
If the mains supply cable is damaged, then it must be replaced
by an appropriate replacement.
o
Cable type: H05 RRF 3 core x 1.5 mm²
Содержание BHI300
Страница 1: ...1 BHI300 Domino touch control induction zone hob ...
Страница 34: ...34 ...
Страница 35: ...35 ...
Страница 36: ...36 ...


