57
2. Next, select the day for your program settings. To do this, press the
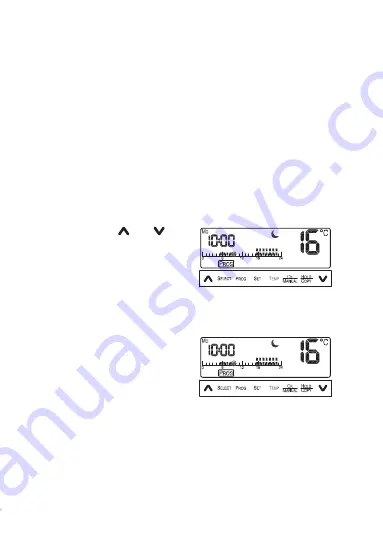
“SELECT” button. As shown in the image, this allows you to choose, for
example, Monday as the first day of your 7-dayprogram. Press the “PROG”
button to configure the program for the selected day.
3. Now you can set the program parameters for the selected day. The program
setting starts at 0:00 every day.
4. Press the “TEMP” button to set one of the following five functions:
- Economy temperature
two points are shown
- Semi-comfort temperature
one point is shown
- Economy temperature
no point; moon is shown
- Frost protection temperature no point; snowflake is shown
- Off
no point; Off is shown
5. Press the buttons “ “ and “ “ to se-
lect the individual hours. The setting
is maintained until you change it by
pressing the “TEMP” button.
6. Press the “PROG” button to exit your
program settings. Then you can set
the remaining days as described in
steps 3 to 5.
7. When you choose to have the same
program on two days, you can use the
“COPY“ function which easily copies
programs. Press the “COPY“ button
at the start of the program configura-
tion for the day. The display shows
the “COPY“ icon. To confirm the copy
function, press the “OK” button.
Repeat steps 1 - 7 to configure the remaining days.
Once everything is configured, press the “OK” button to confirm your selection.


