


5. Setup
9
0
E N
T E R
M E N
U
B A
C K
D I
G I
Z
O O M
P H
A
SE
P A
U SE
PI
P
L
O G O
Image 5-4
All the LED’s (3) on the top cover of the projector go out.
Then LED1 starts blinking green the number of hundreds. After that LED2 starts blinking the number of tens. Finally LED3 starts
blinking green the number of units. If this is done, the original status of the LED’s is restored.
Displaying the Projector Address in projection mode
1. Press the
Address
key (recessed key on the RCU) with a pencil.
The projector’s address will be displayed on the screen in a text box
Programming the RCU
1. Push the address key If the address is not entered within 5 seconds, the RCU returns to its default address (zero address) and
controls then all projectors in the room.
2. Enter the same address with the digit buttons
within 5 seconds
after pushing the address key.
The projector can now be controlled with the RCU.
For example : if the projector address is 3, then press "3" on the RCU to set the RCU’s address to match the
projector’s address.
Common address/Projector address : Beside the projector address, the projector disposes also of a Common
address which can be set to “0” or “1” (by default “0”).
In other words, an RCU set to address “0” will always control a projector regardless of its projector address
(since it uses the common address).
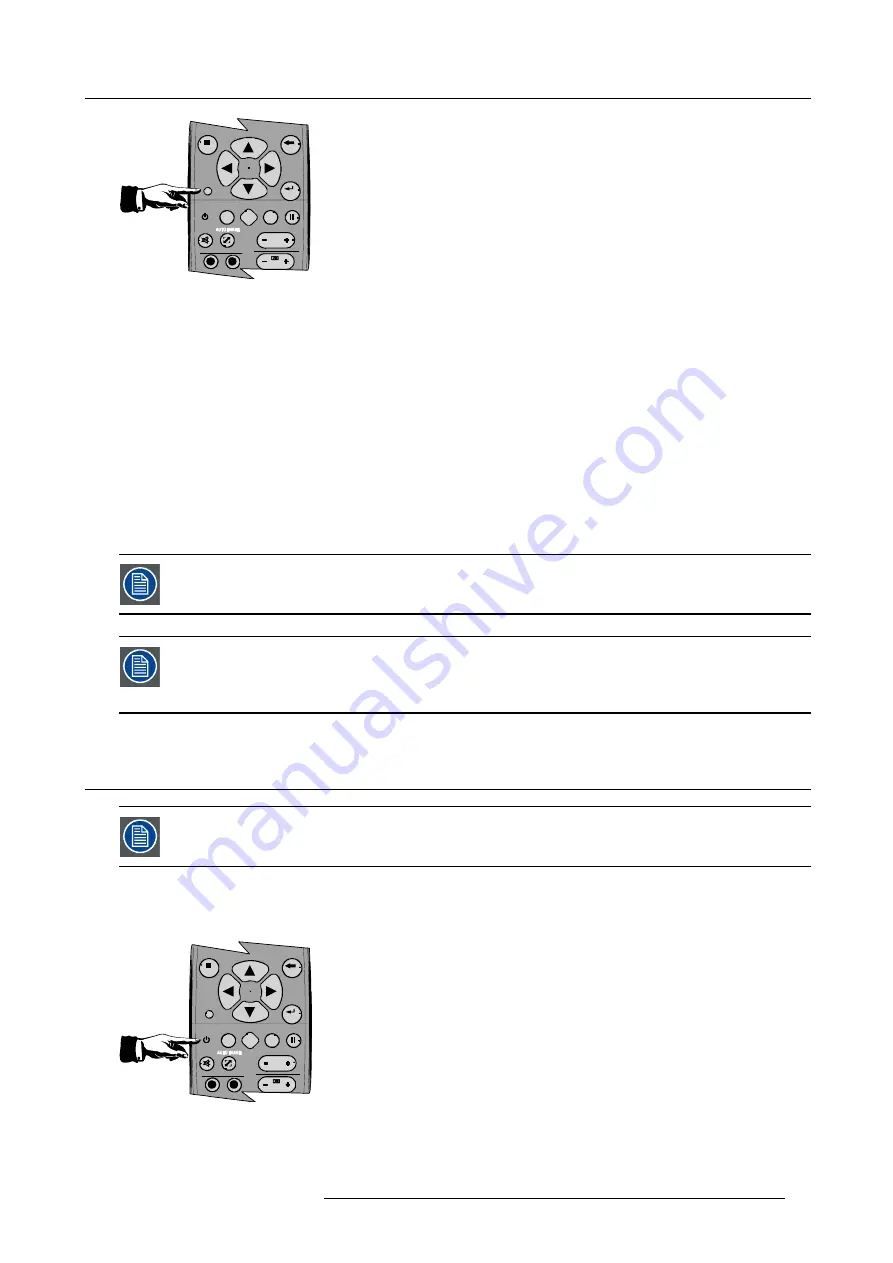
5.4
Starting the projector
Activating the projector is only possible after the initialization period i.e. when LED1 is off.
How to start up the projector ?
1. Press the
Standby
button on the RCU or on the local keypad.
9
0
E N
T E R
M E N
U
B A
C K
D I
G I
Z
O O M
P H
A
SE
P A
U SE
PI
P
L
O G O
Image 5-5
The last selected source is displayed.
R59770330 SIM 7QP SERIES 08/12/2014
37
Содержание SIM 7QP HB
Страница 8: ...Table of contents 4 R59770330 SIM 7QP SERIES 08 12 2014...
Страница 12: ...1 Introduction 8 R59770330 SIM 7QP SERIES 08 12 2014...
Страница 38: ...4 Installation 34 R59770330 SIM 7QP SERIES 08 12 2014...
Страница 52: ...5 Setup 48 R59770330 SIM 7QP SERIES 08 12 2014...
Страница 82: ...7 Advanced Image 7 50 Image 7 51 Image 7 52 78 R59770330 SIM 7QP SERIES 08 12 2014...
Страница 119: ...7 Advanced Image 7 121 Image 7 122 Image 7 123 Image 7 124 R59770330 SIM 7QP SERIES 08 12 2014 115...
Страница 139: ...7 Advanced Image 7 157 R59770330 SIM 7QP SERIES 08 12 2014 135...
Страница 168: ...7 Advanced 164 R59770330 SIM 7QP SERIES 08 12 2014...
Страница 182: ...8 Maintenance 178 R59770330 SIM 7QP SERIES 08 12 2014...
Страница 188: ...10 Environmental information 184 R59770330 SIM 7QP SERIES 08 12 2014...
Страница 194: ...C GLD alignment 190 R59770330 SIM 7QP SERIES 08 12 2014...
Страница 198: ...D Image files 194 R59770330 SIM 7QP SERIES 08 12 2014...
Страница 200: ...Glossary 196 R59770330 SIM 7QP SERIES 08 12 2014...
Страница 204: ...Index 200 R59770330 SIM 7QP SERIES 08 12 2014...


