


Service Mode
10-5
5975128 BARCODATA 8200 030798
Select with or
then <ENTER>
<EXIT> to return.
Select with or
then <ENTER>
<EXIT> to return.
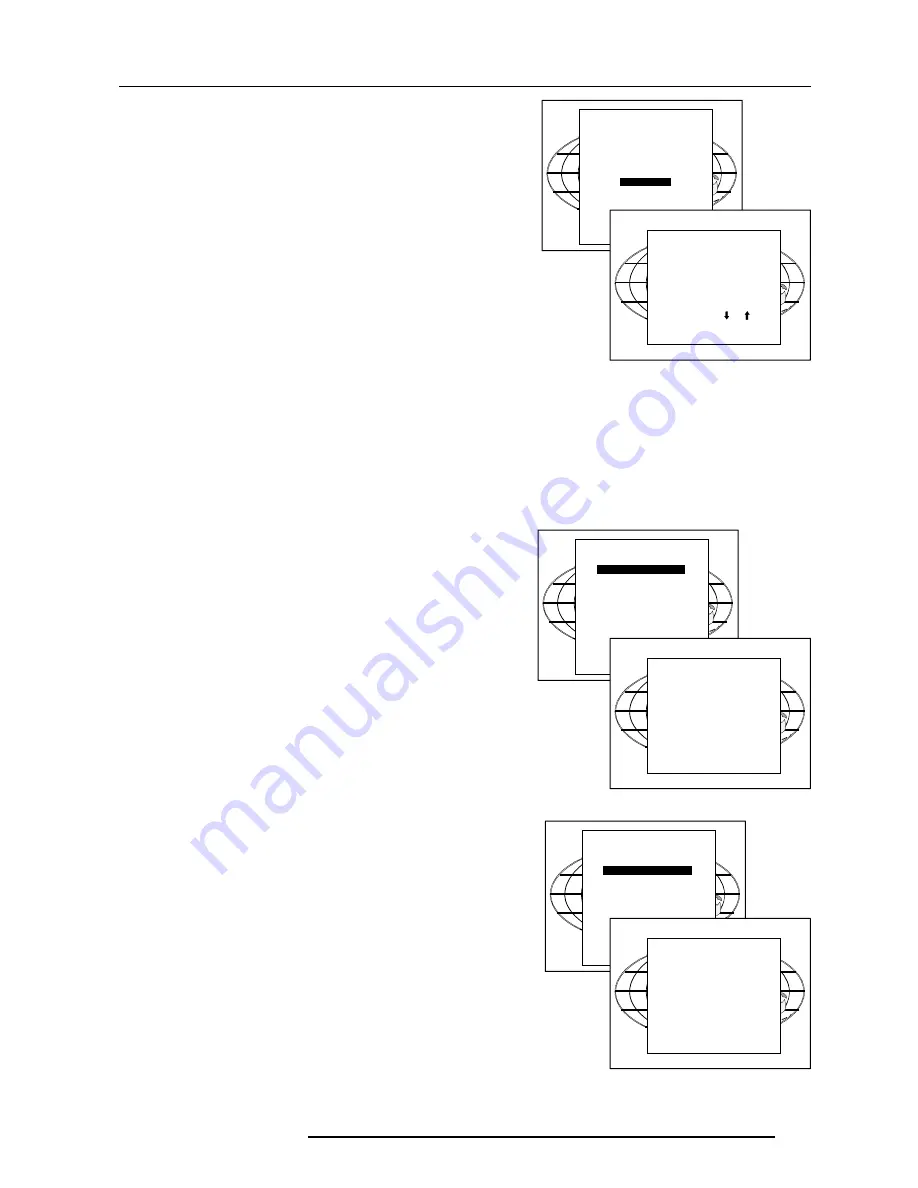
Panel Adjustments
Changing these settings may seriously affect the performance
of the projector.
All panel adjustments are factory adjusted. If not really necessary,
do not touch any of these adjustments. They are useful when a new
panel is installed.
Highlight Panel Adjustments by pushing the control disc up or down
and press
ENTER
When Panel Adjustments is selected in the Service Mode selection
menu, the following warning will be displayed :
Panel Adjustments is reserved to qualified service personnel.
If you are not qualified, press EXIT to cancel the panel adjustments.
Preset Input Balance
Changing these settings may seriously affect the performance
of the projector.
All Input Balances are factory adjusted. If not really necessary, do
not touch any of these adjustments. They are useful when a new
panel is installed.
Highlight Preset Input Balance by pushing the control disc up or down
and press
ENTER
When Preset Input Balance is selected in the Service Mode selection
menu, the following warning will be displayed.
Preset Input Balance is reserved to qualified service personnel.
If you are not qualified, press EXIT to cancel the Input balance
adjustments.
BARCO logo
The BARCO logo can be added to the image, in overlay or on a
background, on any place on the screen.
To add the BARCO logo or to change a setting in the BARCO logo
menu, highlight 'BARCO logo' by pushing the control disc up or down
and press
ENTER
to select.
The BARCO logo menu will be displayed on the screen. Within this
menu, three toggle settings and a shift control are available.
STATUS [ON/OFF]
ON : BARCO logo will be displayed on the screen.
OFF : No BARCO logo displayed on the screen.
BACKGROUND [ON/OFF]
ON : BARCO logo will be displayed on a black background.
OFF : BARCO logo will be displayed without any background.
SHIFT
By pushing the control disc up, down, to the left or to the right, the
BARCO logo can be positioned anywhere on the screen.
HOT KEY [TEXT/OFF]
OFF : no key on the RCU is used to display the BARCO logo.
TEXT : the TEXT key on the RCU is used to display or to remove the
BARCO logo with one single push on this key (only in operational
:mode).
SERVICE
PANEL ADJUSTMENTS
PRESET INPUT BALANCE
I2C DIAGNOSIS
MORE...
WARNING
PANEL ADJUSTMENTS
is reserved to
qualified
service personnel
<ENTER> to accept
<EXIT> to return.
BARCO LOGO
STATUS : [ON]
BACKGROUND : [ON]
SHIFT
HOT KEY : [<TEXT>]
Select with or
then <ENTER>
<EXIT> to return.
SERVICE
PANEL ADJUSTMENTS
PRESET INPUT BALANCE
I2C DIAGNOSIS
MORE...
SERVICE
IDENTIFICATION
CHANGE PASSWORD
CHANGE LANGUAGE
RESET LAMP RUNTIME
LAMP RUNTINE HISTORY
LAMP POWER : [NORMINAL]
BARCO LOGO
MORE
WARNING
PRESET INPUT BALANCE
is reserved to
qualified
service personnel
<ENTER> to accept
<EXIT> to return.
Содержание R9001250
Страница 1: ...OWNER S MANUAL R9001250 DATA 8200...
Страница 2: ...BARCO PROJECTION SYSTEMS Date 030798 OWNER S MANUAL Rev 03 Art No R5975128 R9001250 DATA 8200...
Страница 13: ...Installation Set Up 4 2 5975128 BARCODATA 8200 221297...
Страница 25: ...7 2 Start up of the Adjustment Mode 5975128 BARCODATA 8200 221297...


