


7. Image Menu
A
B
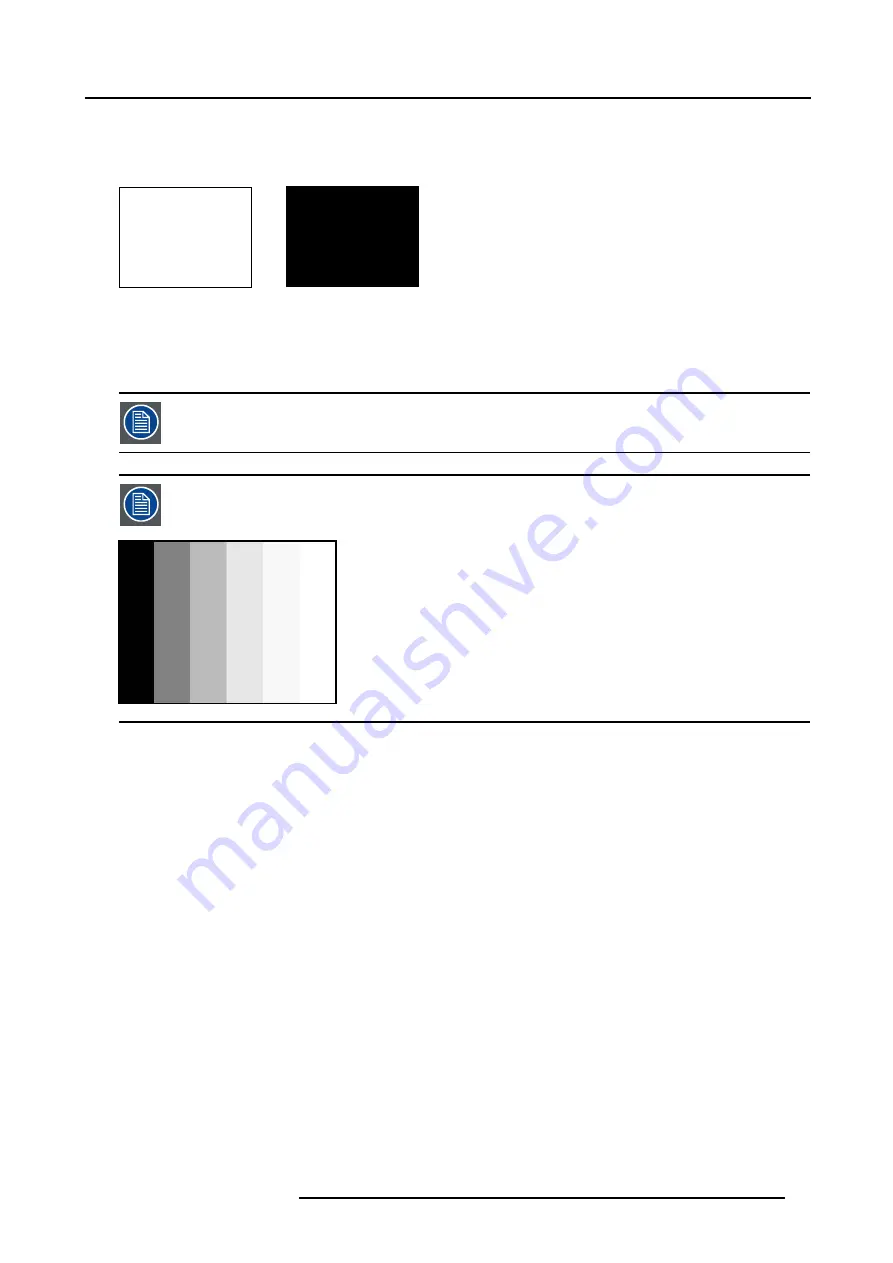
Image 7-27
White balance : In the projector, we will set the contrast for each color until we get a 100% light output picture when projecting a
100% white image (image A)
Black balance : In the projector, we will set the brightness for each color until we get a 0% light output picture when projecting a
100% black image (image B).
The changeover from min to max is indicated by the apparition of bright spots also called “digital noise”
An alternative to a full screen White/black pattern is the standard gray scale pattern, the white bar will be used
for white balance and the black bar for black balance.
Image 7-28
Black balance
1. Press
MENU
to activate the Toolbar
2. Press
→
to select the
Image
item
3. Press
↓
to Pull down the
Image
menu
4. Use
↑
or
↓
to select
Input balance
5. Press
→
to pull down the menu
6. Use
↓
or
↑
to select
Black balance
7. adjust the red black level on a minimal value (image 7-30, image 7-31)
8. adjust the blue black level on a minimal value
Note:
this minimal value is not necessary , provided that the 2 other colors are not influencing too much the color to be adjusted,
in fact the aim is to minimize the effect of the two other colors since there is a risk of reaching too soon the 50% transition
due to the contribution of these two other colors signals.
9. Adjust the green black level until bright spots appear on the screen
10.adjust the blue black level on a minimal value
Note:
this minimal value is not necessary , provided that the 2 other colors are not influencing too much the color to be adjusted,
in fact the aim is to minimize the effect of the two other colors since there is a risk of reaching too soon the 50% transition
due to the contribution of these two other colors signals.
11.Adjust the green black level until bright spots appear on the screen
12.Adjust the Blue black level until bright spots appear on the screen
13.Adjust the red black level until bright spots appear on the screen
the projected image should know be noisy full black
R5976694 IQ PRO R500 01/02/2007
69
Содержание iQ Pro R500
Страница 1: ...iQ Pro R500 Owner Manual R9010221 R5976694 04 01 02 2007 ...
Страница 6: ......
Страница 10: ...Table of contents 4 R5976694 IQ PRO R500 01 02 2007 ...
Страница 17: ...2 Installation Guidelines 1 2 3 4 Image 2 1 R5976694 IQ PRO R500 01 02 2007 11 ...
Страница 24: ...2 Installation Guidelines 18 R5976694 IQ PRO R500 01 02 2007 ...
Страница 34: ...3 Connections 28 R5976694 IQ PRO R500 01 02 2007 ...
Страница 48: ...4 Getting started 42 R5976694 IQ PRO R500 01 02 2007 ...
Страница 54: ...5 Source Selection Image 5 9 48 R5976694 IQ PRO R500 01 02 2007 ...
Страница 60: ...6 General Menu Image 6 10 54 R5976694 IQ PRO R500 01 02 2007 ...
Страница 80: ...7 Image Menu Image 7 38 74 R5976694 IQ PRO R500 01 02 2007 ...
Страница 100: ...10 Lamp Menu 94 R5976694 IQ PRO R500 01 02 2007 ...
Страница 110: ...11 Image files menu Image 11 20 104 R5976694 IQ PRO R500 01 02 2007 ...
Страница 120: ...12 Display setup 114 R5976694 IQ PRO R500 01 02 2007 ...
Страница 188: ...19 Troubleshooting 182 R5976694 IQ PRO R500 01 02 2007 ...


