6. Installation Mode
6.10 Configuration
What can be done ?
The way of physical installation of the projector can be defined to the projector.
The following installation configurations are possible:
•
front/table
•
front/ceiling
•
rear/table
•
rear/ceiling
Choosing the right configuration
1. Push the cursor key
↑
or
↓
to highlight
Configuration
. (menu 6-23)
2. Press
ENTER
to select.
The configuration menu will be displayed.
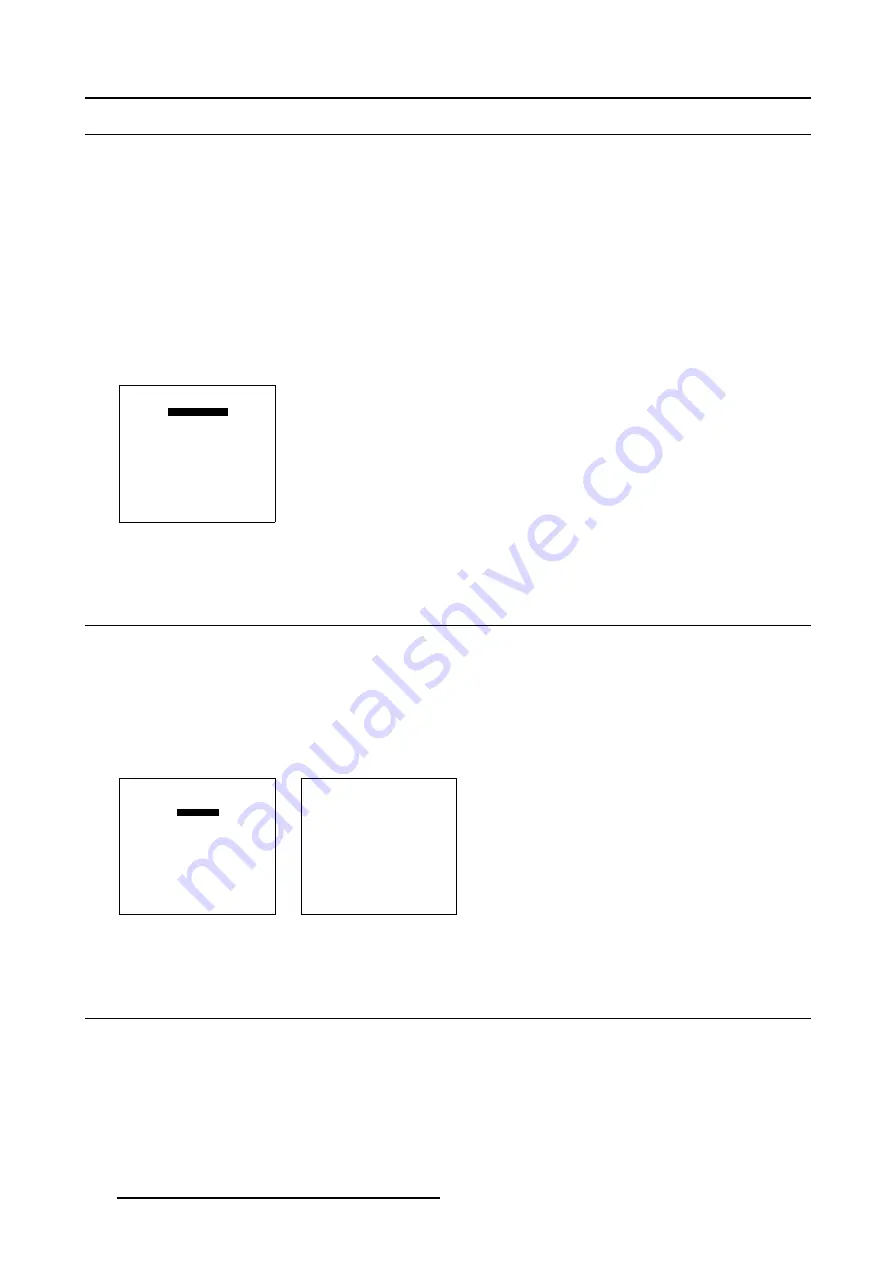
INSTALLATION
CONFIGURATION
OSD COLOR
INTERNAL PATTERNS
SHUTTER
ACTIVE 3D CONF.
MORE...
Select with
↑
or
↓
then <ENTER>
<EXIT> to return
Menu 6-23
6.11 OSD Color
What can be done?
The highlighted items on the menus can be displayed in red, green or yellow.
How to change the OSD Color ?
1. Push the cursor key
↑
or
↓
to highlight
OSD Color
2. Press
ENTER
to select.
The OSD color menu will be displayed. (menu 6-25)
INSTALLATION
CONFIGURATION
OSD COLOR
INTERNAL PATTERNS
SHUTTER
ACTIVE 3D CONF.
MORE...
Select with
↑
or
↓
then <ENTER>
<EXIT> to return
Menu 6-24
OSD COLOR
HIGHTLIGHTED ITEM
RED
GREEN
YELLOW
Select with
↑
or
↓
then <ENTER>
<EXIT> to return
Menu 6-25
6.12 Internal Patterns
What can be done with these internal patterns?
The projector is equipped with different internal patterns which can be used for measurement purposes.
116
R5976496 BARCOREALITY SIM 6 MK II + WARP 6
TM
15052003
Содержание BARCOREALITY SIM 6 MK II + WARP 6
Страница 4: ......
Страница 8: ...Table of contents 4 R5976496 BARCOREALITY SIM 6 MK II WARP 6 TM 15052003 ...
Страница 28: ...3 Connections 24 R5976496 BARCOREALITY SIM 6 MK II WARP 6 TM 15052003 ...
Страница 152: ...C Cleaning the Dustfilter 148 R5976496 BARCOREALITY SIM 6 MK II WARP 6 TM 15052003 ...
Страница 156: ...Index 152 R5976496 BARCOREALITY SIM 6 MK II WARP 6 TM 15052003 ...


