3. To exit the test, press the Smart Teach button once.
Note: By default, the Test exits automatically after three minutes.
4.2 Focus/Aiming
The reader includes a built-in aiming system to aid in reader positioning. Access the aiming system through the Smart
Teach Interface.
1. Apply power to the reader.
During startup, all of the LEDs blink for one second. On the connector side of the reader near the cable, the Power
LED (blue) indicates the reader is correctly powered.
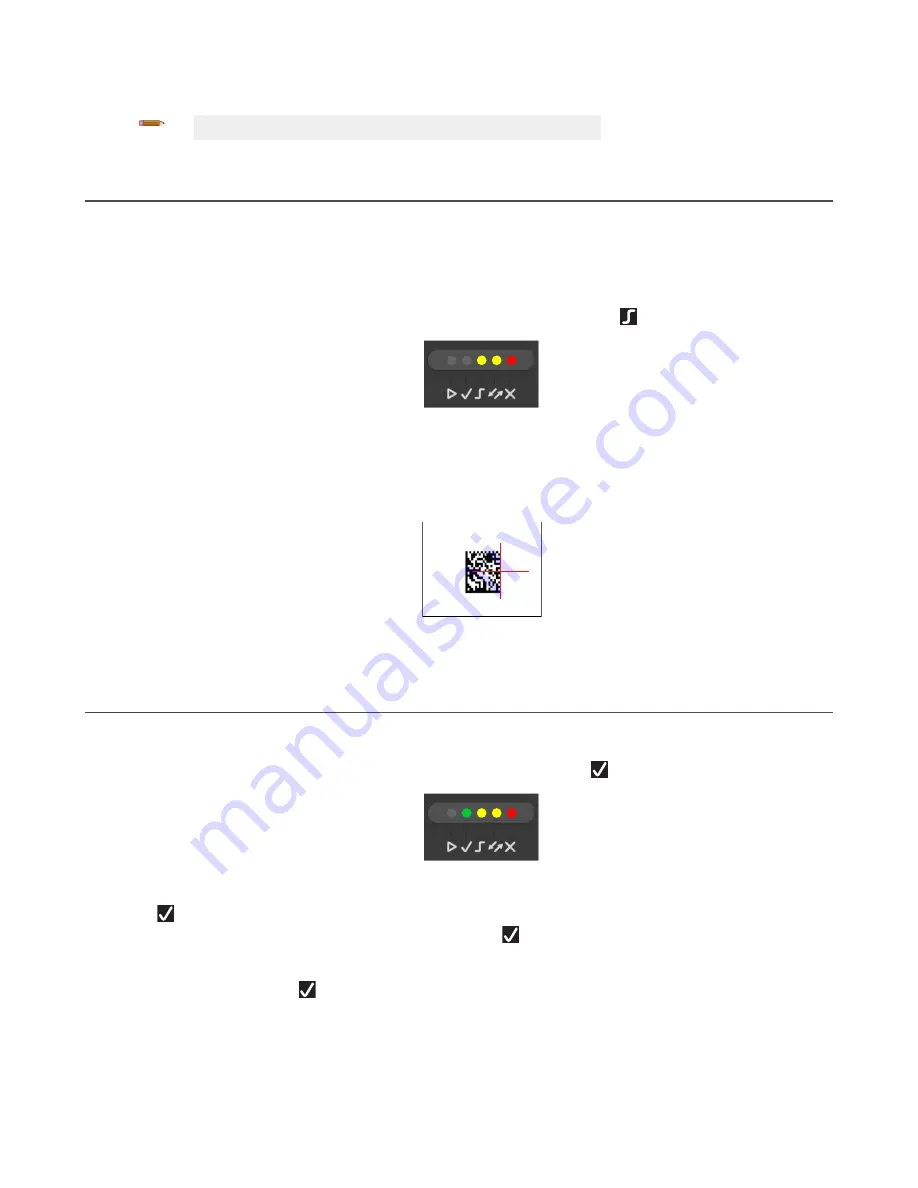
2. Enter Focus/Aim mode by pressing and holding the Smart Teach button until the Focus/Aim LED is on.
Figure 33. Smart Teach Interface: Aim Mode
3. Release the button to enter Aim mode.
The aiming system turns on.
4. Place an application-specific code in front of the reader at the reading distance indicated for your model (see
Set
the Focus
on page 9).
5. Position the center of the code 8 mm to the left of the aiming system indicator, as shown in the following figure.
FOV
Figure 34. Aiming Mode Using the Red Crosshairs
6. Exit Aim mode by pressing the Smart Teach button once. The aiming system turns off.
4.3 Setup
Once entered, the imager automatically performs the Image Acquisition parameter calibration for the specific code
presented to it.
1. Enter Setup mode by pressing and holding the Smart Teach button until the Setup LED is on.
Figure 35. Smart Teach Interface: Setup Mode
2. Release the button to enter Setup mode.
The
Setup LED blinks until the procedure is completed. The Setup procedure ends when the Image Acquisition
parameters are successfully saved in the reader memory, the
Setup LED stops blinking, the ABR beeps once,
and exits Setup mode.
3. If the calibration cannot be reached after a timeout of about 5 (five) seconds, ABR exits without saving the
parameters to memory, the
Setup LED stops blinking, and the ABR beeps once.
ABR 3000 Series Barcode Reader
www.bannerengineering.com - Tel: + 1 888 373 6767
29


