U S I N G T H E T A P E R E C O R D E R
22
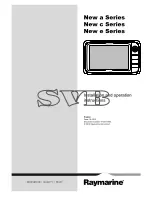
Loading a tape
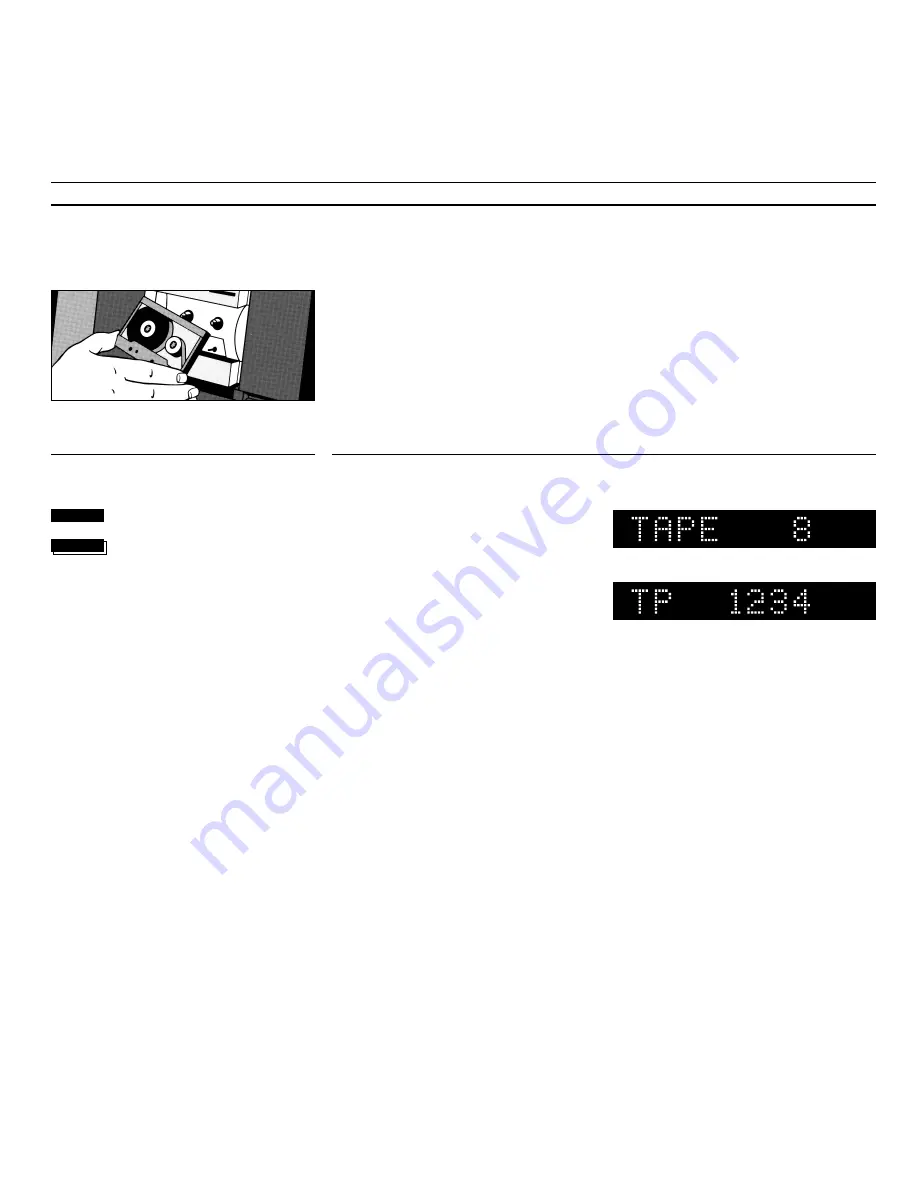
Switching displays
The tape cassette must be loaded with
the tape slot facing downwards – and
with the A-side out.
Insert the top section first, then push in
the bottom half of the cassette until it
is properly seated in the compartment.
The display can give you two different
types of information about where you
are on a tape:
• Track number
• Counter position
To switch from one display to the
other, you must press the DISPLAY
button
while
the tape is playing.
Your chosen display indication for the
tape recorder will be maintained until
you select another via the DISPLAY
button.
Note: The tape recorder only recognizes tracks if
there is a pause (or blank) of at least 3 seconds
between them.
Note: When you first load a tape, the tape
recorder does not know how many tracks it
contains, or which track is currently playing, and
there will be no indication of track number in the
display.
Start playing a tape
Press repeatedly to change the tape
display indication
To unload the tape, grip the sides of the
cassette – a little below the middle –
and gently but firmly pull it outwards.
Note: The tape recorder adjusts automatically to
the type of tape you are using: ferro, chrome or
metal.
Track number
Tape counter position
Only when you ask for a specific track, will the
tape recorder start registering track numbers: The
tape is rewound to the beginning and then for-
warded until the tape recorder finds your chosen
track number.
When the tape has been played through once, the
tape recorder knows exactly how many tracks it
contains. When you ask for a specific number, it
therefore immediately starts winding until it finds
your chosen track.
Note: Likewise, the counter indication will always
start at 0000 when you load a tape, even if it is
halfway through. Therefore, if you want the
correct counter indication, you must rewind the
tape to the beginning
before
you start playing or
recording.
TAPE
then
DISPLAY