


14
15
Adjusting Your Shade’s Limits and Home Position
Adjusting Your Shade’s Limits and Home Position
You must reset the home position if adjustments are made. See pages 16 & 17.
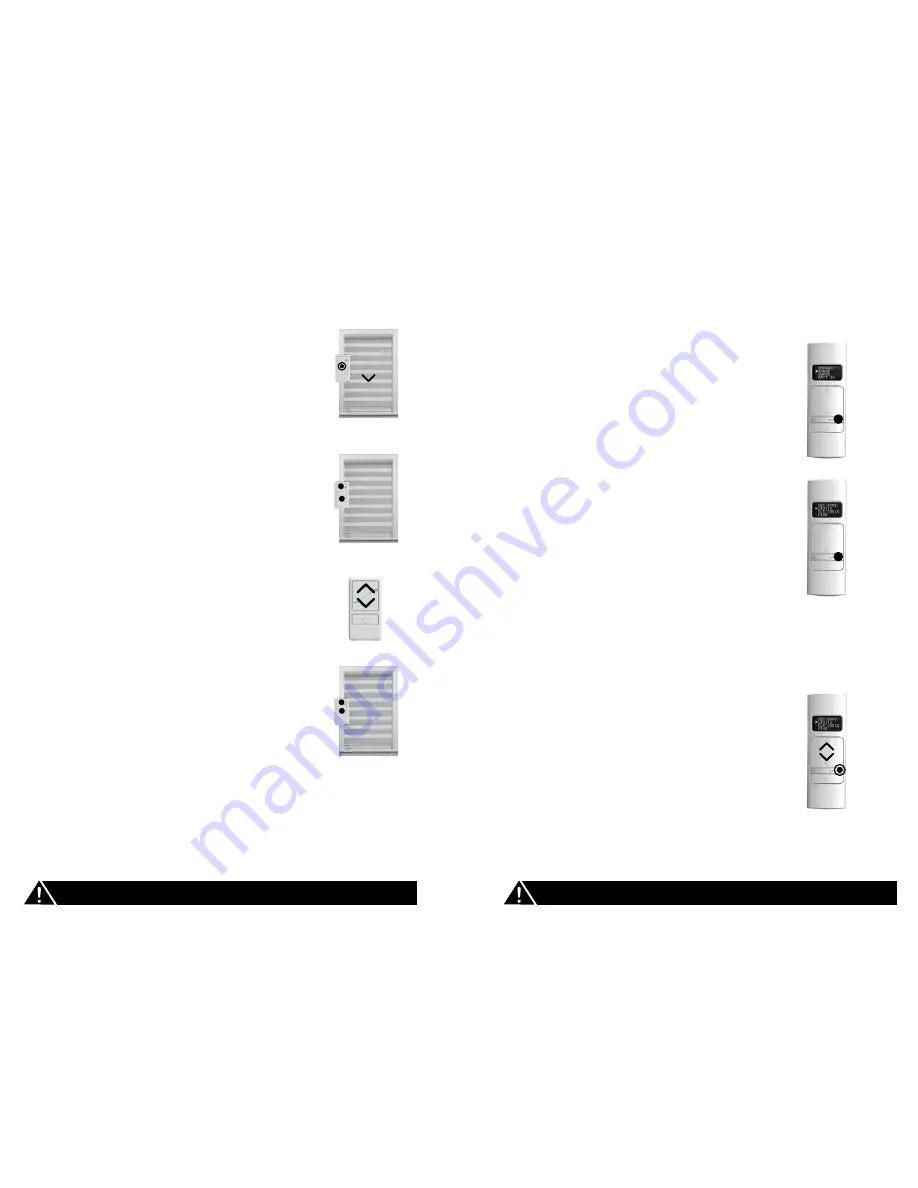
1. On the remote, press and
release the DOWN button.
Wait until the shade reaches
its preset lower limit.
4.
Press and hold the UP and
DOWN buttons at the same time
for 3 seconds. When the remote
LED turns amber, release both
buttons.
The shade will jog. This means you’ve set
your new lower limit.
5.
If you need to adjust another
shade’s lower limit, go back
to the
Before You Start
section and repeat the steps
for each shade.
2.
Press and hold the UP and
DOWN buttons at the same
time for 3 seconds. When
the remote LED turns amber,
release both buttons.
The shade will jog.
3.
Use the UP or DOWN buttons
to move your shade to the new
lower limit.
For the Multi-Channel Remote
1. On the remote, press and
hold the MENU/RIGHT button
for 2 seconds to enter the menu.
2. Select SHADE > LIMITS.
3. To proceed past the
warning message, press and
hold the MENU/RIGHT button
for 2 seconds.
4. Scroll left and right to select
the shade you want to adjust
the lower limit for.
5. Scroll to LOWER, then press
and hold the MENU/RIGHT
button for 2 seconds.
If the shade isn’t already at the current
lower limit, it will move to that position.
If the shade is already at the current
lower limit, it will jog.
6. Use the UP or DOWN
buttons to move your shade to
the new lower limit.
7. Press and release the MENU/
RIGHT button to set the
lower limit.
The shade will jog. This means you’ve
set your new lower limit.
You must reset the home position if adjustments are made. See pages 16 & 17.
Adjusting the Lower Limit
Adjusting the Lower Limit


