Version 0.4
Backline Engineering
5
screen. If any of these parameters have been changed and you try to select a new
preset, you will be asked if you want to save the current preset. Presets range from 0 to
49.
Save to Preset:
This allows you to save the current preset values into a different preset
location. Whenever a preset is saved, MIDI input channel, event input, foot switch mode
and MIDI thru are also saved in a special flash memory location so that they maintain
their settings during the next power-on.
Record Screen
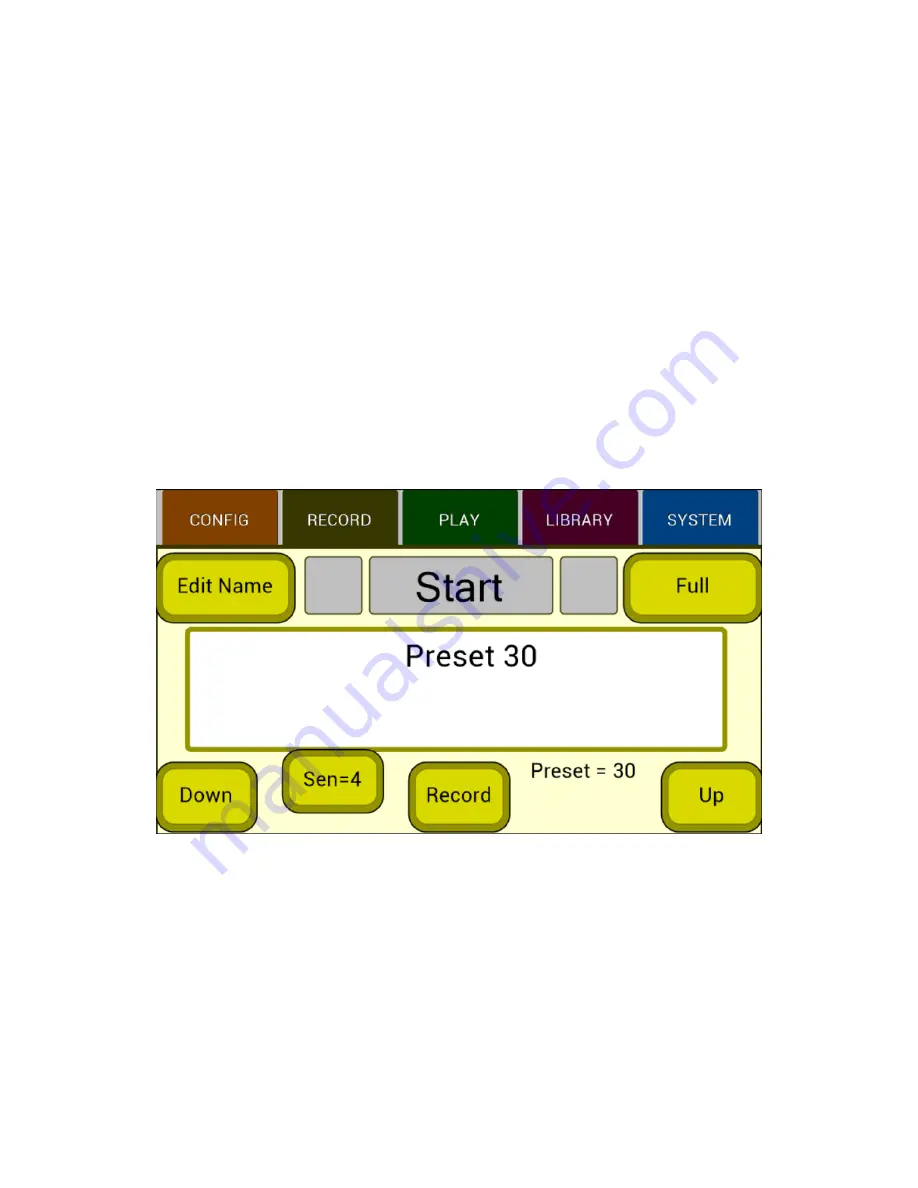
The record screen is shown in the figure below. This is the screen to select when you
want to start recording a loop. The three gray boxes at the top are used to show notes
or rhythm counts during the recording process. For record modes using notes it also
shows if you are playing notes that are generally in tune (make sure your instrument is
in tune for these modes to work properly). Notes that are not recognized as being in-
tune will light up the left or right boxes in red. Notes that are in-tune light up the center
box green. All three boxes will also turn red to indicate input signal clipping.
The button in the upper right can select ‘Full’ frequency range or ‘Low Pass’ filtering of
the event detection signal. For example, this can be useful to get rid of high frequency
artifacts in guitar chords. It does not affect the frequency range of the loop audio
recording.
The name of the preset is shown in the middle of the screen. The Edit Name button
allows you to change the preset name using up to 16 characters. The Sen= button
allows you to change the event trigger sensitivity based on your input volume and
playing style. This input sensitivity value is stored with each preset. The Up and Down
buttons allow you to cycle through the presets before starting a loop recording. The
Record button is used differently in various record modes, for example to arm or abort
automatic looping modes or to start and stop the manual recording mode. A three-


