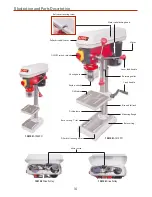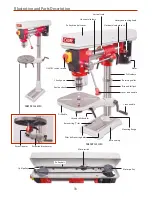
Assembly
12
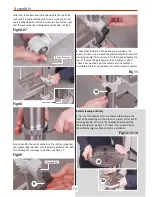
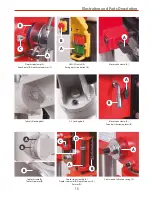
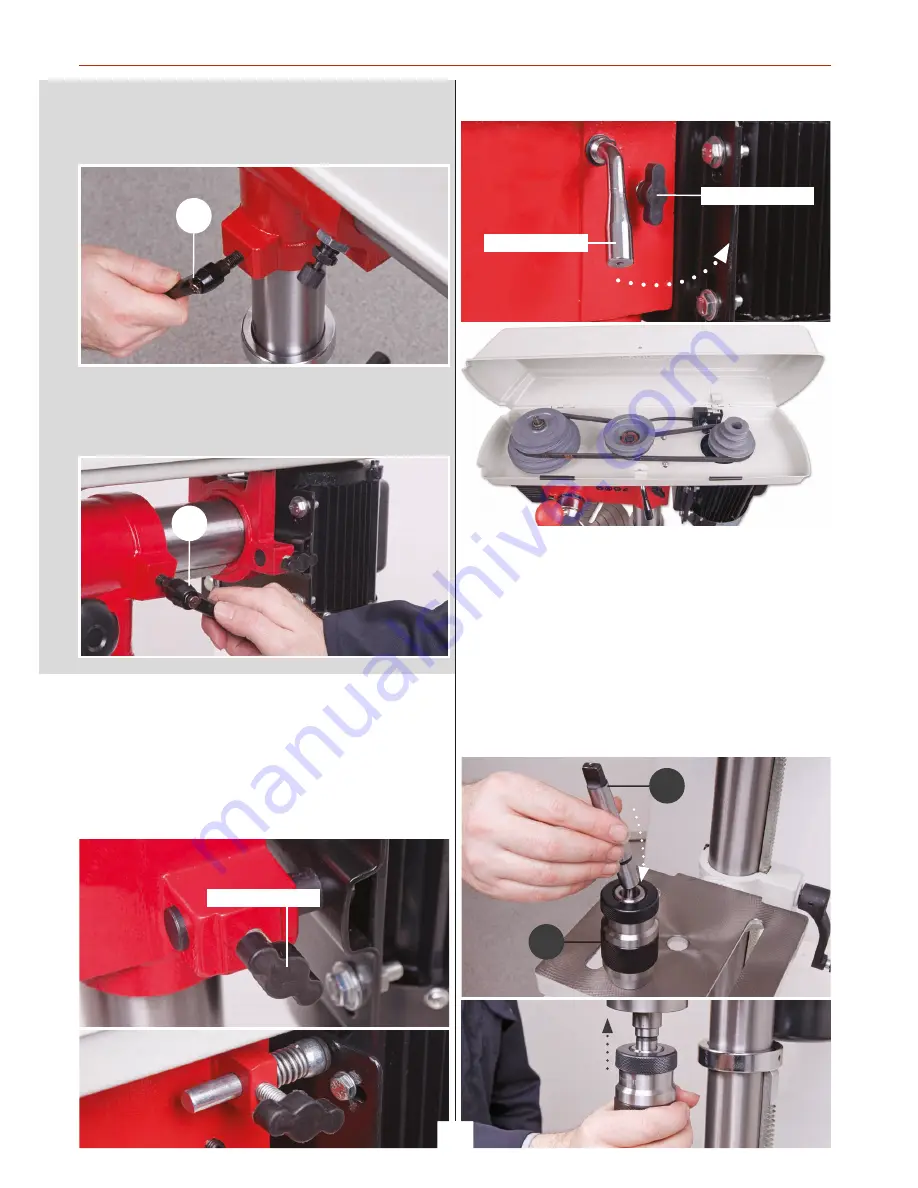
NOTE: Make sure the spacer block does not come out when
lifting the drill head onto the column!
Fig 21
Fig 22
3.
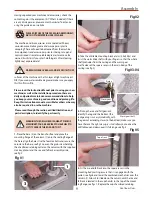
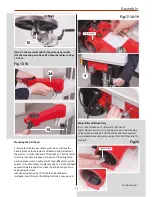
Locate another lift and shift handle (10) and screw it into the
threaded hole for the Horizontal clamp assembly, see fig 22.
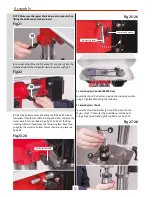
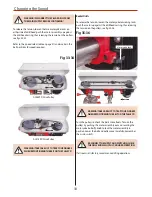
4. Open the pulley cover and check to see if the belt has been
tensioned. If not, loosen the two motor yoke locks and push the
motor back to tension the belt, see fig 23-24-25. For the floor
standing pillar drill head, move the tensioning lever back then
re-tighten the motor yoke locks to lock the motor in place, see
fig 25-26.
Fig 23-24
Fig 25-26
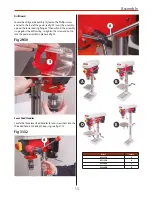
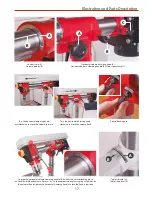
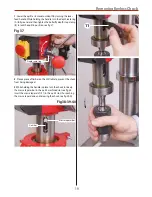
1-13mm Keyless Chuck AC285PD Only
3-16mm Keyless Chuck
Locate the chuck (7) and insert up over the morse taper arbor,
using a high faced mallet, lightly tap home.
Locate the morse taper arbor (8), insert the arbor into the
keyless chuck (7) then slot the assembly up into the quill.
Using a high faced mallet, lightly tap home, see fig 27-28.
Fig 27-28
10
10
Motor yoke clamp
Motor yoke clamp
Tensioning lever
8
7
Содержание 105105
Страница 4: ...What s Included 4 1 2 3 4 ...
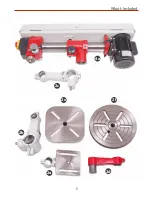
Страница 5: ...What s Included 5 2b 2e 2d 2a 2f 4a 2c ...
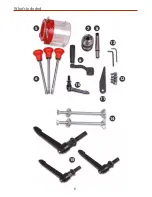
Страница 6: ...What s Included 6 14 10 5 6 10 9 7 8 13 11 12 ...
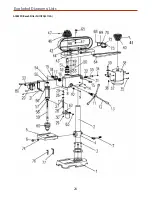
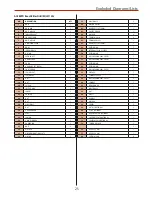
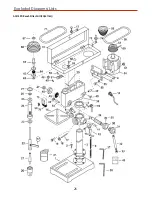
Страница 24: ...Exploded Diagrams Lists 24 AC285PD Bench Pillar Drill ZQJ4113A ...
Страница 26: ...Exploded Diagrams Lists 26 AC315PD Bench Pillar Drill ZQJ4116Q ...
Страница 28: ...Exploded Diagrams Lists 28 AC220RD Bench Radial Drill ZQJ3116 AC680RD Floor Radial Drill ZQJ3116A ...
Страница 32: ...Wiring Diagram 32 ...
Страница 33: ...Notes 33 ...
Страница 34: ...Notes 34 ...
Страница 35: ...Notes 35 ...

