Adding Printers in NetWare
AXIS 5400+ / AXIS 5600+ User’s Manual
63
NetWare Network
Environment Window
The NetWare Network Environment window allows you to connect
additional print queues to your Axis Network Print Server as well as
create new ones.
Follow the steps below to gain access to the NetWare Network
Environment window:
1. Select the required Network print server from the ‘Network Print Server’
folder.
2. Choose
Network
Network
Network
Network
from the Setup menu or click on the
Network
Network
Network
Network
icon on the
AXIS NetPilot’s toolbar.
3. If you are not logged on to your NetWare file server, a dialog box will ask
you to log on.
The Axis Network Print Server periodically updates the configuration by
scanning the NDS tree or, in the case of NetWare versions 3.x, the
designated file servers.
Connecting
Print Queues
Follow the steps below to connect a print queue to the print server port:
1. Open the NetWare ’Network Environments’ window.
2. Select the print server port you want to connect.
3. Click the
Connect...
Connect...
Connect...
Connect...
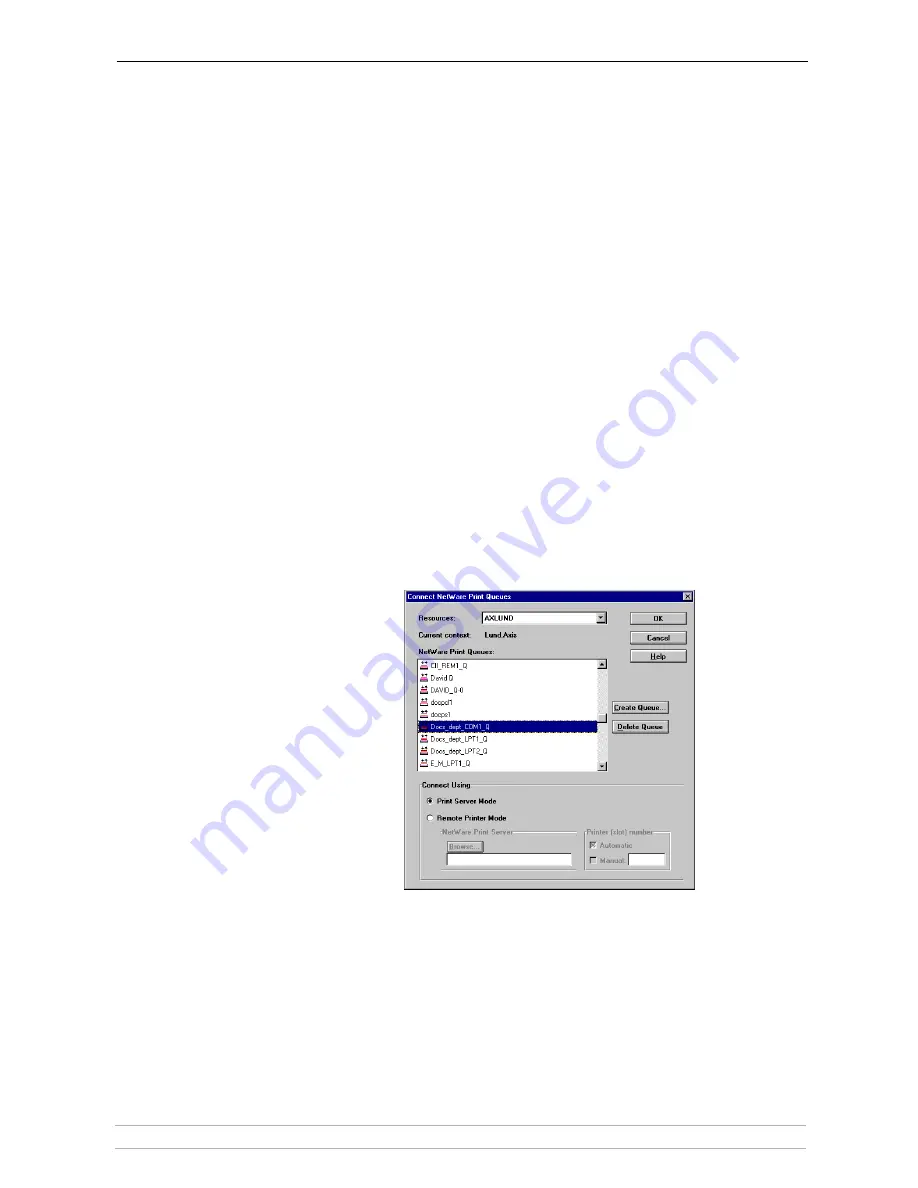
button. The
Connect NetWare Print Queues
Connect NetWare Print Queues
Connect NetWare Print Queues
Connect NetWare Print Queues
window
appears.
The AXIS NetPilot Connect NetWare Print Queues window
4. Select the tree or server location of the print queue from the
Resources
Resources
Resources
Resources
box.
5. Select an existing print queue to connect to the server port, or create a new
print queue by clicking on
Create Queue...
Create Queue...
Create Queue...
Create Queue...
If you have selected an existing
queue, advance to step 8. Continue with step 6 only if you want to create
a new queue.
6. Type the queue name in the
Create Queue
Create Queue
Create Queue
Create Queue
dialog window. If you want to
create a queue in the NDS tree you must also enter the name of the volume
where the queue will be located. Click
OK
OK
OK
OK
.


