background image

The AXAIR MIAP std (Mini Autopilot standard) controller can be used to quickly change values of the airplane
autopilot and COM/NAV radio’s. The PC version can be used on almost all simulator software but possibilities
per software package do differ. X-plane users will notice that nearly all cockpit functions can be assigned where
Flight Simulator 2020 still needs some MS updates to complete functionality. Nevertheless most of the essential
actions for in FS2020 do work and these can all be assigned to the buttons, knobs and switches of the MIAP.

The casing made is from acrylic and has a back-lighted front panel plus switch position indication lights. The
foot plate of the MIAP has holes to optionally mount the controller to an existing setup. Note that screws being
used to mount the bottom plate to a surface, should only be tightened lightly to make sure the acrylic will not
crack.

The latest addition to the MIAP family is an XBOX console version. This manual is intended to guide users in
assigning the buttons, rotary knobs, and switches for use with Flight-simulator 2020 on XBOX series S/X. The
unit its firmware is flashed into the main processor of the MIAP to act as an solo keyboard or an extension to an
existing keyboard connected to the game console. This means that all buttons, rotaries and switches generate a
key string, to note that the left top rotary button function, the radio frequency button and the COM/NAV toggle
switch act similar to a shift button on a keyboard. When these are pressed or toggled a different set of key
strings is generated for each position. This also means that no key string of the button and switch itself will
show. Users have the flexibility in FS2020 to build several different aircraft profiles with also a different set of
MIAP button assignments.

Since all buttons and knobs are assigned the same way we would not like to keep repeating the steps but rather
explain how to assign a button, a rotary knob , rotary button and how to use the SHIFT functions. A basic
example list of possible assignments is provided in 

reference table ‘A’

 to get a head start. We encourage users to

share profile settings on our AXAIR 

Facebook/parts4sim

 site. Please use the MIAP reference picture in this

manual when proceeding with the step by step setup.

Note: When the MIAP is not responding as described in this manual, for instance scanning shows none or
different results in the simulator control settings menu, please restart the XBOX and also the Flight Simulator
program. You can do this with either the MIAP connected or disconnected. For reason, the MIAP has no sleep
function build in so if you want the MIAP controller to be un-powered after XBOX shutdown please unplug the
USB cable.

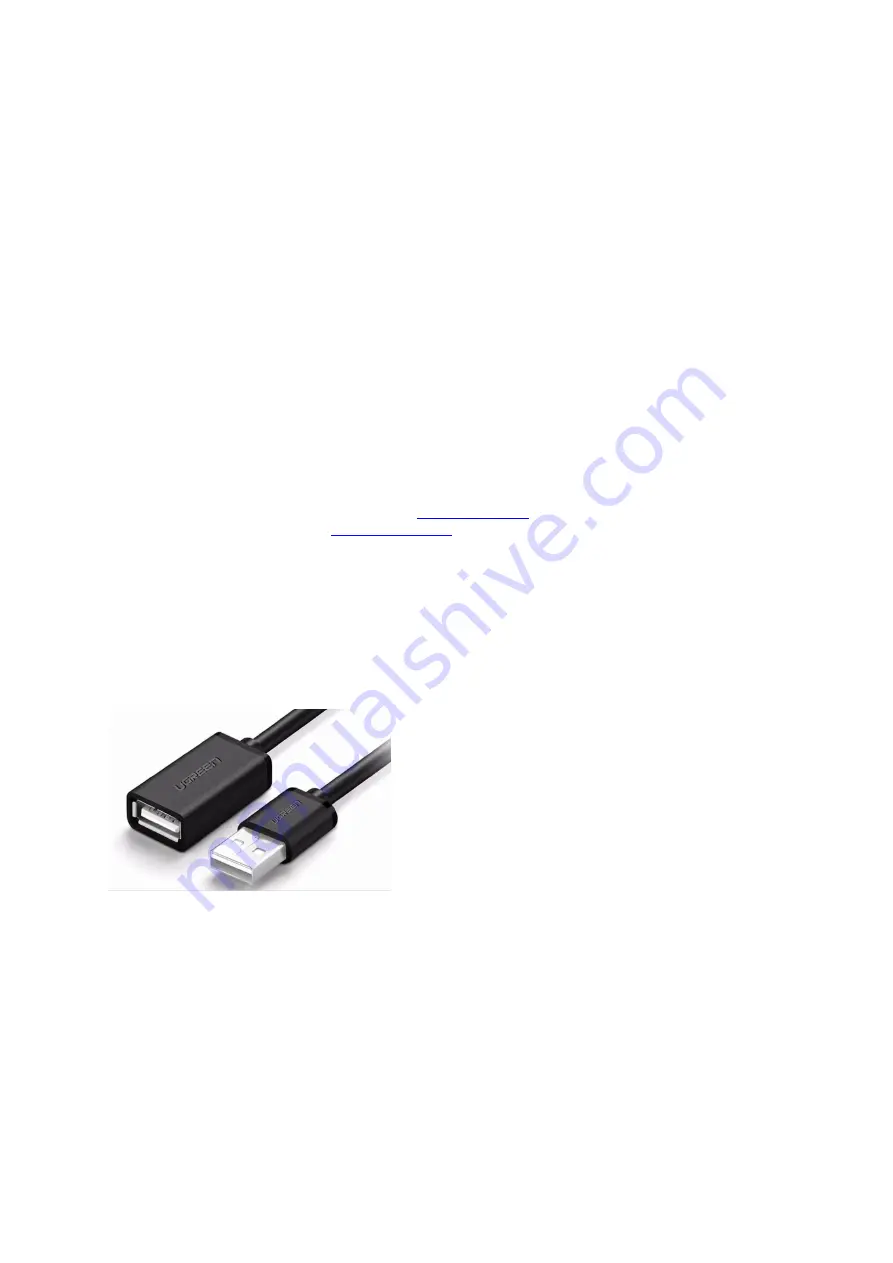
The USB cable is of a high quality silicon type with a standard length of 1 meter. You can use USB 2 or USB 3
extension cables to extent yo your desired length. (USB cable type FEMALE A to MALE A)

Содержание MIAP

Страница 1: ......

Страница 2: ... left top rotary button function the radio frequency button and the COM NAV toggle switch act similar to a shift button on a keyboard When these are pressed or toggled a different set of key strings is generated for each position This also means that no key string of the button and switch itself will show Users have the flexibility in FS2020 to build several different aircraft profiles with also a...

Страница 3: ...d assign functions to the MIAP Once the MIAP is connected it will show up as a general keyboard If you have other keyboards connected at the same time they will merge with the MIAP Note that only 1 keyboard will show up in this case All keyboard connected that merged as 1 keyboard can be used at the same time Assigning a button a switch and a knob are shown at the following steps STEP 1 Click on C...

Страница 4: ...Autopilot altitude STEP 5 Type reference and note that all actions that can be assigned and have reference in the name will show up Note make sure that FILTER below the SEARCH tab is set to show ALL actions STEP 6 Click in the window TAB as highlighted Note that there are 2 rows of Tabs the second row can be used to assign a secondary button or knob to the same action ...

Страница 5: ...LT knob clockwise STEP 9 In this case ALT will show in the scan TAB Use reference sheet A to check if the input is correct If it does show the string as recognized as in reference table A than scan it again till it shows the correct string Next validate the assigned action ...

Страница 6: ...enu after saving the profile you created Start a flight and check the actions you assigned Repeat from STEP 4 to assign all rotary knobs For additional information on the functionality of the CRS knob and FREQ knob please got step 16 STEP 11 In this next example we will assign a button to an action in this case the HDG button Click in the SEARCH BY NAME tab and type Heading hold ...

Страница 7: ...STEP 12 Click in the TAB next to TOGGLE AUTOPILOT HEADING HOLD STEP 13 START SCANNING by clicking in the corresponding window STEP 14 Press the HDG button on the MIAP once ...

Страница 8: ...knob the square buttons and the top left toggle switch actions The bottom right toggle switch can be set to COM or NAV to either tune communication or navigation frequencies using the same ROTARY KNOB Also the SWAP button will generate a different string in both COM and NAV position of the switch The CRS knob will also generate a new set of strings after pushing on the knob once The following step...

Страница 9: ...ing INCREASE COM1 FRACT and DECREASE COM1 FRACT If preformed correctly you can toggle between tuning in MHz and kHz by pressing once on the rotary STEP 19 Repeat from STEP 16 but toggle to NAV and search for NAV1 to assign navigation frequencies to the same switch knob and buttons Always SAVE your profile when going back to the main menu If additional information is available we will publish it on...

Страница 10: ...ncrease Nav1 Frequency 18 NAV FREQ1 Mhz R_CTRL R_ALT KEY_GRAVE Decrease Nav1 Frequency 19 NAV FREQ2 Khz R_CTRL R_ALT KEY_COMMA 20 NAV FREQ2 Khz R_CTRL R_ALT KEY_BACKSLASH 21 IAS L_ALT KEY_BRACKET_LEFT Select airspeed bug 22 HDG L_ALT KEY_BRACKET_RIGHT Select heading bug 23 ALT L_ALT KEY_APOSTROPHE Select altitude bug 24 VS L_ALT KEY_CAPS_LOCK 25 AP TOGGLE R_CTRL KEY_SEMICOLON Toggle autopilot mast...

Отзывы: