


-13-
REMOTE CONTROL
TELETEXT
TEXT
SELECTING A PAGE
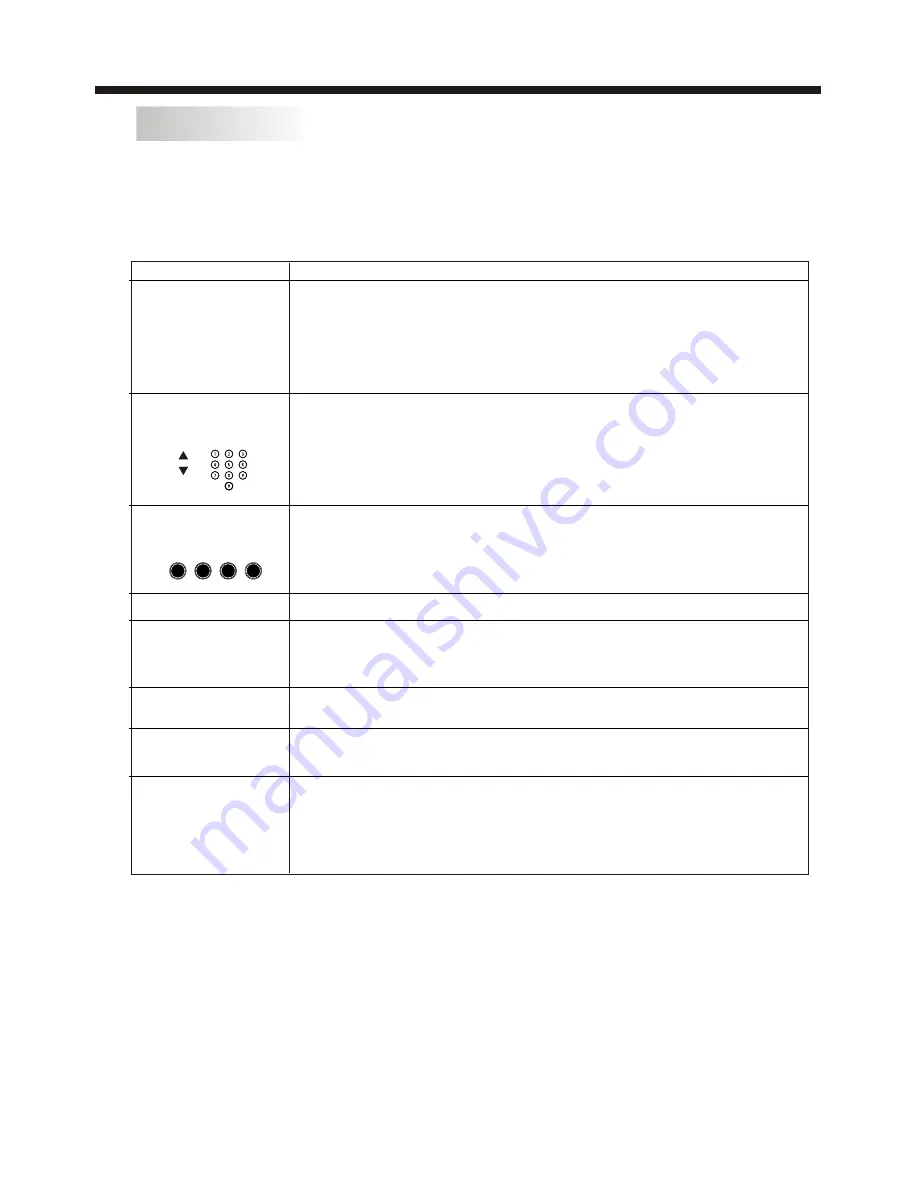
DIRECT ACCESS
TO THE ITEMS
INDEX
SUB PAGE
HOLD
REVEAL
Press:
You will obtain :
LIST
Enter the number of the page required using the 0 to 9 up/down.
Example: page 120, enter 120. The number is displayed top left, the
counter turns and then the page is displayed. Repeat this operation to
view another page. If the counter continues to search, this means
that the page is not transmitted. Select another number.
Coloured buttons correspond to the colours at the bottom of the
screen. The 4 coloured keys are used to access the items or
corresponding pages. The coloured areas flash when the item or the
page is not yet available.
This returns to the contents page (usually page 100).
Certain pages contain sub-pages which are automatically
displayed successively. This key is used to stop or resume sub-
page acquisition. The indication appears top left.
To freeze the page.
To display or hide the concealed information (games solutions).
The user can set four favourite pages to be directly linked to the four
color keys. While list mode is activated, it is not possibility to use TOP
or FLOF navigation with the colourkeys. The favourite page numbers
should be stored and restored to/from nonvolatile memory for each
channel by the system software.
This is used to call or exit teletext modes. The summary appears with
a list of items that can be accessed. Each item has a corresponding
3 digit page number. If the channel selected does not broadcast
teletext, the indication 100 will be displayed and the screen will
remain blank (in this case, exit teletext and select another channel).
Teletext is an information system broadcast by certain channels which can be
consulted like a newspaper. It also offers access to subtitles for viewers with hearing
problems or who are not familiar with the transmission language (cable networks,
satellite channels, etc.)


