background image

11

4. The rotated picture will restore to its original 

rotation angle when you press   button to 
return the main menu.

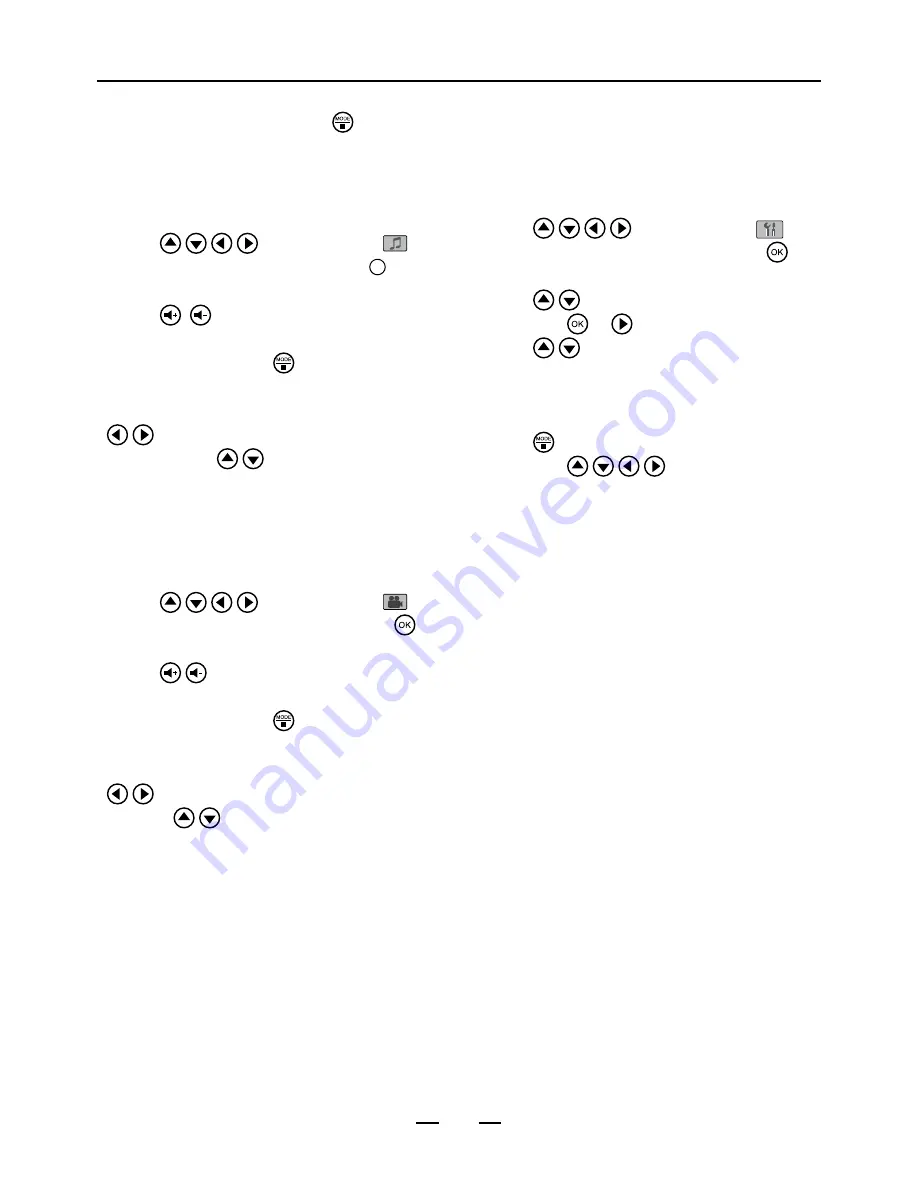
Playing MP3 music

1. Turn the POWER switch to ON.
2. Press  / / /  buttons to select 


Mu-

sic 

from the main menu, then press 

OK

 button. 

3. The music starts to play automatically.
4. Press 

/   

button to increase or decrease 

the volume.

5. To stop playing, press   button. 
• If selecting a folder, the folder list will display on 

the left screen and the file list on the right. Press  

/  buttons to enter the left or right screen, 

and then press  /  buttons to select the file 
you wish to play.

Playing a movie

1. Turn the POWER switch to ON.
2. Press  / / /  buttons to select 


Movie 

from the main menu, then press   but-

ton. The movie file will be played automatically.

3. Press 

/  

button to increase or decrease 

the volumes.

4. To stop playing, press   button. 
• If selecting a folder, the folder list will display on 

the left screen and the file list on the right. Press

/  buttons to enter the left or right screen, 

and then  /


buttons to select the file you 

wish to play.

Note: 

• If you want to insert MS Duo ,MS Duo Pro ,MS 

M2 or MS PRO-HG card into this device use 
with memory stick Duo replacement adapter or 
memory stick micro adapter only.

Basic Operation

AV Out mode

1. Insert an memory card, iPod or USB thumb 

drive into this unit.

2. Connect the AV cable from this unit to a TV, 

then turn the 

POWER

 switch to 

ON

3. Press  / / /  buttons to select 


Setup

 from the main menu, then press   

button. 

4. Press  /  buttons to select 

AV Output

then press   or   button. 

5. Press  /  button to select

 On

. The AV 

signal will be outputted to the TV screen 
directly, and then the unit’s screen will shut off 
automatically. 

6. Press   button to return the main page, and 

then press  / / /  buttons to select 
your desire mode to playback on TV. 

7. To return the unit’s screen, turn the 

AV Output


to 

Off

 from 

Setup

 page, or turn the power 

switch to 

On

 again.

Note:


• 

By default, the AV output setting will not be 
recorded in the 

Setup

 page after turning the 

power switch to 

On

. The AV output will return to 

Off

 when you turning the power again.  

• 

The iPod touch, classic and 3rd nano will 
operate the authentication before outputting AV 
signal. Please be patient, this process will take 
a few seconds.

Содержание IPA1070T

Страница 1: ...tem for iPod User Guide Before attempting to connect operate or adjust this product please save and read the Getting Started completely The style of the product shown in the Getting Started may be different from the actual unit due to various models ...

Страница 2: ...y use attachments accessories specified by the manufacturer When left unused for a long period of time the unit should be unplugged from the household AC outlet Warning To reduce the risk of fire or electric shock do not expose to rain mois ture dripping or splashing Compatibility This device supports iPod touch 1st 2nd iPod classic iPod 4th 5th generation iPods including the special edition U2 an...

Страница 3: ...ource 7 Memory Card 7 USB thumb drive 7 iPod 7 Line in 8 Outputting signal 8 Connecting with AV eequipment 8 Connecting with audio eequipment 8 Basic Operation 9 iPod operation 9 For iPod classic iPod 4th 5th generation iPod mini 1st 2nd and iPod nano 1st 2nd 3rd 4th operation 9 For iPod 1st 2nd touch operation 10 View photo and slide shows 10 Thumbnail Mode 10 Rotation 10 Playing MP3 music 11 Pla...

Страница 4: ...een 5 Speakers 6 Volume 7 Volume 8 3D Surround button Press this button to simulate a virtual three dimensional surround sound 9 LINE IN jack 10 Earphone jack 11 DC IN jack 12 Cursor buttons Up Down Right Left 13 PLAY Pause confirm button 14 MODE STOP button 15 iPod Dock connector 16 SD MMC MS Slot 17 USB Jack 18 Composite AV out jack Front Rear 1 2 3 4 5 6 7 8 9 10 11 12 13 14 15 16 17 18 ...

Страница 5: ...Volume 6 Previous button 7 Mute button Remote Control 10 1 2 3 4 5 6 7 8 9 11 12 13 14 15 8 SETUP button 9 OK button 10 MODE STOP button 11 F FWD button 12 NEXT button 13 PLAY Pause button 14 REPEAT 1 ALL button During playback press 1 All button repeatedly to select the following options Track Repeat track Folder Repeat folders All Repeat all OFF Repeat off 15 Volume ...

Страница 6: ...irection of arrow 2 as shown on the below CR2025 1 2 4 Remove the old battery C R 2 0 2 5 O P E N P U S H R E L E A S E 5 Place a new battery in the holder C R 2 0 2 5 O P E N P U S H R E L E A S E Note The battery in the Remote Control normally lasts for about one year although this depends on how often and for what operations the Remote Control is used Use a 3V lithium battery No CR2025 or equiv...

Страница 7: ... files to readable formats using your computer Memory Card Insert your memory card into the appropriate slot according to the orientation marked on the machine This unit supports the maximum capacity of memory card up to 32GB MS Pro Example memory card s not supplied USB thumb drive Insert a USB thumb drive to the USB port This port can not connect to PC directly This unit supports the maximum cap...

Страница 8: ...when the iPod is connected to this device and the device s power is switched to ON Line in Input audio source from MP3 Player s earphone jack to the device Line In jack with 3 5mm audio cable not supplied Example iPod shuffle 4th not supplied Connection Outputting signal Connecting with AV eequipment Connect Audio Video Out jack with other AV device s Audio Video In jack using AV cable Be sure to ...

Страница 9: ...vel of menus Press or buttons to select the item you wish to perform 6 To play music video using remote control only Press buttons to select a music video file you wish to playback then press to play It is suggested you use the audio format prefer ence in following order Apple lossless ACC then MP3 7 To view photos Press buttons to select the photo you wish to playback from your iPod when you are ...

Страница 10: ...creen please tap the iPod screen to bring it up Basic Operation View photo and slide shows 1 Turn the POWER switch to ON 2 Press buttons to select Photo from the main menu then press 3 The slide show starts to play 4 To pause the slide shows press button Note Displaying pictures bigger than 480 x 234 will take longer to load If the device is not operational for a few seconds the screen saver will ...

Страница 11: ...lect the file you wish to play Note If you want to insert MS Duo MS Duo Pro MS M2 or MS PRO HG card into this device use with memory stick Duo replacement adapter or memory stick micro adapter only Basic Operation AV Out mode 1 Insert an memory card iPod or USB thumb drive into this unit 2 Connect the AV cable from this unit to a TV then turn the POWER switch to ON 3 Press buttons to select Setup ...

Страница 12: ...Time 5 Sec 15 Sec 30 Sec 1 Min 5 Min 30 Min 1 Hour 4 Hours 12 Hours 1 Day Transition No Effect Random Cover Up Cover Down Uncover Left Push Right Wipe Up Wipe Down Contrast 4 3 2 1 0 1 2 3 4 OSD Language English French German Italian Spanish Portuguese Dutch Polish TV System NTSC PAL Panel Full Screen Original AV Output On Off Reset Confirm Exit Setup Mode ...

Страница 13: ...e the file in JPEG format with the help of a computer No sound from speakers The volume is set too low Increase the volume by the volume increment key Crackling sound from speakers The iPod is not correctly seated into the docking station Turn off the iPod remove it from the docking station reseat it and turn it on again There is radio interference The unit is too close to a radio tower Move the u...

Страница 14: ...No 4 iPod photo 20GB 30GB No 5 iPod classic 160GB iPod video 60GB 80GB No 6 iPod photo 40GB 60GB No 7 iPod nano 3rd Generation 4GB 8GB No 8 iPod touch 8GB 16GB 32GB No 9 iPod nano 4rd Generation 4GB 8GB 16GB Note Insert iPod photo 60GB and iPod monochrome 40GB into this device directly without any dock Appendix Dock adapter number for iPod iPod shown not included ...

Страница 15: ......

Страница 16: ......

Отзывы: