background image


17 

5. REMOTE OPERATION 

You can also control the DVR remotely via the supplied licensed software “Video Viewer” (hereafter called the 
“Video Viewer”), IE web browser, and Apple’s QuickTime player 

ONLY

 when your DVR supports the network 

function. 

Note:

 The buttons and functions described below may differ from the actual ones and are for selected 

model only. 

5.1. Video Viewer 

5.1.1. Installation & Network Connection 

1)  Install the software 

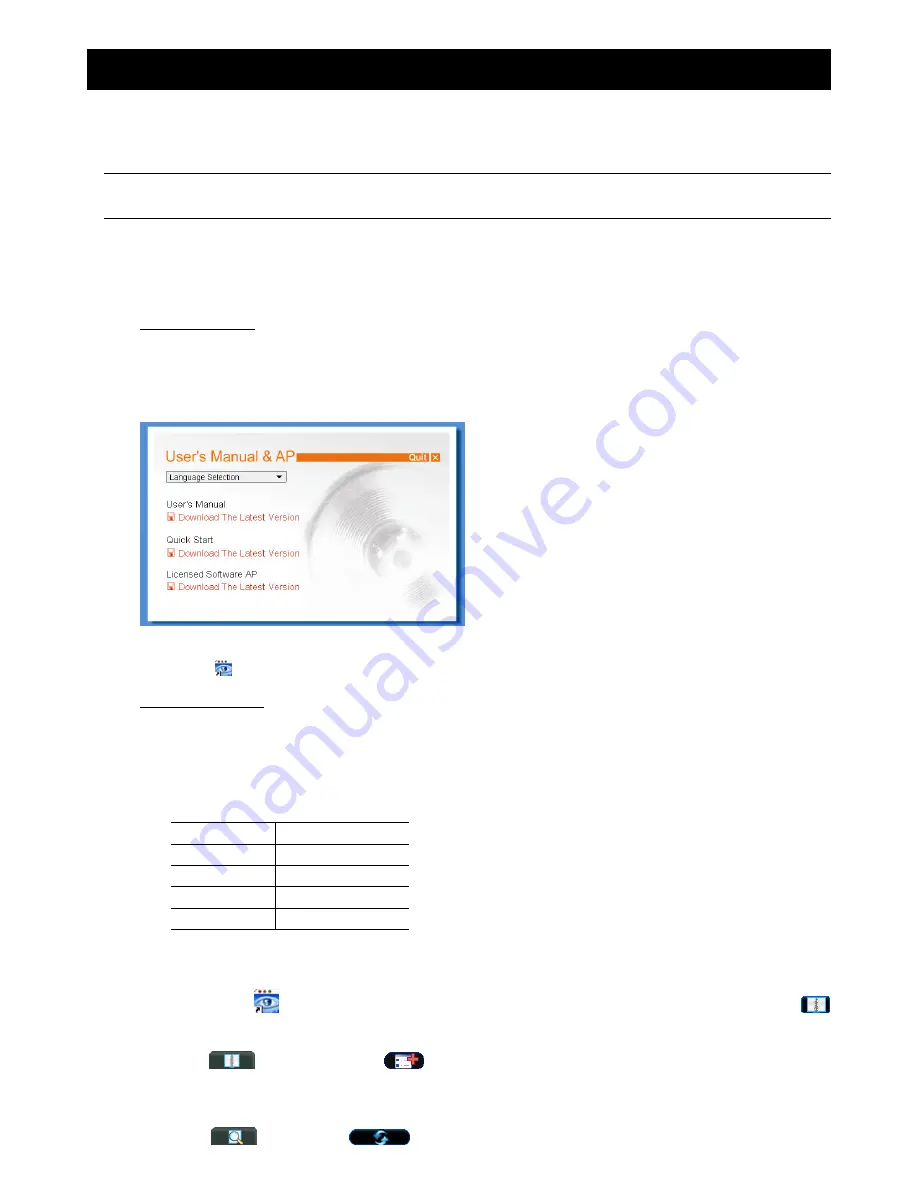
Step1: Place the supplied CD into your CD-ROM or DVD-ROM drive. The program will be automatically run. 

Step2: Click “Licensed Software AP” to install Video Viewer immediately, or click “Download The Latest Version” 

under “Licensed Software AP” to download the latest version of Video Viewer from the Internet. 


Step3: Follow the on-screen instructions to finish the installation. When the installation is completed, a shortcut 

icon “

” will be placed on your PC desktop. 

2) Network 

Connection 

  Local Connection (via LAN) 

LAN is used when it’s the first time to remotely access the DVR and you need to configure the network setting 
of your DVR based on your network type in advance. 

a)  Connect the DVR to your PC via a RJ45 network cable. The default DVR values are as follows: 

Item Default 

Value 

IP address 

192.168.1.10 

User name 

admin 

Password admin 
Port 80 

b)  Set the PC’s IP address as “192.168.1.XXX” (1~255, except 10) in order to make the PC and DVR under the 

same domain. 

c) Double-click 

” icon on your PC desktop to enter the control panel. By defaults, the “Address Book” (

panel will be displayed on the right side of the control panel.   

d) Click 

” (Address Book)   “

” (Add) to key in the default IP address, user name, password, and 

port number of the DVR you intend to connect.   

OR 

Click “

” (Search)    “

 (Refresh) to search the available IP address(es) of other DVR(s) 

Содержание AVL683

Страница 1: ...L683_681_manual_V0 95 LCD Digital Video Recorder USER MANUAL Please read instructions thoroughly before operation and retain it for future reference...

Страница 2: ...the actual display operation please refer to your DVR in hand The content of this manual is subject to change without notice The product company names mentioned herein may be the registered trademark...

Страница 3: ...g 9 4 2 2 Detailed record setting 9 4 3 TIMER 10 4 4 DETECTION 11 4 5 REMOTE Selected model only 13 4 6 SYSTEM INFO 13 4 7 NETWORK 14 4 7 1 STATIC 14 4 7 2 PPPOE 14 4 7 3 DHCP 15 4 8 BACKUP 16 4 8 1 U...

Страница 4: ...era connection Each connector is labeled as follows Label Meaning Description V1 V4 Video Input 1 4 Connect to video sources such as cameras A1 A4 Audio Input 1 4 Connect to audio sources such as came...

Страница 5: ...to an audio source such as a camera with the audio function 11 Video IN 1 4 Connect to video sources such as cameras Note If you want to make a video backup with audio please make sure whether your DV...

Страница 6: ...nt lists RECORD LIST MOTION LIST ALARM LIST TIMER LIST or select FULL LIST to show all the event logs Select the log you want and press to play the selected file Play Press to play the recorded video...

Страница 7: ...the HDD to the module with the supplied screws one for each side Step 5 Close the upper cover of the module and fasten all the screws you loosened in Step 1 2 2 Install DVR Module to LCD Monitor After...

Страница 8: ...and initialized Note Before the DVR is powered on make sure the cameras are connected and power supplied for the detection of the camera video system to be correct Note To ensure that your LCD DVR wor...

Страница 9: ...the password to go to the menu list Then move to ADVANCE to enter the advanced setting menu In the ADVANCE menu move to SYSTEM INFO Select PASSWORD and press to enter the submenu to set the password f...

Страница 10: ...the HDD capacity is nearly full this device will overwrite 8GB data from the oldest for continuous recording without notice 1 Manual Recording By defaults the record icon or shows on the screen when t...

Страница 11: ...nnel Playback audio of the 2nd audio channel Playback audio of the 3rd audio channel Playback audio of the 4th audio channel Note If you want to make a video backup with audio please make sure whether...

Страница 12: ...show the following submenu items 1 IMAGE SIZE Select FRAME FIELD Selected models only or CIF 2 QUALITY Select one of the four quality options SUPER BEST BEST HIGH NORMAL 3 IMAGE PER SECOND Select the...

Страница 13: ...o TIMER and press Select to enable ON or disable OFF the recorder timer and or detection timer functions 1 RECORD TIMER Use to change the setting ON OFF When it s set to ON press to go to its submenu...

Страница 14: ...timer setup and activation 4 4 DETECTION In this submenu you can set up detection related functions Move to DETECTION and press The screen will show the following submenu items 1 TITLE Show the camer...

Страница 15: ...ion detection 5 SS Spatial Sensitivity Selected model only SS is to set the sensitivity for detecting the size of one object the number of the grids on the screen The smaller the value is the higher s...

Страница 16: ...here 4 6 SYSTEM INFO In this menu list you can check or change some system settings The submenu items are described below 1 SERIAL TYPE Selected model only Show the serial type of the DVR RS485 2 BAU...

Страница 17: ...he DVR 2 NETWORK INFORMATION IP GATEWAY NETMASK Key in all the network information obtained from your ISP Internet Service Provider 3 DNS PRIMARY DNS SECONDARY DNS Key in the IP address of the domain...

Страница 18: ...NS account to correspond the dynamic IP address to a specific Hostname 4 7 3 DHCP 1 NETWORK TYPE Select the network type as DHCP 2 DNS PRIMARY DNS SECONDARY DNS Key in the IP address of the domain nam...

Страница 19: ...for one time USB backup To backup more data please set the time channel s you want and start USB backup again Move to BACKUP and press You will see the following submenu items 1 START TIME Select the...

Страница 20: ...finish the installation When the installation is completed a shortcut icon will be placed on your PC desktop 2 Network Connection Local Connection via LAN LAN is used when it s the first time to remo...

Страница 21: ...ts the Address Book panel will be displayed on the right side of the control panel b Click Address Book Add key in the IP address user name password and port number of the DVR you intend to connect OR...

Страница 22: ...ick to choose the language of this program The language change will take effect when this program is closed and executed again Log Click to view all event and recording logs search the desired log s b...

Страница 23: ...recording immediately and the recordings will be saved in the specified location The red text indication REC will be shown at the top left corner of the image display view If Motion and or Alarm are...

Страница 24: ...nel Specify the hard disk HDD Number and channel number Channel within which have the video data you need Download by Time Specify the time range within which has the video data you want in the Start...

Страница 25: ...stem CMS software which allows network device control management for up to 16 devices simultaneously Note Before using this function make sure Video Viewer is connected to all the devices up to 16 you...

Страница 26: ...23...

Страница 27: ...or any motion or alarm event it will appear on the screen to catch your attention To know what s happening quickly double click the device icon on the E Map to show the live view How to Edit Remove an...

Страница 28: ...n the group name to show the shortcut menu list and select Edit E MAP or Remove E MAP as needed For Building E Map Group Right click on the group name to show the shortcut menu list and select Edit Bu...

Страница 29: ...26 To edit or remove a certain level of the building E Map group right click on the level name and select Edit E MAP or Remove E MAP as needed...

Страница 30: ...detailed DVR setting 3 PTZ Click to enter the PTZ mode 4 Channel Selection Click one of the number to switch to the channel you want to see in full screen 5 Selection Click or to go to the previous n...

Страница 31: ...e installed in you operation system first When QuickTime is selected you will be promoted to enter the user name and password to access the server of the DVR 16 Change Quality BEST HIGH NORMAL BASIC C...

Страница 32: ...mpleted execute the Q Qu ui ic ck kT Ti im me eI In ns st ta al ll le er r e ex xe e file and follow the on screen instructions to finish the installation procedure Step 2 Open your QuickTime player S...

Страница 33: ...Interface Built in Recording Mode Manual Timer Motion Alarm Remote Manual Timer Motion Remote Multiplex Operation Live display record playback backup network operations Motion Detection Area 16 12 gr...

Страница 34: ...he USB flash drive as FAT32 Note You can backup up to 2GB video data for one time USB backup To backup more data please set the time channel s you want and start USB backup again MANUFACTURER MODEL CA...

Страница 35: ...0GB 7200 rpm ST3750330AS 750GB 7200 rpm Seagate ST31000340AS 1000GB 7200 rpm WD3200AAKS 320GB 7200 rpm WD5000AACS 500GB 7200 rpm WD6400AAKS 640GB 7200 rpm WD WD7500AAKS 750GB 7200 rpm STM3500320AS 500...

Страница 36: ...ule to the LCD monitor STEP5 With the external I O cable connected to the module pull the cable gently to the direction as indicated below and the module is slid out STEP5 Remove the cable Model 2 STE...

Страница 37: ...attery and should be purchased separately Please replace only with the same or equivalent type battery in case of danger Step1 Stop all DVR recording immediately to prevent the disorder of the recorde...

Страница 38: ...y depending on the following three factors and the data below is for reference only Different camera resolution Different picture complexity Different frequency of the object movement Note For the env...

Отзывы: