12
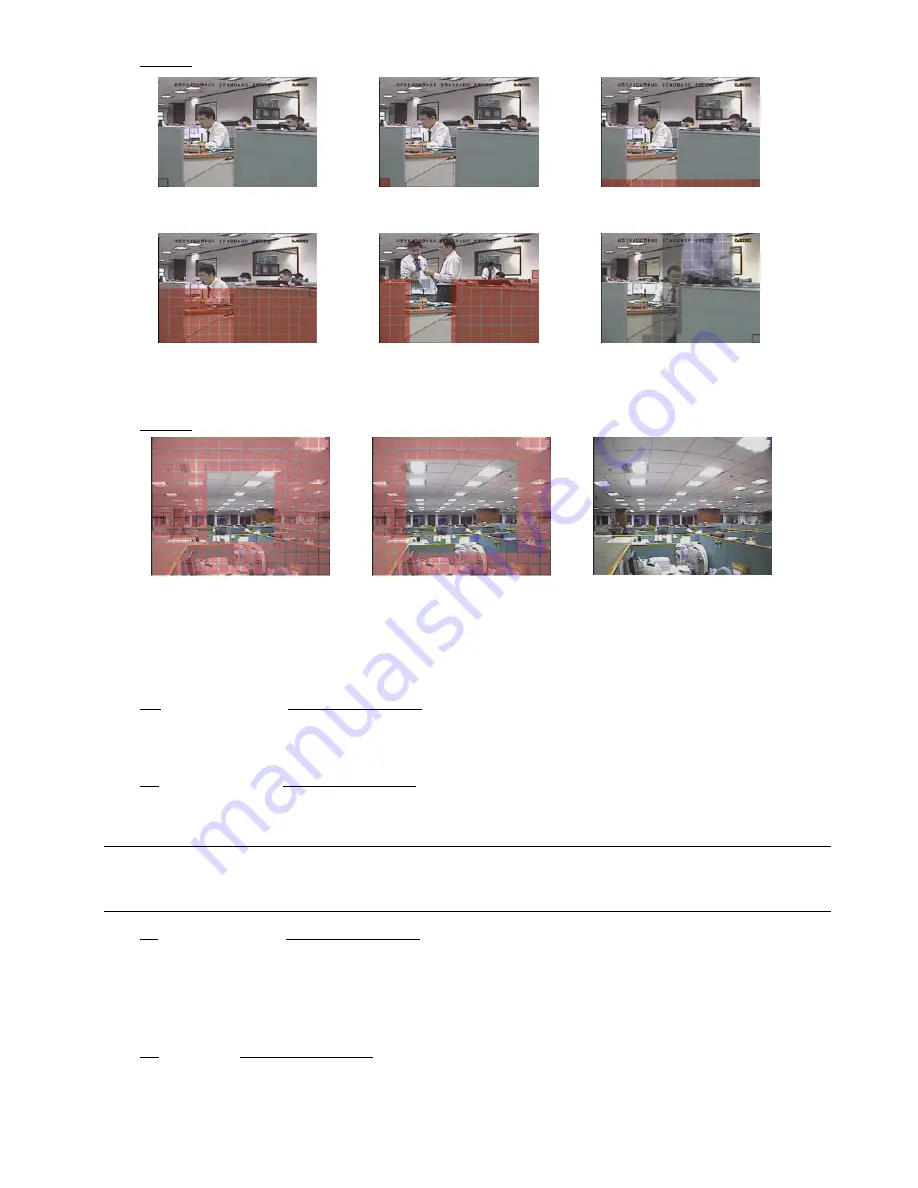
Model 1
Transparent blocks are the area under
detection.
Press “ENTER” to confirm the start area.
Press
/
to choose the width of
the detection area.
Press
/
to choose the
height of the area.
You can also set up multi-detection area. When any movement is detected, you will
see the grids are flashing.
*Pink blocks represent the area that is not being detected while the transparent blocks are the area under detection.
Model 2
*Pink blocks represent the area that is not being detected while the transparent blocks are the area under detection.
There are three detection areas for your choice:
Press “
” or ”
” once to broaden the detection area.
Press “
” or ”
” once to narrow the detection area.
4) LS
(Level of Sensitivity) (Selected model only)
“LS” is to set the sensitivity of comparing two different images. The smaller the value is, the higher sensitivity for
motion detection.
5) SS (Spatial Sensitivity) (Selected model only)
“SS” is to set the sensitivity for detecting the size of one object (the number of the grids) on the screen. The
smaller the value is, the higher sensitivity for motion detection.
Note:
The default setting of SS is 03, which means once an object is detected more than 3 grids, the
system will get triggered. So the value of SS must be less than the number of grids that you set up
for the motion detection area.
6) TS (Time of Sensitivity) (Selected model only)
“TS” is to set the sensitivity regarding how long one object stays in the detection area and triggers the recording.
Depending on the model you have, you may see either of the following methods:
a). Select a value -- The smaller the value is, the higher sensitivity for motion detection.
b). Select an option – HIGH / NORMAL.
7) RE (Reference) (Selected model only)
“RE” is to set a reference for detection. The default value is 10, which means the DVR will compare 10 continuous
images at one time according to the sensitivity of LS, SS, TS simultaneously.
Содержание AVL683
Страница 26: ...23...


