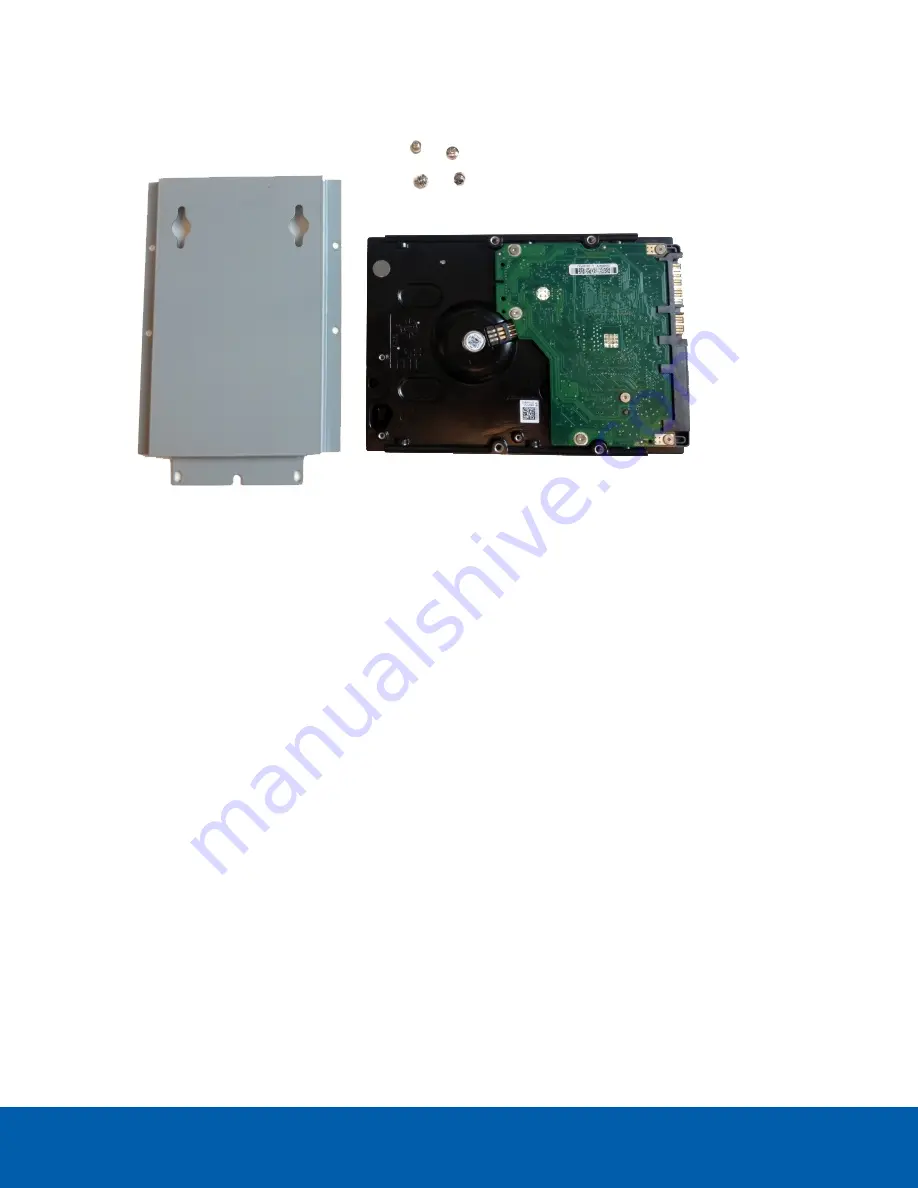
7. Lift the hard drive out of the appliance.
8. Turn the hard drive upside down, and remove the four screws holding the hard drive to the base plate.
Figure 12:
Hard drive removed from the base plate.
9. Remove the failed hard drive.
10. Attach the new hard drive to the base plate.
11. Place the new hard drive into the appliance, then push it into the appliance connector before you screw
the hard drive base plate into place.
12. Reinstall the appliance cover.
13. Connect your mouse, keyboard and monitor back to the appliance.
14. Connect power to the appliance and allow the system to restart.
The system will immediately begin to rebuild the RAID.
15. When prompted, allow Windows to start normally.
16. Once Windows has loaded, select
Start >All Programs > JMicron HW RAID Manager > JMicron HW Raid
Manager
.
17. In Basic Mode, select the
RAID and Disk Information
tab and confirm that the RAID status is
Rebuilding %
.
Important:
While the RAID is being rebuilt, do not reconnect cameras, open other applications or allow
other network instances of the Avigilon Control Center Client software to connect to the appliance. If you
try to resume normal operations while the RAID rebuilds, you may lose recorded data and cause further
issues in the appliance.
The RAID may take up to 100 hours to rebuild depending on the total amount of recorded data and the
load on the storage subsystem.
When the rebuilding process is complete, the RAID status changes to
Normal
.
18. Once the system has finished rebuilding, reconnect all your cameras and resume normal operations.
Replacing a Hard Drive
24


