


4. Open the Server Administrator application and expand the System Tree.
The new hard drive should be automatically added to the Physical Disks list. The list is typically available
here:
System > Storage > PERC H730 > Connector 0 >Enclosure > Physical Disks
.
5. Assign a task to the new hard drive or allow it to exist as a extra storage drive.
It is recommended that individual new hard drives be used as hot spares. Hot spares are hard drives that
are available on standby in the event of a hard drive failure in the RAID. If that occurs, you can configure
the system to automatically redirect recording to the unused hard drive.
To assign the new hard drive as a hot spare, select
Assign and Unassign Global Hot Spare
from the Task
list then click
Execute
.
If the new hard drive is not displayed in the Server Administrator, try one of the following:
l
Refresh the browser.
l
Reboot the recorder.
l
In the System Administrator, select
PERC H730
in the System Tree then click
Information/Configuration
in
the right workspace. Next, select
Rescan
from the Controller Tasks list then click
Execute
.
Replacing Front or Back Hard Drives
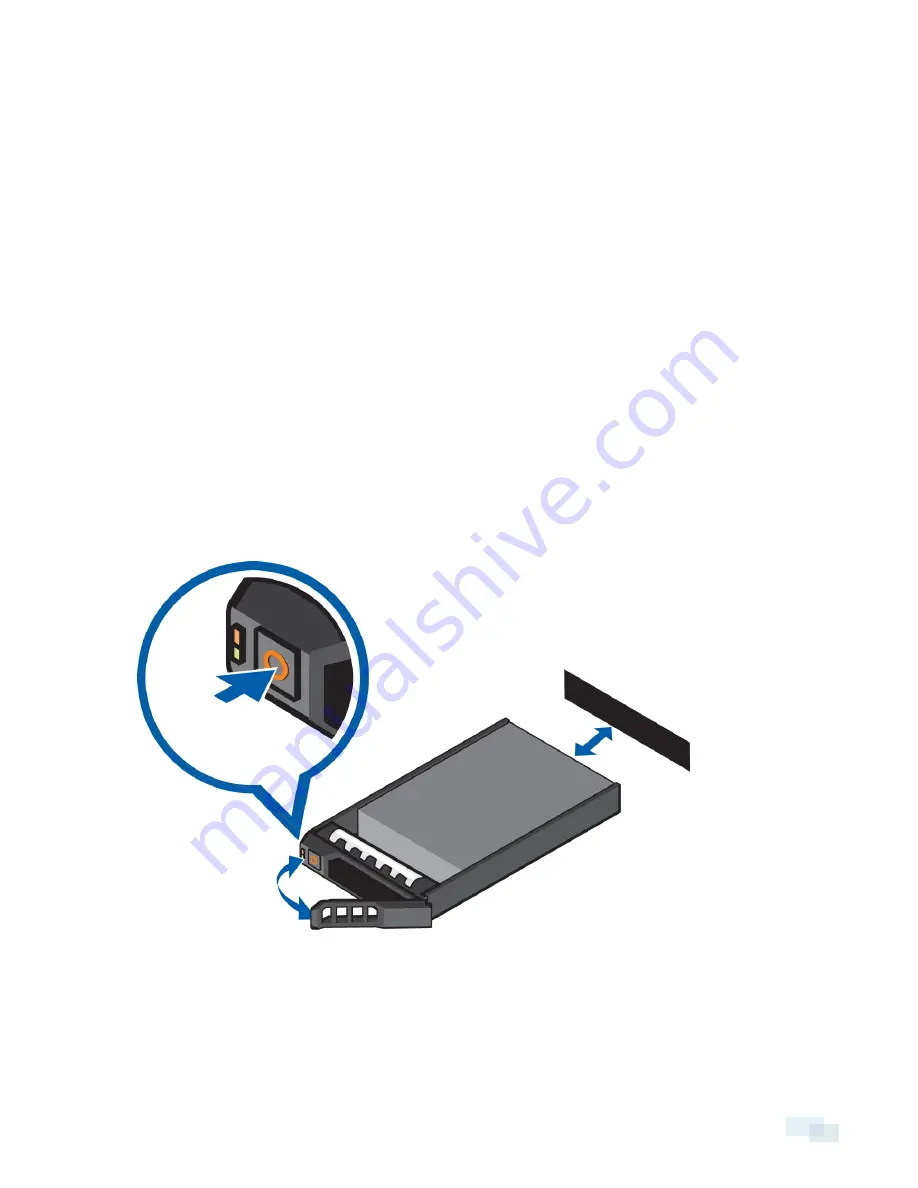
1. Locate the failed hard drive at the front or back of the recorder.
2. Press the release button on the front left of the hard drive.
3. When the handle is released, pull the hard drive out of the recorder.
4. Remove the four screws from the side of the hard drive carrier.
5. Lift the failed hard drive out of the carrier.
Replacing Front or Back Hard Drives
19


