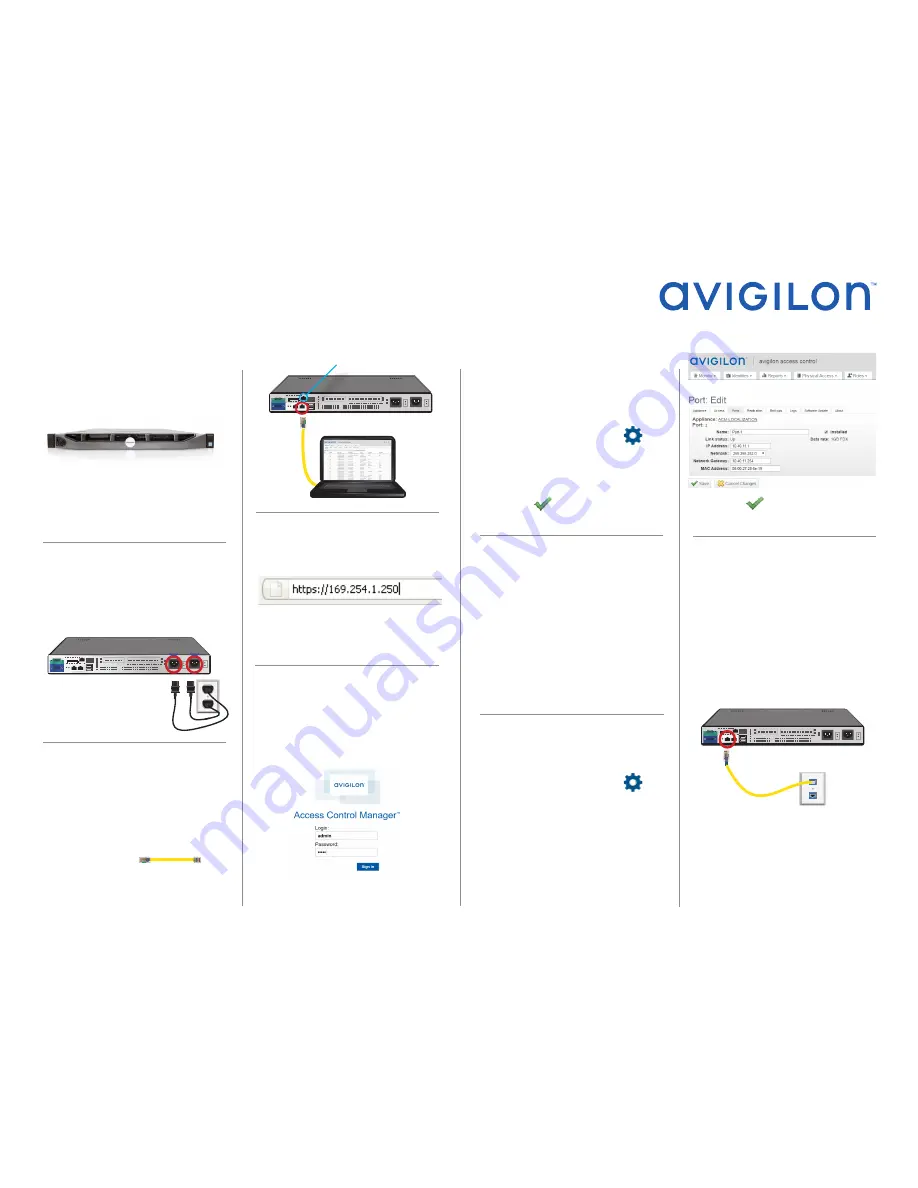
7. Configure Port Settings
From the Access Control Manager
application main menu, perform these tasks:
1. From the top right corner, click >
Appliance
.
2. Click the
Ports
tab then select Port-1.
3. From the Ethernet Configure page, enter
the required values. These include:
Name, IP Address, Netmask, and
Network Gateway.
Consult your IT manager for the IP Address,
Netmask, and Network Gateway values
appropriate to your installation.
5. Edit Hostname
The default hostname for each appliance is
ACM. If you need to set a specific hostname
for the appliance, do so at this point before
the appliance is connected to the network.
1. From the top right corner, click >
Appliance
to open the Appliance: Edit
page.
2. On the Appliance tab, enter a new Host
Name.
3. Click the
Save
button.
The appliance automatically restarts.
3. Open Web Browser
Open the web browser on the connected PC
and type this IP address: 169.254.1.250.
This package includes:
1. The Access Control Manager Enterprise
Plus appliance.
1. Plug In the Appliance
Plug the included power cords into the back of
the appliance and into a surge protector or UPS.
avigilon.com
Access Control Manager™ Enterprise Plus
Getting Started Guide
QUICK START GUIDE
2. Connect PC to Appliance
Connect a network cable directly from a DHCP
enabled port on your configuring PC to
RJ-45 Port Gb2 on the appliance.
Do not
connect the PC or appliance to the local
network at this point.
4. Click the
Save
button.
5. Manually restart the appliance.
2. Two power cords.
3. Front bezel.
4. Rails package.
5. Cable management kit.
If you get a message indicating a connection
or security error, refer to
Access Control
Manager Enterprise Troubleshooting
available at
avigilon.com
.
4. Login to the Application
When the log in screen appears, enter the
default login name and password as “admin”
then click
Sign in
. (It is recommended to
change the default user name and password
for the System Administrator.)
The Access Control Manager application
main menu appears.
6. Accept EULA
After you log in, you must accept the end
user license agreement (EULA).
1.
Click the link below
End user license
must be accepted. Accept EULA to stay
in compliance
.
2. Review the EULA then select the
I accept
the terms of the License Agreement
check box.
3. Click
Submit
.
8. Connect Appliance
to Network
1. After the appliance restarts, disconnect
the appliance from your configuring PC.
2. Connect the appliance to the system
network through Port Gb1 on the
appliance.
3. Open a web browser from a network
connected device and log in to the
Access Control Manager application.
For more information about configuring your
system, see the Help files provided with the
Access Control Manager application.
Connect Power Cords
Connect to Port Gb2
Network Cable
Connect to Port Gb1
iDRAC Management Console port


