background image

AVG-UHD4K-44 


Figure 5- 18 Password 

In the above screen, click on the Front Panel to enable or disable the Front Panel 
buttons. 

5.3.4 TCP/IP Configuration 

IP address, subnet mask, and the Gateway of AVG-UHD4K-44 can be modified via 
GUI from the above description, but beyond that users can configure the IP port, 
including IP reset, password reset, and IP module firmware update using the  
Webserver. 

Type the Webserver address (Default: 192.168.0.178:100, changeable) in your 
browser. Enter correct username and password to log in the Webserver:  

Username: admin; Password: admin 

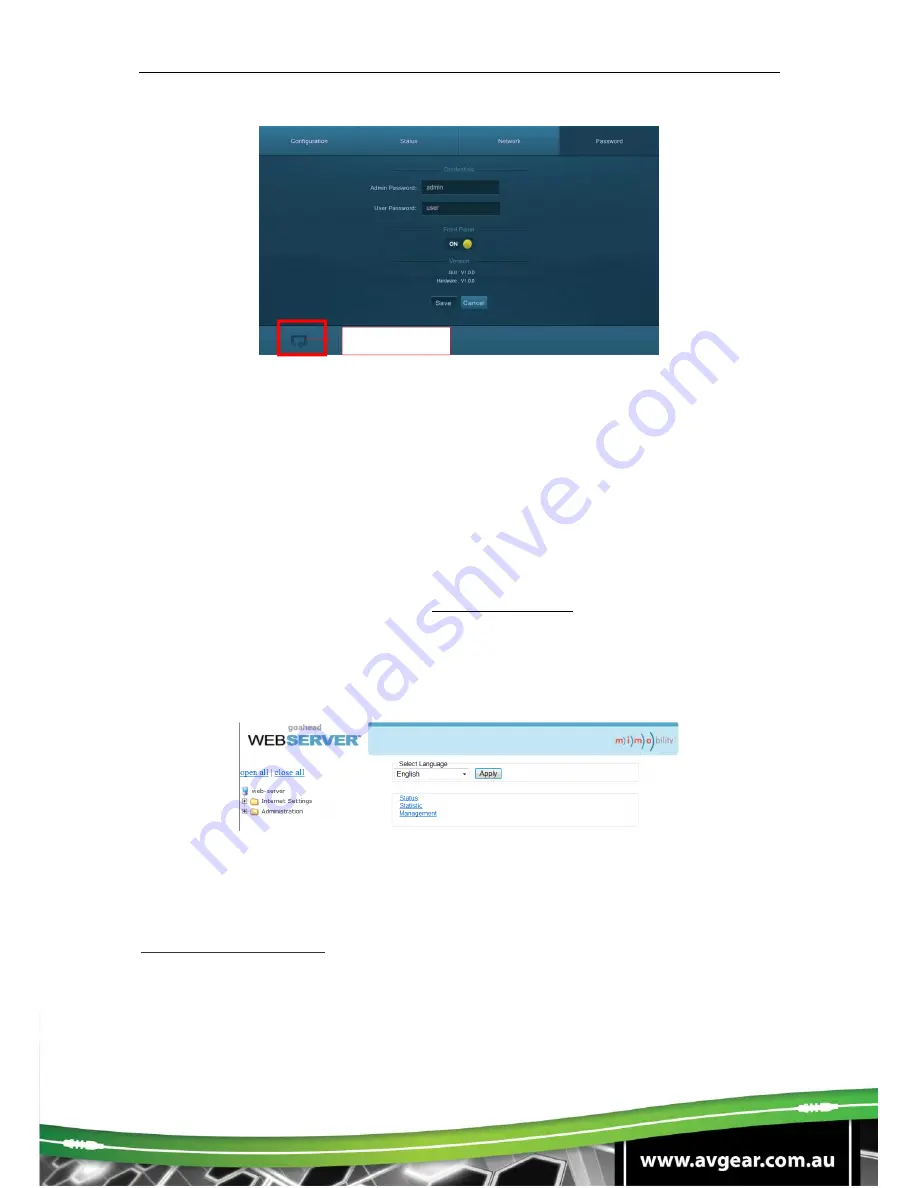
Here is the main configuration interface of the Webserver: 


Figure 5- 19 TCP/IP Configuration 

5.3.5 GUI Update  

The GUI for the 4x4 HDMI Matrix Switcher supports online updates via 

http://192.168.0.178:100

. Type the username and password (the same as the GUI 

log-in settings, modified password will be available only after rebooting) to log in to 
the configuration interface. After that, click Administration at the source menu to get 
to Upload Program as shown below: 

Return 

Содержание AVG-UHD4K-44

Страница 1: ...supports signals up to 4K x 2K 60Hz 1080p 3D backwards compatible with lower HDMI standards HDCP 2 2 compatible HDMI output ports support HDMI 1 4 capable of transmitting 2560x1080 60Hz signals compliant with lower HDMI standards HDCP1 4 compatible Transmits 4K x 2K 60Hz signal up to 15m SPDIF ports for de embedded HDMI audio output Powerful EDID management Controllable via front panel button IR R...

Страница 2: ...ion instruction only and is not to be used in a maintenance capacity The functions described in this version are current as at September 2015 Any changes of functions and operational parameters will be updated in future manual versions Please refer to your dealer for the latest product details Version 1 0 1 9 15 ...

Страница 3: ...o extreme hot or cold temperatures 3 This unit will generate heat during operation please ensure that you allow adequate ventilation to ensure reliable operation 4 Please disconnect the unit from mains power if it will be left unused for a long period of time 5 Please DO NOT try to open the casing of the equipment DO NOT attempt to repair the unit Opening the unit will void the warranty There are ...

Страница 4: ...l 5 1 RS232 Control 5 2 Installation Removal of the RS232 Control Software 5 2 1 Basic Settings 5 2 2 RS232 Communication Commands 5 2 3 EDID Management 5 2 4 Via RS232 commands 5 2 4 1 Via 4 pin EDID DIP switcher 5 2 4 2 TCP IP Control 5 3 Control Modes 5 3 1 Control Via TCP IP Control 5 3 2 Control Via GUI 5 3 3 Scene Menu 5 3 3 1 Control Menu 5 3 3 2 Configuration Properties 5 3 3 3 TCP IP Conf...

Страница 5: ...I 2 0 supports signals up to 4K x 2K 60Hz 1080p 3D compliant with lower HDMI standards HDCP 2 2 compatible HDMI output ports supports HDMI 1 4 capable of transmitting 2560x1080 60Hz signals compliant with lower HDMI standards HDCP 1 4 compatible Transmits 4K x 2K 60Hz signal up to 15m SPDIF ports for de embedded HDMI audio outputs Powerful EDID management Controllable via front panel button IR RS2...

Страница 6: ...ounting ears 6 x Screws 1 x Pluggable Terminal Block 1 x IR Receiver 1 x Power Adapter DC 12V 2A 4 x Plastic Cushion Feet 1 x IR Remote 1 x User Manual Note Please confirm if the product and the accessories are all included if not please contact your dealer ...

Страница 7: ...output Power Press to power on off the switcher Note Pictures shown in this manual are for reference only 3 2 Rear Panel No Name Description INPUTS HDMI input ports 4 in total connect with HDMI sources OUTPUTS SPDIF audio output ports for de embedded HDMI audio 4 in total HDMI 4 in total connect with HDMI displays 1 2 3 4 ON DIP FIRMWARE DC 12V TCP IP EDID IR IN On Off 1 2 3 4 1 0 RS232 Tx Rx SPDI...

Страница 8: ... for Off Refer to 5 2 4 EDID Management for more detials c RS232 Serial control port connect with control device d IR IN input port for IR control signal connect with IR receiver e TCP IP optional TCP IP port for unit control DC 12V Connect with DC 12V 2A power adaptor Ground Connect to ground Note Pictures shown in this manual are for reference only ...

Страница 9: ...ays e g HDTV to HDMI OUTPUTS with HDMI cables Step3 Connect speakers amplifiers to the AUDIO OUTPUTs with audio cables Step4 Connect the RS232 ports of control device e g a PC and AVG UHD4K 44 to enable serial control Step5 Connect the TCP IP ports of control device e g a PC and AVG UHD4K 44 to enable IP control Step6 Insert an IR receiver to the IR IN port to enable IR control Step7 Plug a DC 12V...

Страница 10: ...ons Reliable performance for control and transmission makes the AVG UHD4K 44 ideal for use in residential IT signal monitoring big screen displays conference systems television broadcast education banking and security institutions etc ...

Страница 11: ... removal of RS232 Control Software Installation Copy the control software file to the computer connected with 4x4 HDMI Matrix Switcher Removal Delete all the control software files in corresponding file path 5 2 2 Basic Settings Firstly connect 4x4 HDMI Matrix Switcher with necessary input devices and output devices Then connect it with a PC using an RS232 control software program Double click the...

Страница 12: ...feedbacks may vary according to different operations 4 Dial the EDID switcher to 1111 before sending commands pertaining to software EDID management with grey background Refer to 4 4 EDID Management for detailed information Baud rate 9600 Data bit 8 Stop bit 1 Parity bit none Command Function Feedback Example System Commands Lock Lock the front panel buttons System Locked Unlock Unlock the front p...

Страница 13: ...s Switch to normal mode by pressing any front panel button or sending any other command Demo Mode x All Transfer signal from input x to all outputs 1 To All All Transfer all inputs to corresponding outputs like 1 1 2 2 All Through x Transfer signal from input x to output x 1 Through All Switch on all outputs All Open x Switch on output x 1 Open All Switch off all outputs but except coaxial outputs...

Страница 14: ...DIDC3B1 EDIDExtract x y Recall No y EDID data saved through COM port to input x y 1 15 Pick up success UpgradeSoftwareEDID y Save the EDID data to No y EDID recall the EDID by sending command EDIDExtract x y Please send the EDID file Upgrade success EDIDUpgrade x Upgrade the EDID data of input x x 1 4 upgrade the EDID of single input x 9 upgrade the EDID of all inputs Send EDID file bin within 10 ...

Страница 15: ...se EDIDPCM1 EDIDH x B y Copy the EDID data from output x to input y If the EDID data is available and the audio part supports not only PCM format then force set it to only support PCM If the EDID data is not available it will set to initial EDID EDIDH1B1 PWON Work normally PWON STANDBY Enter standby mode Return to normal mode via front panel buttons any other command IR remote STANDBY x y Manage H...

Страница 16: ...isable the SPDIF audio output of single output port x 9 disable the SPDIF audio output of all output ports DigitAudio OFF with Output 4 Query Commands Status x Check the input channel for output x AV 1 1 Status Check the input channel for all outputs AV 1 1 AV 4 4 9961 Return the keylock status System Unlock System Locked 9962 Check the power status PWON 9963 Check the audio format of EDID databas...

Страница 17: ... Status 0000 the AVG UHD4K 44 passes through the signals directly input output devices process the signal automatically You can recall other saved EDID data by adjusting the 4 pin EDID DIP switcher or sending the corresponding RS232 commands 5 2 4 1 Via RS232 commands Dial the switchers to 1111 to enable software EDID management Recalling embedded EDID data Send command EDID X B y to enable the in...

Страница 18: ...D 2CH 4 0100 720P 3D 2CH 5 0101 1080P 3D 5 1CH 6 0110 1080P 2D 5 1CH 7 0111 1080P 3D 2CH 8 1000 1080P 2D 2CH 9 1001 2016P 2D 5 1CH 10 1010 2016P 2D 2CH Custom EDID data 12 1100 Customizable 13 1101 Customizable 14 1110 Customizable Note 1 EDID information listed in the above chart is factory default data Embedded EDID data can be updated by sending the command UpgradeIntEDID x 2 Embedded EDID data...

Страница 19: ...o the same as the Matrix Switcher Please remember the PC s original network subnet setting Step3 Set the AVG UHD4K 44 s network subnet to the same as the router Step4 Set the PC s network subnet to the original setting Step5 Connect the AVG UHD4K 44 and PC s to the router In the same LAN each PC is able to control the AVG UHD4K 44 asynchronously Control is then possible via the TCP IP communicatio...

Страница 20: ...based GUI The 4x4 HDMI Matrix Switcher can also be controlled via a web based GUI It allows users to interact with the 4x4 HDMI Matrix Switcher through graphical icons and visual indicators Type 192 168 0 178in your browser it will enter the log in window as shown below Here you will receive the feedback after a command is sent Enter your command here Commands are the same the RS232 commands liste...

Страница 21: ...s admin to access more configuration options than available as a user Here is a brief introduction to the interfaces 5 3 3 1 Scene Menu Type the user name admin password admin and then click LOGIN it will show the Scene menu as shown below Figure 5 9 Scene Menu All ten scenes are shown in above interface Select a scene and then click Load to recall the selected scene Click cancel to cancel the cur...

Страница 22: ...responding button Buttons 1 4 at the bottom right corner allow saving and recall for overall connection status For example Step1 Select button1 in INPUT column Step2 Select button 1 in OUTPUT column If all OUTPUT ports are needed you only need to click All Step3 Choose a scene that you want to save Step4 Click Confirm to save the setting or Click Clear to clear set up 5 3 3 3 Configuration Propert...

Страница 23: ...opy to enter the following GUI screen Figure 5 12 Copy EDID The EDID of the INPUT device can be gained from OUTPUT devices Step1 Select one INPUT port Step2 Select one OUTPUT port which you want to copy its EDID Step3 Click Confirm to save the setting or click Cancel to cancel operation 3 Select Audio Out to enter the following GUI screen to turn on off the Audio Output channel Return Return ...

Страница 24: ...ck Status to enter the following interface to modify the name and mode of this machine this will then be displayed on the front LCD screen Figure 5 14 Status LCD 2 Select Button to enter the GUI screen to modify the names of buttons Figure 5 15 Status Button Return Return Return ...

Страница 25: ...e top of the interface click Network to enter the following GUI screen to Query and configure network settings including MAC address IP address subnet mask and Gateway Figure 5 17 Network 5 Password At the top of the screen click Password to enter the following interface to Query and modify the admin or user password Return Return ...

Страница 26: ...dress Default 192 168 0 178 100 changeable in your browser Enter correct username and password to log in the Webserver Username admin Password admin Here is the main configuration interface of the Webserver Figure 5 19 TCP IP Configuration 5 3 5 GUI Update The GUI for the 4x4 HDMI Matrix Switcher supports online updates via http 192 168 0 178 100 Type the username and password the same as the GUI ...

Страница 27: ...s to upgrade the device Step1 Connect the control PC to the USB port of 4x4 HDMI Matrix Switcher Step2 Reboot the AVG UHD4K 44 to enter upgrade mode Press and hold buttons 2 3 when rebooting The power indicator will keep blinking when in upgrade mode Step3 Double click the icon of the upgrade software DfuSe Demonstration see the figure below Figure 5 21 Icon of DfuSe Demonstration It will pop up t...

Страница 28: ...Step4 Click Choose to load desired upgrade file dfu Step5 Click Upgrade to start Note Make sure the button Leave DFU mode is available to ensure control PC and the 4x4 HDMI Matrix Switcher is connected successfully ...

Страница 29: ...nal Dolby Digital DTS DTS HD Max Resolution 4Kx2K 1080P 3D Transmission Distance 4Kx2K 60Hz 15m Power Supply DC 12V 2A Power Consumption 13 3W Full Load 4 4W Standby Dimension W H D 436 x 44 x 235 mm Weight 1 77Kg Temperature 0 50 Reference Humidity 10 90 Note AVGear recommends using quality HDMI cables in order to maintain preferred transmission distance and performance Supported Resolutions Disp...

Страница 30: ...AVG UHD4K 44 4 3 1600x1200 1400x1050 1280x1204 1024x768 800x600 640x480 60Hz 7 Panel Drawing ...

Страница 31: ...he input No audio output The amplifier is not able to decode HDMI audio Change amplifier Cannot control the device via front panel buttons Front panel buttons are locked Send command Unlock to unlock Cannot control the device via IR remote The battery has run out Change battery The IR remote is faulty Send it to an authorized dealer for repairing Beyond the effective range of the IR signal or not ...

Страница 32: ...ate 9600 Data bit 8 Stop bit 1 Parity bit none Broken RS232 port Send it to an authorized dealer for repair Static becomes stronger when connecting the video connectors Poor grounding Check the grounding and make sure it is connected well Cannot control the device by RS232 IR remote front panel buttons The device has a previous fault Send it to an authorized dealer for repair If your problem persi...

Отзывы: