


AVerMedia
®
AVerDiGi EXR6004 WiFi
Quick Installation Guide
1
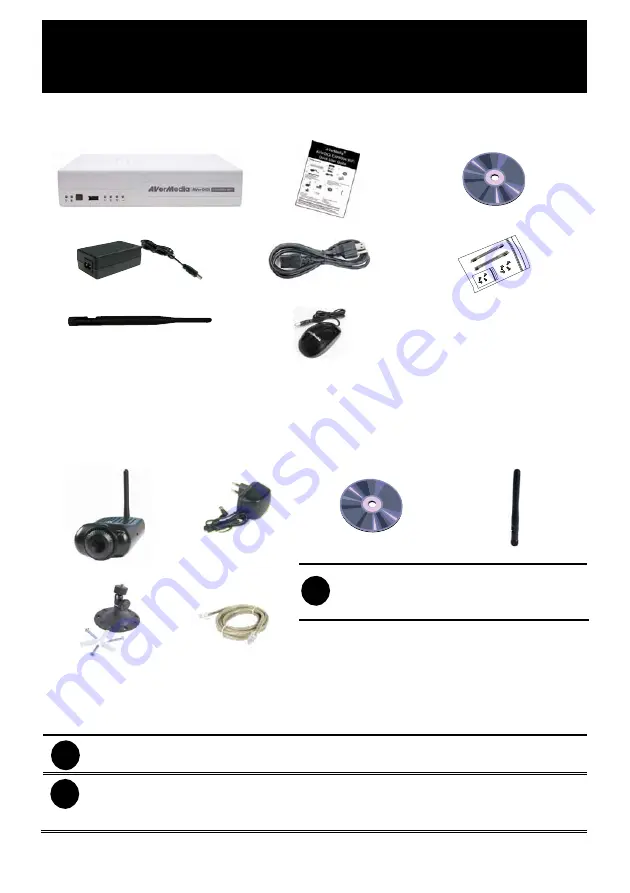
Package Contents
(1)
(2)
(3)
(4)
(5)
(6)
(7)
(8)
(1) AVerDiGi EXR6004 WiFi unit
(2) Quick Installation Guide
(3) Software CD (Manual is included)
(4) Power Adaptor
(5) Power Cord (*The power cord may vary 64
according to the local electricity system.)
(6) HDD holder (including 8 screws)
(7) Antenna x 2
(8) AVerMedia USB optical mouse
(1)
(2)
(3)
(4)
(5)
(6)
i
The unit of the Wireless IP camera (1 or 4)
in package may vary that depends on the
model of DVR user has purchased.
(1) Wireless IP camera unit
(2) Power Adapter (The power cord varies
depending on the standard power outlet of the
country where it is sold).
(3) Software CD (Manual is included)
(4) Antenna
(5) Camera Stand
(6) RJ-45 Ethernet Cable
i
If there is any damage, shortage or inappropriate item in the package contents, please
contact with local dealer
i
SPECIFICATIONS ARE SUBJECT TO CHANGE WITHOUT PRIOR NOTICE
THE INFORMATION CONTAINED HEREIN IS TO BE CONSIDERED FOR REFERENCE
ONLY


