13
Perform Go to Preset Function
To perform the Go to Preset function, follow the steps below:
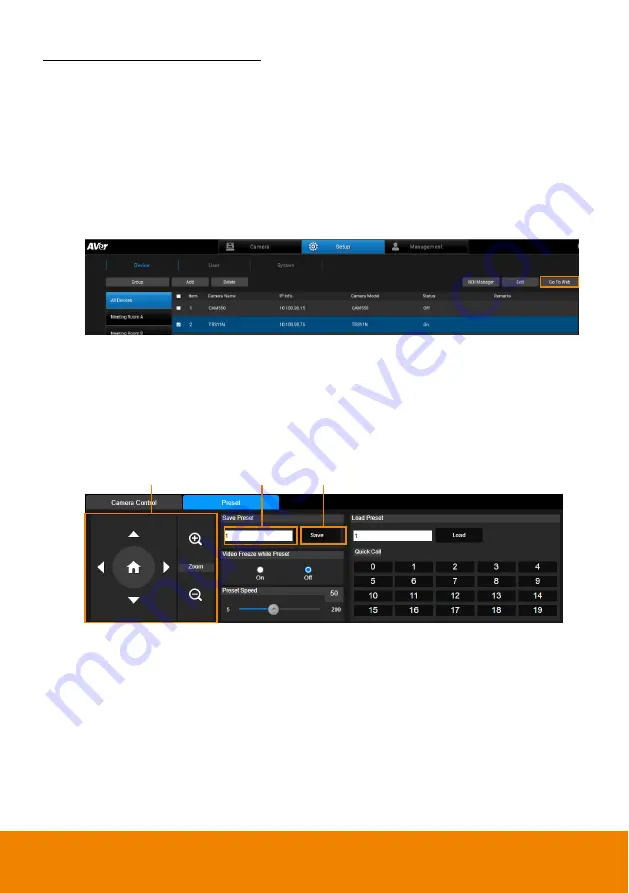
1. Ensure the preset positions of the camera have been pre-configured. You can
use the
“Go To Web” button to enter the camera Web interface and then
configure the preset positions.
a. Under
Setup
>
Device
, select a camera from the Device List and then click
the
Go To Web
button. The system will direct to the camera Web interface.
b. On the Live View page of the camera, click the
“Preset” tab on the bottom
panel to set up preset positions.
Input a preset number in the
“Save Preset” input box first, use the direction
and zoom in/out buttons to move the camera view to the desired position,
and then click the
“Save” button to save this position.
[Note]
Each camera
’s web setting page may vary. Please refer to camera’s user
manual for more details.
Up to 256 (0~255) preset points can be set up.
2. To perform the Go to Preset function, select a camera on the Live View window
first. On the Control Panel, click on a preset number, the camera will turn to the
clicked preset position. You can also enter a preset number (0~255) in
Go to
field and then press the Enter key on your keyboard.
1
3
2


