Configuring custom settings
191
•
Select
Flash Disk device
. The contents of the device are displayed.
•
Select the file you wish to copy and then press
Send
.
•
You are prompted to select the device you wish to send the selected
file.
•
Select the IP Deskphone as the destination device.
•
The file is validated based on the file extension and the passing of the
validation routines and a handler is called for the file. In this case, the
image file copies the
images
directory of the flash file system on the
IP Deskphone.
•
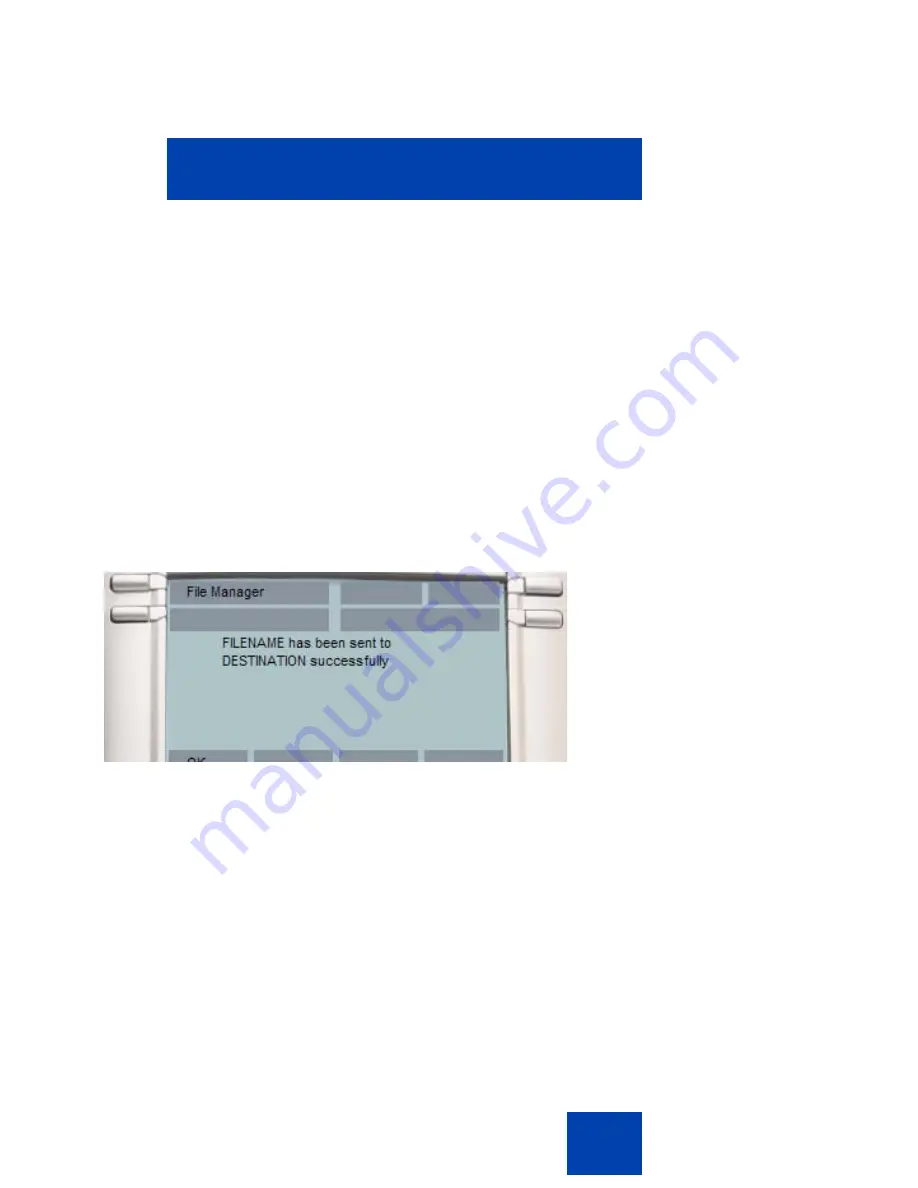
A success message appears on the screen displaying that the file is
copied to the IP Deskphone successfully.
Figure 21 on page 191
displays a sample success message.
Figure 21: Sample success message for File Manager operation
Note:
After a file is selected, there can be multiple reasons why the
handling cannot complete. The file size may exceed allowed limits,
there may not be enough space on disk, a file with the same name
may already exist, or actions on the selected file type may not be
allowed (configuration flag).
Error conditions display a message on the screen, and any action that
may take some time to complete displays the
In progress…
message on
the screen as shown in
Figure 22 on page 192
.
Содержание 1120E IP
Страница 114: ...Making a call 114 4 Enter the number or group number that you wish to page Done 5 Press the Done soft key...
Страница 186: ...Configuring custom settings 186 Figure 19 File manager device browsing screen...
Страница 189: ...Configuring custom settings 189 Figure 20 File Manager Select Destination screen...
Страница 218: ...Limitations 218...
Страница 236: ...Third party terms 236...
Страница 242: ...Terms you should know 242...


