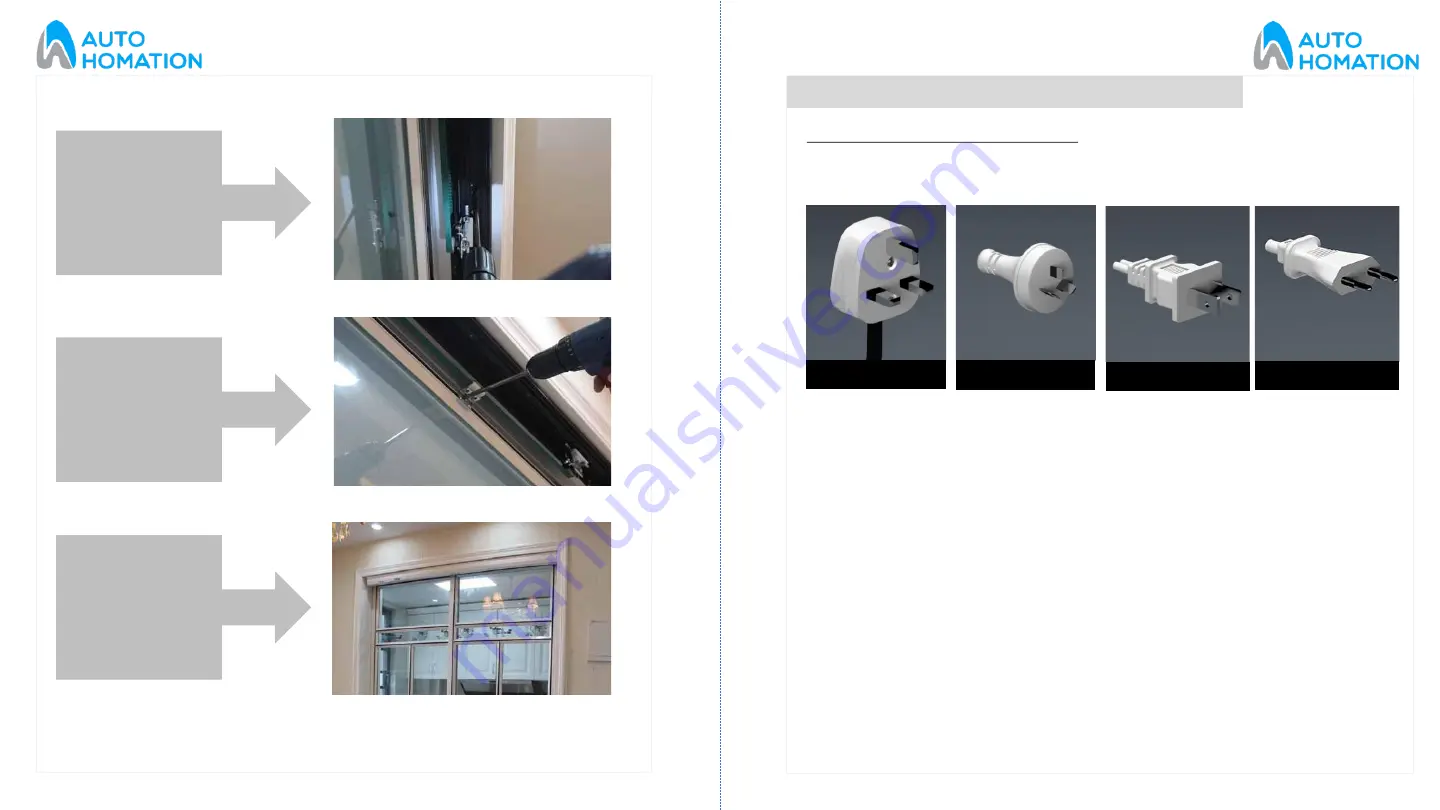
Fixing screw
Adjusting screw
Tighten the
screw after
install position
is confirmed.
Move the belt
connector to the
middle of door leaf
and ensure
horizontal and firm
position, Tighten
the screw.
Power on and adjust
the operator.
Place the cover after
adjustment and
testing.
ADJUSTING THE CONTROLS AND PROGRAMMING SENSORS
a. Plug the power pack into the wall socket, run the cable and plug into
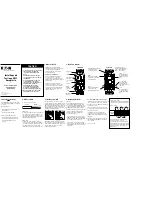
Multi-Controller unit . Refer applicable power plugs below:
b. The main isolator switch is located on the side of the controller.
c. The
‘open time’
control sets the time the door will stay open for when in the
‘auto’
or
‘pet’
mode
–
the dwell time.
d. Configure wireless control devices: (Note: Following will be applicable, only
when the door is powered on and operational)
i.
Press the
‘Remote learn’
button, and release, the red light should
illuminate once the button is released.
ii. Wave your hand in front of each of the sensors, and/or push the
buttons on the remote control.
iii. The light will go out when the Multi-Controller has learnt each sensor.
iv.
To clear all
‘learnt’
devices press and hold the learn button for 5
seconds.
TYPE G (UK) PLUG
TYPE I (AU) PLUG
TYPE A (US) PLUG
TYPE C (EU) PLUG
Checking for the Controller settings:
16
15


