62
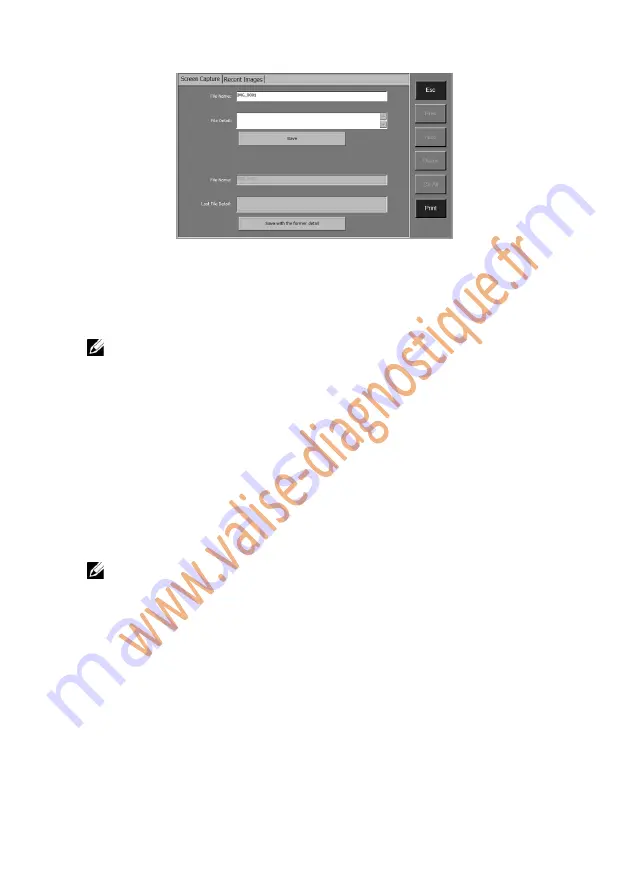
Figure 4.6: Screen Capture Screen
2. Click on the File Name space and wait for the soft keyboard to pop up;
use the soft keyboard to modify the file name, if necessary.
NOTE:
The “Adding Detail” area can be left blank.
3. Click on the Adding Detail space and wait for the soft keyboard to pop up;
use the soft keyboard to put in explanations to the picture.
4. Click on Save to save the picture.
Detailed description of the last picture saved will be shown in the Old
Details space. Please click on “Save with Old Detail” to save the picture
with the same descriptions as the last picture.
5. The scan tool displays an information screen indicating the file name and
storage location.
6. Click on Esc to return to the Data Manager screen.
NOTE:
To print the picture, please refer to Section 4.5 Printing.
To view a previously taken picture, please follow these steps:
1. Follow the instructions in the General Procedures to display the Data
Manager screen, and click on the Screen Capture icon to access the
Screen Capture program. Or,
Click on the camera icon in the upper right corner of the screen to access
the Screen Capture Program.
2. Click on the Recent Images function bar for the screen to show as below.
Содержание MaxiDAS DS708
Страница 1: ...0 ...
Страница 28: ...20 Figure 2 7 Écran Renseignements sur l inscription sur le site ...


