background image

Typically the USB input is used to connect iOS devices, either via 
the EVA Dock or directly via a cable. The device is charged 
while it’s connected to the USB input. A USB flash drive with 
music files on it can also be connected. 

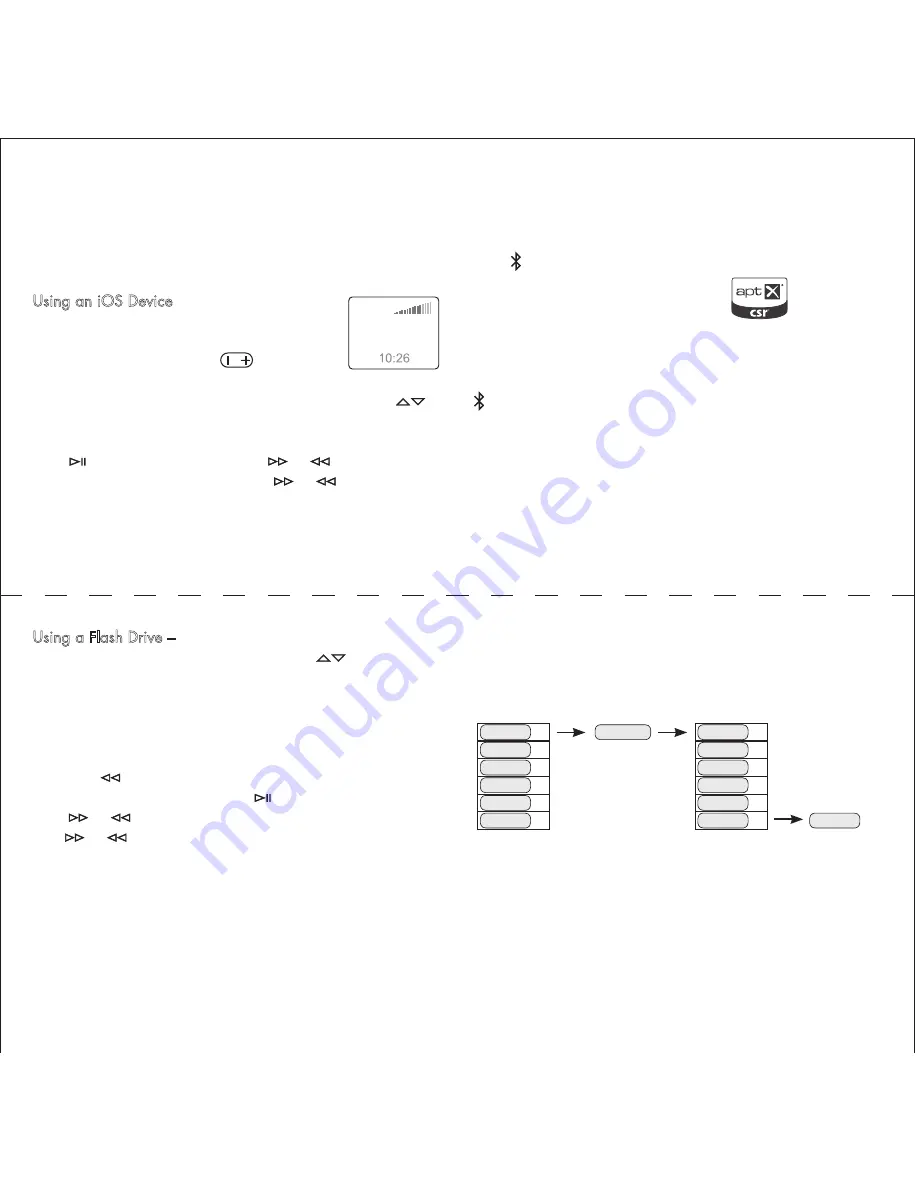
Using an iOS Device

 – When an iOS device 

is connected, its name appears in the display. 
The volume control of the device is locked – 
use the front panel or remote 

 button. 

Make music selections using the device on-
screen controls, as usual. Scroll up or down playlists with 

There is also a full set of music play controls on the EVA Remote. 
Press 

 to start or pause play. Press 

 or 

 to skip to the 

next or previous track. Press and hold 

 or 

 to fast forward 

or rewind.

EVA works with: 

iPod

>  All

  Playlists

  Artists

  Albums

iPod

 touch (1st - 4th generation)

iPod nano (4th - 6th gener            )

iPhone 4S, 4, 3GS, and 3G

         )    iPad (3rd generation)

iation)  iPad,  iPad 2    

Device F

Device G

Device G

Device E

Device F

Device D

Device E

Device C

Device D

Device B

Device C

Device A

Device B

Device A

   6

   6


5


5

4

4

3

3

2

2

1

1

Add Device G

Device A deleted

Paired Device List

New Paired Device List

Using a Flash Drive –

 When a flash drive is connected the 

table of contents appears in the display. Use 

 to navigate 

through the folders and tracks. When a track is highlighted it 
will start playing automatically after 2 seconds, or when you 
press 

AUTO

To back up a folder level, mute the sound or pause playback, 
then press 

 on the remote. The other music play controls on 

the remote operate normally. Press 

 to start or pause play. 

Press 

 or 

 to skip to the next or previous track. Press and 

hold 

 or 

 to fast forward or rewind.

ct

When the Bluetooth input is selected, EVA looks for available 
previously paired devices. When a device is found, its name 
appears in the display.  If more than one device is available,


press


 again to select the next device.  If no device is found a 

warning message appears in the display. 

Before EVA can make a Bluetooth connection to a device, it must 
be “paired” with it. First be sure the device you want to pair to 
EVA is on and its Bluetooth system is active. Then press and hold 

 for two seconds to initiate pairing. 

When a device is found, its name appears in the display. If the 
device supports SSP

, EVA auto -

matically pairs with it after two seconds. If the device does not 
support SSP, then you may need to enter the code “1234” on 
the device to complete the pairing process.

EVA can pair with six devices. If you have paired with six 
devices, and then pair with another, the oldest paired device is 
deleted from the pair device list. 

Using the USB Input

Bluetooth Connections

Bluetooth Pairing

Содержание EVA SCR400D

Страница 1: ...SPS300 SCR400 SCR400D Instruction Manual TM Designed and Engineered by part number revision code ...

Страница 2: ...audio inputs Output 1 8 mini stereo headphone output Dimensions 91 2 x 6 x 5 5 8 240 x 152 x 143mm Key Features All Models w Unique eco friendly woven wool cover and bamboo case w Bluetooth with CSR aptX codec for crystal clear full band width wireless music streaming w Matching bamboo bent wood dock w USB jack for connection and charging of iPod iPhone or iPad w Auto dimming LCD TFT Display for c...

Страница 3: ...t so the remote control sensor in the display window can receive signals Antenna SCR400 D only If you want to mount the EVA Dock on the top of your unit set the adapter in place and secure it with the large thumbscrew Push the holes in the bottom of the Dock onto the adapter posts Adjust the support disc on the Dock to hold your phone or MP3 player at the proper angle to minimize stress on the doc...

Страница 4: ...ooth Pairing sections for more information FM1 2 Wireless Dock Input Press to select the source connected to the Optical input on the back of the EVA unit Information from the source appears in the display USB and Aux Input SPS300 front panel only Press to select the USB or Auxiliary inputs If a USB flash drive with music files is plugged into the USB input the con tents list appears in the displa...

Страница 5: ...through the folders and tracks When a track is highlighted it will start playing automatically after 2 seconds or when you press AUTO To back up a folder level mute the sound or pause playback then press on the remote The other music play controls on the remote operate normally Press to start or pause play Press or to skip to the next or previous track Press and hold or to fast forward or rewind c...

Страница 6: ...radio is used the system automatically goes into seek mode The first 8 stations found will be put into the available presets Manual Station Tuning Press AUTOto display a list of available stations Scroll up or down the list with After 2 seconds the highlighted station is selected Using Presets The SCR400 can store up to 8 FM station presets 4 in each group FM1 and FM2 To recall a preset station yo...

Страница 7: ...be either a radio station or one of two alarm sounds See the Adjusting the Settings section for more information Turn the Alarm On Press menu to display the Menu screen Alarm On is highlighted Press menu again to turn the alarm on The symbol appears in the display and the Alarm Time Set screen is displayed If necessary use to adjust the alarm time The press menu to set the alarm time and return to...

Страница 8: ...Format and Region Note The last two options won t appear in the menu Use to scroll down to these options Snooze Timing The default snooze time is 5 minutes Press to adjust the time setting then press menu to set the time If the snooze time is set to 0 minutes the snooze function is turned off ALARM ON TIME DATE SETTINGS 5 MINUTES Time Format Time can be displayed in 24 or 12 hour format with AM an...

Страница 9: ...hibited Limited Warranty Information Five Years Parts and Labor Two Years Over the Counter Exchange The AudioXperts warranty protects the original owner provided the AudioXperts product was purchased within the continental United States Alaska or Hawaii from an authorized dealer In all instances a copy of the original dated bill of sale must be presented whenever warranty service is required The w...

Страница 10: ...l interference in a residential installation This equipment generates uses and can radiate radio frequency energy and if not installed and used in accordance with the instructions may cause harmful interference to radio communications However there is no guarantee that interference will not occur in a particular installation If this equipment does cause harmful interference to radio or television ...

Страница 11: ...ce must accept any interference including interference that may cause undesired operation of the device Cet appareil numérique de classe B est conforme aux normes canadiennes ICES 003 et RSS 210 Son fonctionnement est soumis aux deux conditions suivantes 1 cet appareil ne doit pas causer d interférence et 2 cet appareil doit accepter toute interférence notamment les interférences qui peuvent a ect...

Отзывы: