background image


Figure 2. Jensen Logo at Power On 

e.  If the NVXM1000 was recently on and being used, and has been turned off (standby mode) 

using the Home button ( 


), pressing the Home button for 2 seconds again turns on the 

unit and the operational modes default display appears. 


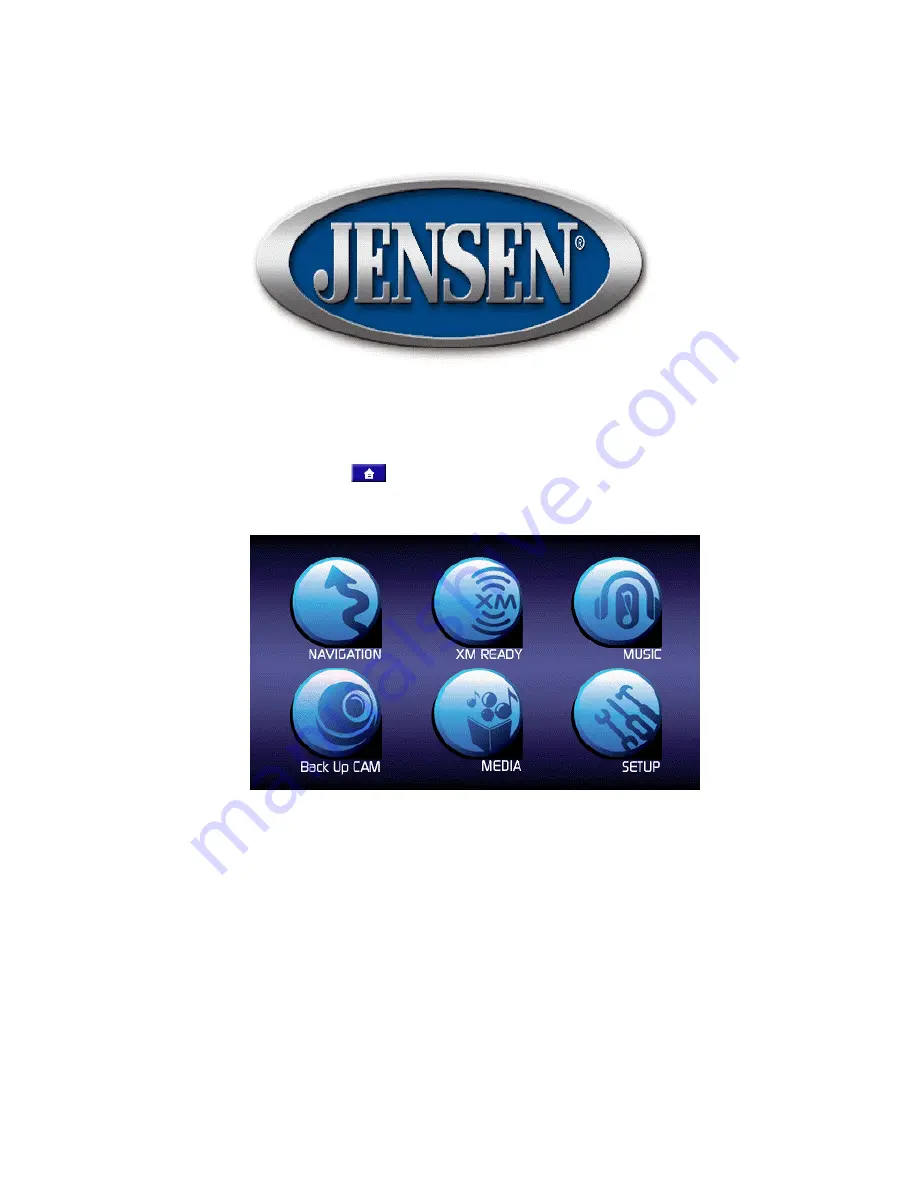
Figure 3. Operational Modes Default Display 

4. 

Modes of Operation Default Display 

Note that the Operational Modes Default Display resembles a tool box containing six features for touch-
screen selection; these features consist of: 

a. 

NAVIGATION: 

 Using GPS information and preprogrammed navigation information. 

b. 

XM

®

 READY:

  Using the Mini XM

®

 Tuner, installed in the XM MINI TUNER slot on the 

left side of the unit, with the external XM antenna attached. 


7

Содержание NVXM1000

Страница 1: ...User Manual Model NVXM1000 Navigation With XM Ready Copyright Audiovox Electronics Corp 150 Marcus Blvd Hauppauge NY 11788 Call center 800 290 6650 128 7995...

Страница 2: ...ior notification This manual or any parts of it may not be reproduced transmitted in any form either electronically or mechanically including photocopying without the express written consent of Audiov...

Страница 3: ...Down Buttons 13 Preset and Tune Select Functions 13 Preset Function 13 Tune Select Function 13 Preset 14 Jump Button 15 Category Button 16 Setup Button 16 Antenna Aiming Display 17 Tune Select Displa...

Страница 4: ...vigation with XM Ready is a navigation system optimized for in car use It provides door to door navigation for both single and multi point routes using adaptable route parameters Navigation with XM Re...

Страница 5: ...ures such as Back Up Camera input using an appropriate cradle and interconnect cable and Music input from an external source such as an SD card This document is a detailed description of the software...

Страница 6: ...outputs FRONT Liquid Crystal Display LCD and Touch Screen Home Button Main Menu SD Card Slot XM Mini Tuner Slot Volume Up Down Control Stereo Speakers REAR Suction Cup Locking Slot Connects to Suctio...

Страница 7: ...rating modes and their submenus and lists 3 Getting Started To initialize NVXM1000 operation proceed as follows a Connect the adapter power cord to a power source home car adapter then plug the adapte...

Страница 8: ...pears Figure 3 Operational Modes Default Display 4 Modes of Operation Default Display Note that the Operational Modes Default Display resembles a tool box containing six features for touch screen sele...

Страница 9: ...nserted in the XM MINI TUNER card slot on the left side of the unit together with an external XM antenna MUSIC Enable music listening capability contained on an external source such as the hard drive...

Страница 10: ...ration using the NVXM1000 B XM Ready Mode 1 Hardware and Subscription To listen to XM satellite radio on the NVXM1000 the following optional items are required XM Mini Tuner XM antenna installed in yo...

Страница 11: ...lay Figure 6 Check Antenna Warning Display Message 3 Note Your ID Number a When the operational modes default display appears press the XM READY toolbox button on the LCD touch screen the XM READY log...

Страница 12: ...s friendly Customer Care representatives will take the necessary information and walk you through the activation process After the activation form is submitted you should keep your receiver ON for at...

Страница 13: ...Mute On Red Mute Off Blue Tune to Next Higher Channel Preset A B C Tune to Next Lower Channel Preset A B C Disable Tune Select Enable Tune Select Orange Direct Channel Tune Input via CH NUM Entry or C...

Страница 14: ...r left corner to show the corresponding preset bank Each bank will store 10 user preferred channels b Tune Select Function Select Tune Select on the upper portion of the screen When the Tune Select ic...

Страница 15: ...ing of the preset bank Preset A Preset B Preset C and the PRESET button 2 Entering Channels Into a Preset Bank To enter a channel into a specific preset bank a Toggle the or button to choose the desir...

Страница 16: ...uttons 0 9 will recall the stored channel 4 Press the SELECT button to recall the preset channel which then begins to play d Direct Channel Number Entry To enter a channel using the direct method 1 To...

Страница 17: ...based on content category When the desired category is chosen you can then page up or down through the channel list within that category by pressing the Channel Up Down buttons Once a choice has been...

Страница 18: ...ed by the respective graph segments Position the antenna to optimize either the satellite or terrestrial signal The current setting is indicated by the number of bars in the graph Moving the antenna l...

Страница 19: ...Press the Erase Some button a prompt display appears with a list of saved artist song title entries Touch the entry you wish to erase the confirm erase selection display appears Press the Yes or No bu...

Страница 20: ...revents the channel from being accessed during any of the tuning modes Skipped channels can only be accessed either through direct channel number entry or by returning to this menu and repeating the s...

Страница 21: ...of available stock operational modes is presented in Table 6 Table 6 Summary of Stock Operation Modes Exit Stock Mode and Return to Previous Menu Stock On Enable Stock Off Enable Add Stock List Erase...

Страница 22: ...ns Exit Stock Add mode Spelling scroll up Spelling scroll down Previous character entry Next character entry List page up List page down 3 Add Selected Stock When the add stock entry button is pressed...

Страница 23: ...e erased and the display reverts to the Add Stock display In the case of erase some a list of saved stock entries appears with the first entry highlighted You can scroll down through the list to selec...

Страница 24: ...e 7 Summary of Info Extra Control Buttons Exit Info Extra mode Info Extra ON Info Extra OFF Select info Extra 1 Info Extra On Off Pressing this button toggles between the Info Extra On and Info Extra...

Страница 25: ...am such as schedule scores etc now appears on the XM Ready scrolling display 5 Display Button The DISPLAY button allows the user to choose one of several ways of presenting the Artist Song Title and d...

Страница 26: ...Ready dual display Table 8 Navigation XM Ready Dual Operating Mode Control Buttons Display XM Ready Music Default Mode Next XM Channel Preset A B C Previous XM Channel Preset A B C XM Ready Mode Done...

Страница 27: ...isplay Table 9 Music Mode Control Button Functions Play Present Song Being Loaded Play Previous Song Play Next Song Pause Current Song Stop Current Song Display Main Setup Menu FM Transmitter etc Disp...

Страница 28: ...XM1000 and install the USB drivers automatically 3 Brouse your local PC HDD and search for the newly created HDD usually the F Drive 4 Open the new drive letter and copy and post the music from your l...

Страница 29: ...he modes of operation default display using the Home button on the display screen Nav or the home button on the front of the unit 3 Press the Music or Navigation button on the main menu 4 The dual mod...

Страница 30: ...ings are required in addition to your NVXM1000 Optional NVXM1000 Cradle Back up camera reversed installed in your vehicle Recommend CCDLFR camera Interconnecting cable from the Back up camera to the N...

Страница 31: ...erational Modes display This mode provides two options related to media functions namely STORE DEMO and PHOTO Figure 35 Media Display Table 12 describes the control button functions on this display Ta...

Страница 32: ...e files to the NVXM1000 Similar operation to music download explained in the Music Mode previously Figure 36 illustrates a typical pnoto display while Table 13 summarizes the button functions Quit Pho...

Страница 33: ...s available to you you may wish to configure the unit to your personal preferences To accomplish this goal you must enter the SETUP mode which is offered on the Main Menu Figure 38 Setup Mode General...

Страница 34: ...uration 2 4 6 8 sec ON Decrease Brightness Level 5 4 3 2 1 Decrease Display Duration ON 8 6 4 2sec FM Frequency and Audio Setting Mode System Specifications Menu 1 Calibrate Sub Mode To adjust the sty...

Страница 35: ...example NAVIGATION XM READY MUSIC etc any sub menu that is entered from the main menu will revert to the main menu automatically after the time out period has expired The length of time each sub menu...

Страница 36: ...this mode 20 FM transmitter frequencies can be chosen by selecting the frequency within a range from 96 1MHz to 99 9MHz c Preset1 2 3 If you want to store a desired frequency channel first adjust the...

Страница 37: ...ects the audio output to your vehicle s stereo speakers Speaker Mode Directs the audio output to the NVXM1000 internal speakers e Setup System Mode When the System button is pressed on the Setup scree...

Страница 38: ...G Remote Control Configuration Table 17 summarizes the button functions on the remote control Table 17 Remote Control Button Functions H Media Back Up Camera Photo Music and Setup 37...

Страница 39: ...NVXM1000 Connections and File Copy Connect your NVXM1000 to a PC using a USB cable 1 Make sure both the PC and the NVXM1000 are turned on 2 Connect one end of a USB cable to the USB port on the NVXM10...

Страница 40: ...e 43 Windows Typical Drive Screen 3 Open the drive associated with the NVXM1000 4 Navigate to the desired folder Music Photo 5 If no Music Photo folder is present select from the top menu File New Fol...

Страница 41: ...ot turn on The power cable may not be properly connected Main hardware switch on bottom of unit is set to OFF Check power cable GPS signal strength is weak In some applications installations GPS signa...

Отзывы: