


E - 27
You can play a specific title or chapter repeatedly.
(Title repeat, chapter repeat, A-B repeat)
Repeating a title
You can play the same title repeatedly.
1. While the disc is playing, press the
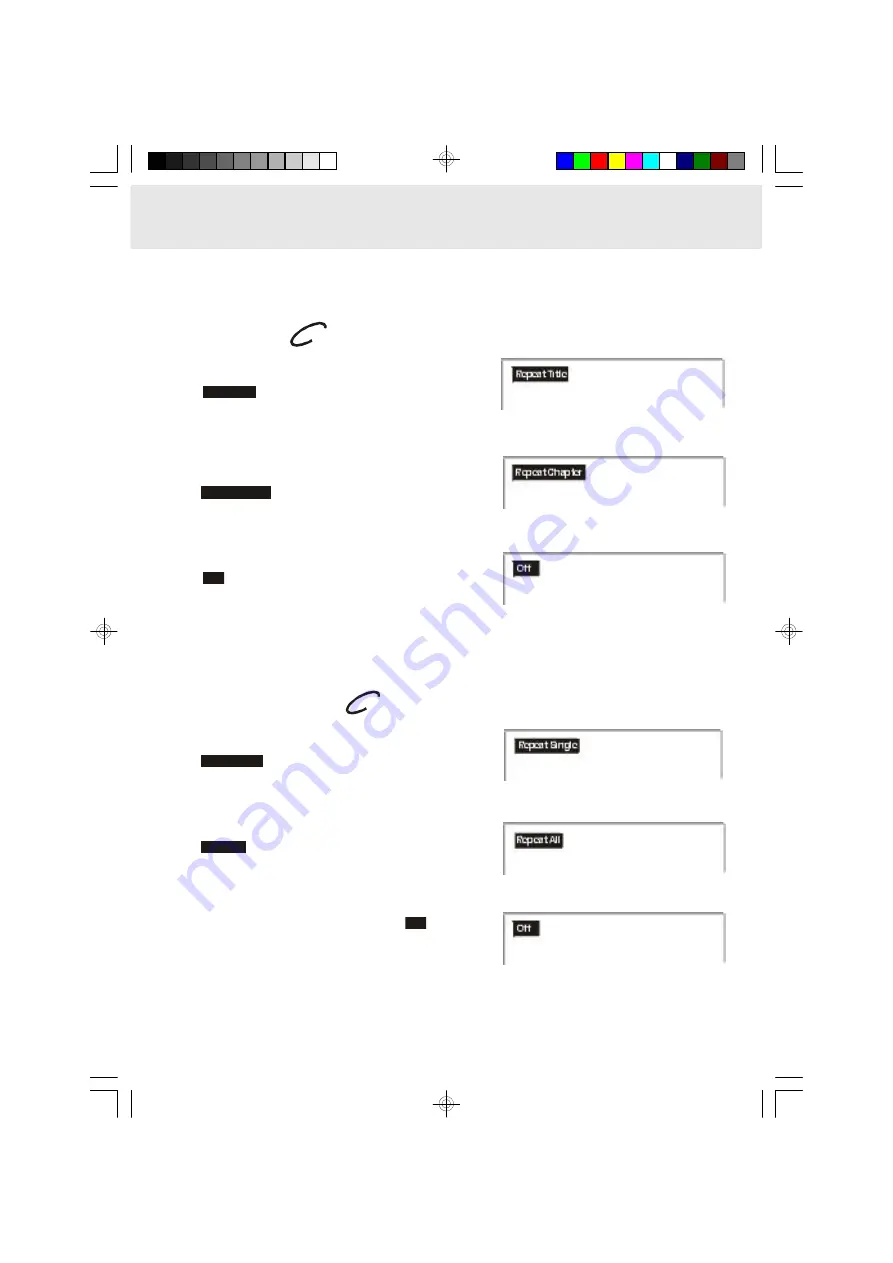
REPEAT DISC button until
the “
Repeat Title
” indicator displays on the screen. The current
title is played repeatedly.
Repeating a chapter
You can play the same chapter repeatedly.
2. While the disc is playing, press the
REPEAT DISC button until
the “
Repeat Chapter
” indicator displays on the screen. The current
chapter is played repeatedly.
To resume normal playback
3. While the disc is playing, press the
REPEAT DISC button until
the “
Off
” indicator displays on the screen.
DVD
Repeat Playback
(continued on next page)
Advanced
playback
You can play a single track and whole disc repeatedly.
Repeating a single track
You can play the same track repeatedly.
1. While the disc is playing, press the
REPEAT DISC button until
the “
Repeat Single
” indicator displays on the screen. The current
track is played repeatedly.
Repeating a whole disc
2. While the disc is playing, press the
REPEAT DISC button until
the “
Repeat All
” indicator displays on the screen. The whole disc
is played repeatedly.
To resume normal playback
3. Press the
REPEAT DISC button until the “
Off
” indicator
displays on the screen.
CD
151AUD20-28_E.pmd
4/26/2004, 11:34 AM
27


