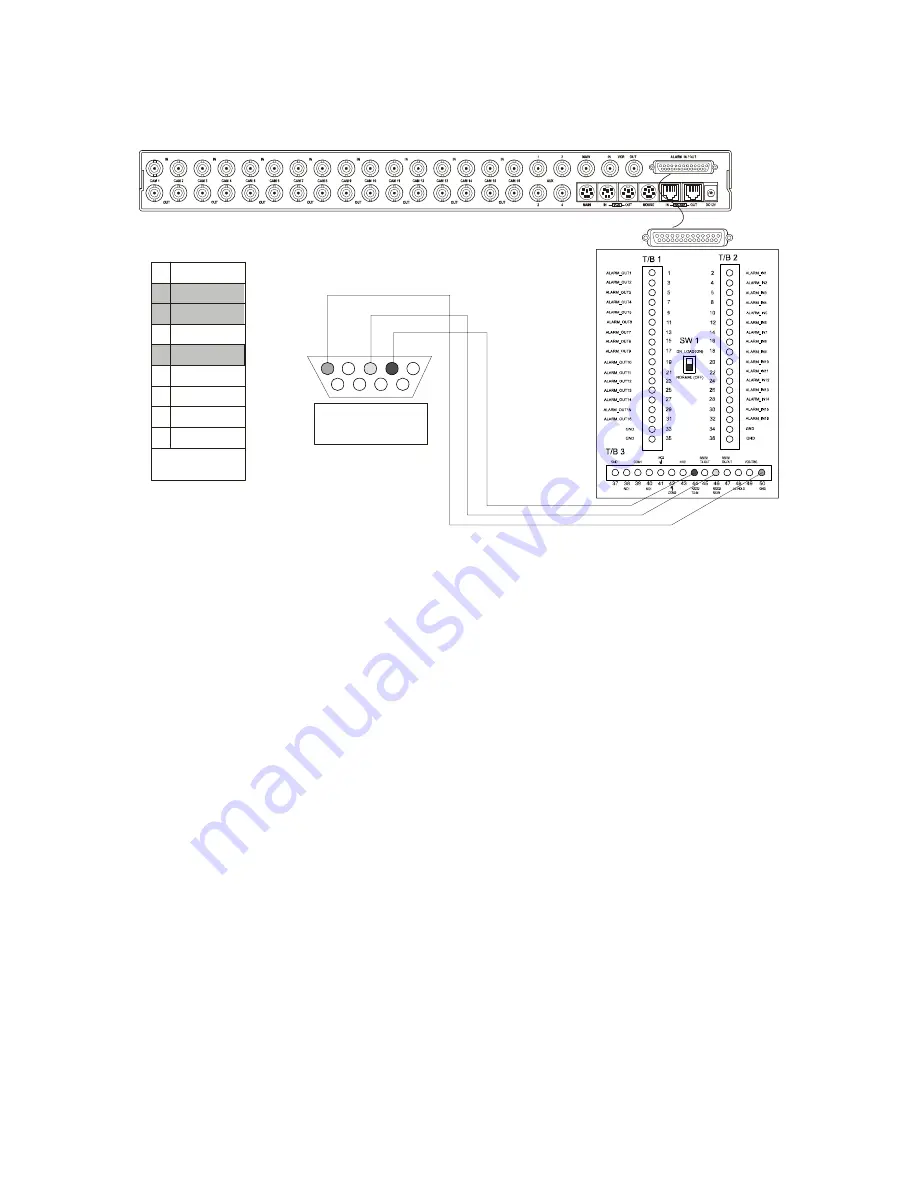
22
NC
RX
TX
NC
GND
NC
NC
NC
NC
1
2
3
4
5
6
7
8
9
D-SUN CONNECTOR
(9-PIN)
1
2
3
4
5
9
8
7
6
CONNECTED
PERSONNAL COMPUTER
After connecting the multiplexer to the PC and downloading the “exe” file from ATV’s
website, perform the following steps:
1. Execute the “Download.exe” file.
2. When the screen shown below on the left appears, test the connection from the PC
to the multiplexer by checking the “Enter Key” box and entering the text “bd” in the
command line. Click the SEND button. The command will change the display format
of the screen if the PC and multiplexer are connected correctly. Check your
connections if they don’t.
3. On the multiplexer Setup Menu, select the Unit Setup menu option. Set the Network
Type to “RS-232” and the Protocol to “A”.
4. In the open program window select the PRINT option from the menu bar (or press
the “P” button) then select ALARM HISTORY. The Alarm History window appears
on the screen.
5. On the multiplexer’s Setup Menu, select the Alarm History List option. Select the
PRINT button. The alarm history list is downloaded to the computer and appears in
the Alarm History window.
6. In the Alarm History window, select the SAVE button to save the information to a file
on your computer. Print the saved file from your computer using the standard print
features.


