Software Installation
1. Place the mini disc supplied with the microscope into your CD/DVD drive on
your computer. If a window called
‘Digital Microscope Application Setup
Wizard’
does not appear automatically please use the following instructions.
2. Go to
‘Start’
on your desktop’s tool bar and click on
‘Run…’
This will bring up
a window that will allow you to search for the software you are trying to install.
Go to
browse, my computer
and double click on
. If this is not
showing in
‘my computer’
, try removing the disc and start again.
3. In
‘
’
there is an icon called
‘Digital Microscope Application
Installation’
. Double click on this icon to enter
‘Digital Microscope
Application Setup Wizard’
to install the software. Make sure all applications
other than the installation window are closed, as this could affect the
installation process.
4. Follow the instructions on the
‘Digital Microscope Application Setup
Wizard’.
Once this has finished, this icon
will appear on your
desktop. If not the program will be found in “
Start > All Programs”
under the
name
‘digi view’
.
5. To complete the installation another window
‘Vimicro USB 2.0 UVC PC
Camera InstallShield Wizard’
will appear. At this point the microscope needs
to be connected to your computer to aid the installation. Follow the
instructions.
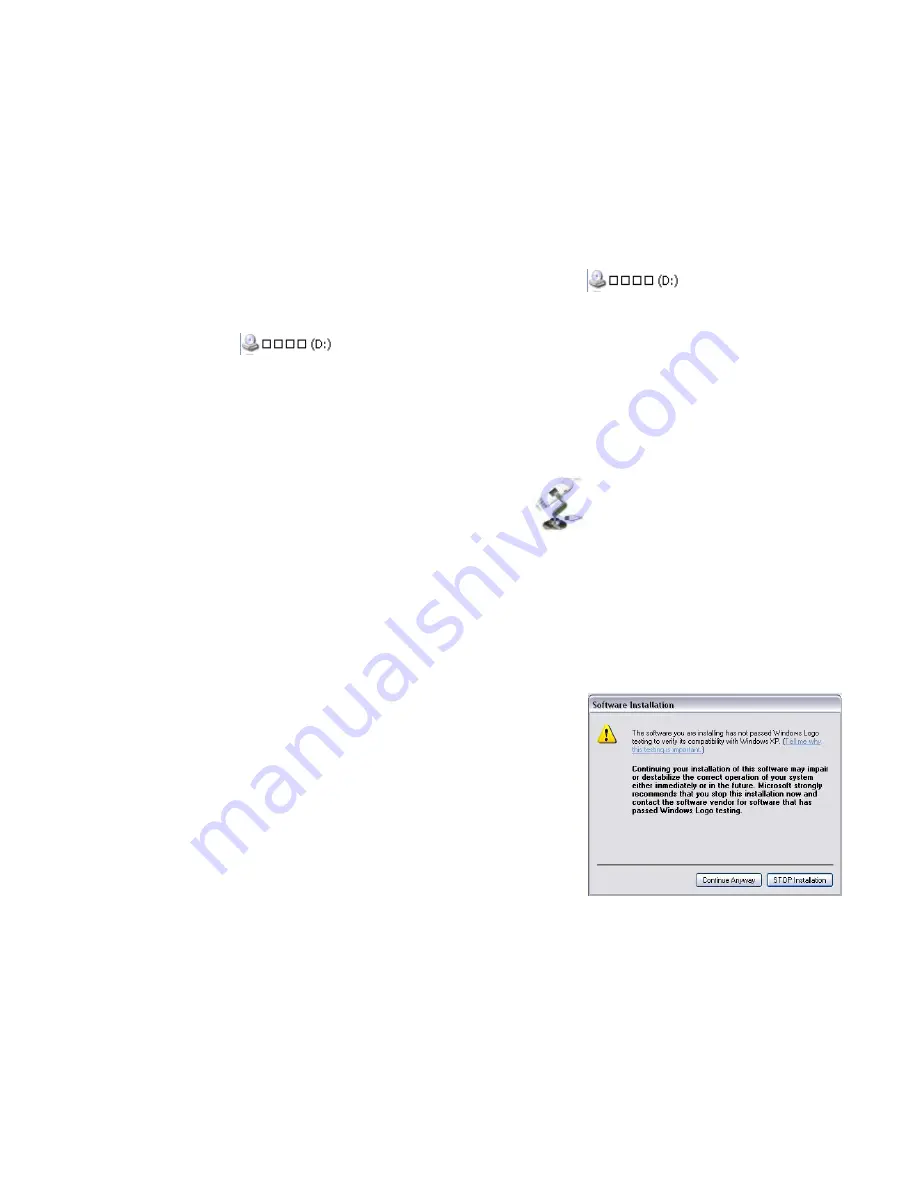
6. The installation should happen automatically,
but before installation is complete, a window
called
‘Software Installation’
will appear with
the following message opposite. Please press
‘Continue Anyway’
, as it has been tested and
is safe to use.
7. Press
‘Finish’
on the
‘InstallShield Wizard’
and this icon should appear on your desktop.
Connection and Hardware Installation
The hardware for this device is installed at the same time as the software. This
means that as soon as the installation is complete for both programs, the meter and
software are ready to use straight away.


