


Manual, F/T Sensor, Ethernet Axia
Document #9610-05-Ethernet Axia-09
Pinnacle Park • 1031 Goodworth Drive • Apex, NC 27539 • Tel:+1 919.772.0115 • Fax:+1 919.772.8259 •
43
14. Open up a new web browser window. Type the sensor’s IP address into the browser’s address bar,
and press Enter.
•
The Ethernet Axia Sensor’s
Welcome
page should display again.
15. Communicate with the sensor over the network, without reconfiguring the communications settings.
5.3 Finding the Ethernet Axia Sensor on a Network
To find the IP address assigned by the DHCP server to an Ethernet Sensor, refer to the following procedure;
1.
Download the ATI NET F/T Demo from the ATI website:
https://www.ati-ia.com/Products/ft/software/
2.
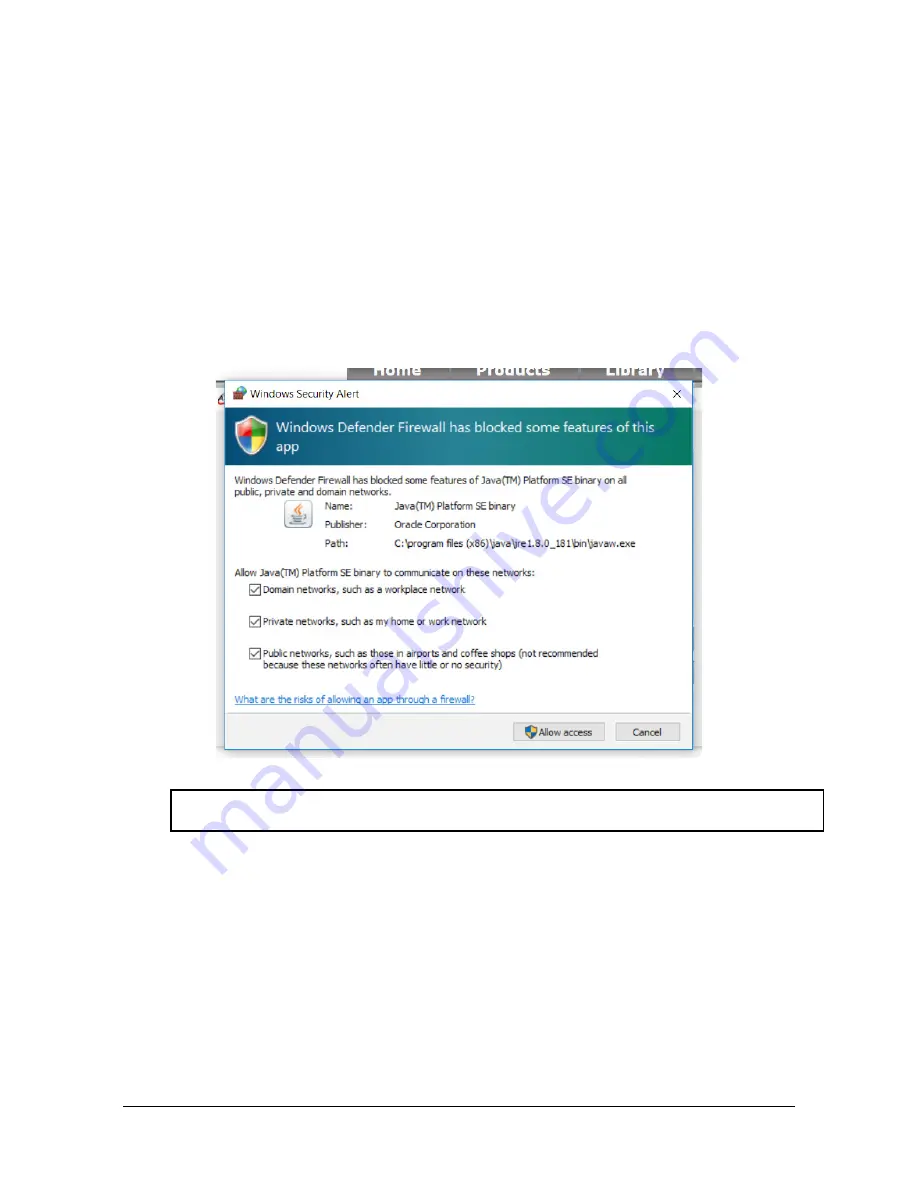
The first time this discovery tool is downloaded, the program may trigger a firewall alert. Select
the check boxes to give permission for the network to communicate with the sensor, and click the
Allow access
button.
Figure 5.4— Windows 7/8/10 Firewall Alert
NOTICE:
If the network is still not able to communicate, users should contact their IT
Department for assistance.
3.
The discovery tool opens in a window, and scans the network for available devices. The scan takes
a few minutes. Verify the MAC address on the sensor’s label matches the MAC address displayed
in the window.
4.
Use this IP address assigned by the DHCP server to the sensor’s MAC address to communicate between
the senor and network.
5.
Select this IP address and click
Connect
.


