background image

IP Phone User’s Guide 

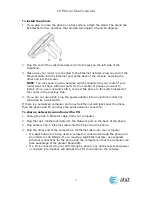
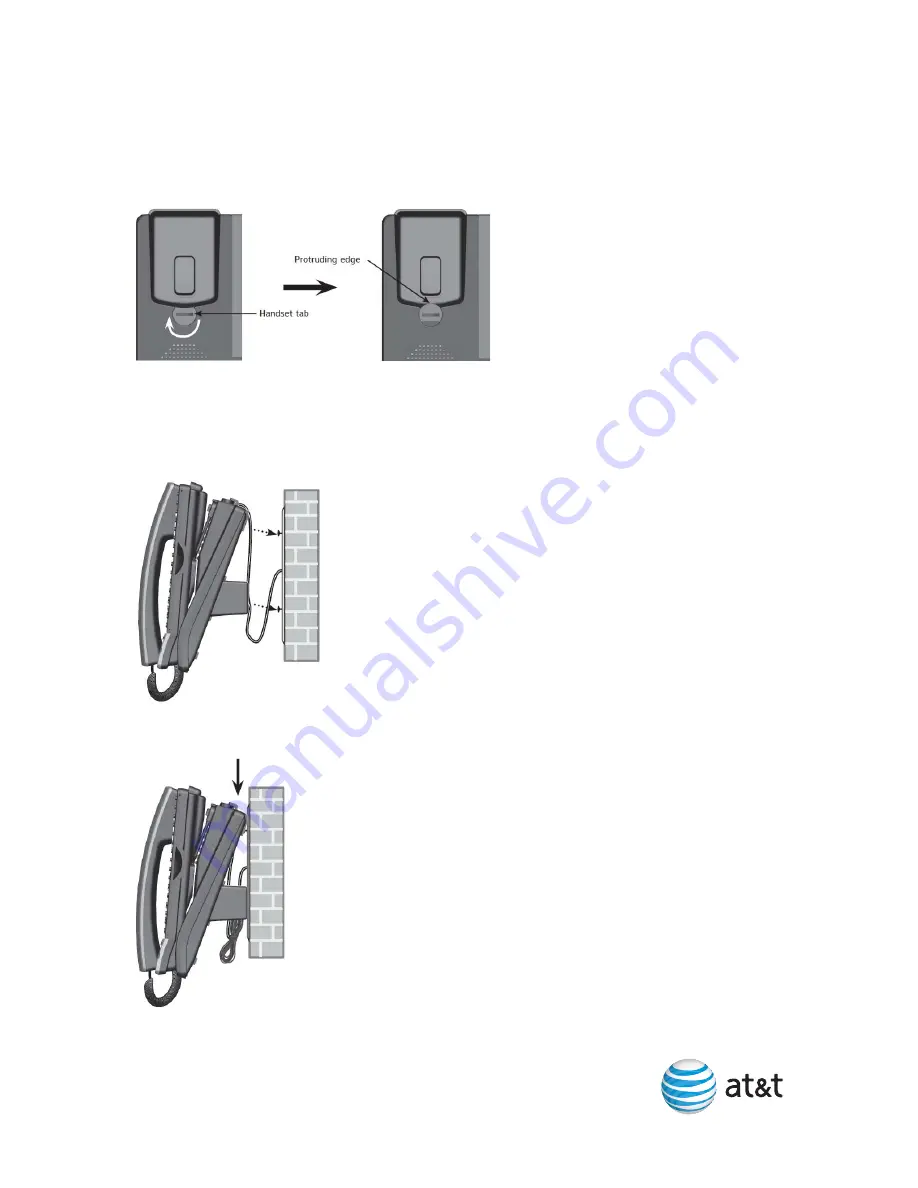
To mount the phone on the wall: 
1.


Put the corded handset aside. Use a coin to rotate the handset tab 180 degrees. 

The protruding edge holds the corded handset when the phone is mounted on the 
wall. 


2.


Connect the network cable(s) and power adapter (if required). 

3.


Align the upper wall mounting hole on the back of the phone with the upper tab 

of the standard wall plate. Make sure the lower wall mounting hole on the phone 
also aligns with the lower tab of the standard wall plate. Push the phone down 

until it clicks securely in place. 


4.


Bundle the network cable(s) and power adapter cord (if using the power adapter) 
neatly with twist ties. 


5


Содержание SB8725

Страница 1: ...t jack allows the telephone to connect to the network and SIP PBX via a router The PC jack is for another device such as a personal computer to connect to the Ethernet network through the phone This t...

Страница 2: ...r the programmable keys The key assignments on your phone may be different Some keys may be programmed as Quick Dial keys for example Key Number Setting 1 Line 1 2 Line 2 3 Line 3 4 Directory 5 Call H...

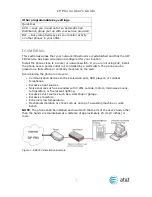
Страница 3: ...ed by a wall switch The phone can be placed on a flat surface or vertically mounted on the wall Avoid placing the phone too close to Communication devices such as television sets DVD players or cordle...

Страница 4: ...E plug the power adapter into an electrical outlet not controlled by a wall switch If there is a networked computer and no extra Ethernet wall jacks near the phone then the phone and PC can share the...

Страница 5: ...the network cable s and power adapter if required 3 Align the upper wall mounting hole on the back of the phone with the upper tab of the standard wall plate Make sure the lower wall mounting hole on...

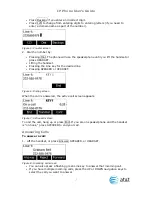
Страница 6: ...can make a call by pre dialing then going off hook or by going off hook then dialing To go off hook and make a call 1 To use the default line lift the handset press HEADSET or press SPEAKER To use a s...

Страница 7: ...desired line Pressing SPEAKER or HEADSET Figure 6 Dialing screen When the call is answered the active call screen appears Figure 7 Active call screen To end the call hang up or press End If you are on...

Страница 8: ...a missed call alert screen appears you can press Exit to return to the Idle screen Callback to immediately dial the caller s number View to see the caller s information on the Call Log Retrieving Mes...

Страница 9: ...sing the MENU key then selecting User Settings To access the WebUI 1 Find the IP address of your phone Press MENU then 2 Status then 1 Network to view the Network Status screen On the Network Status s...

Страница 10: ...e 14 User Preferences WebUI page Specifications RF frequency band 1921 536 1928 448 MHz Channels 5 Operating temperature 32 122 F 0 50 C AC adapter output voltage 5 Vdc 1000 mA Ethernet network ports...

Страница 11: ...trical storms Electrical storms can sometimes cause power surges harmful to electronic equipment For your own safety take caution when using electric appliances during storms Cleaning your telephone Y...

Страница 12: ...gas etc Do not use this product near water or when you are wet For example do not use it in a wet basement or shower or next to a swimming pool bathtub kitchen sink or laundry tub Do not use liquids o...

Страница 13: ...2 this device must accept any interference received including interference that may cause undesired operation This equipment has been tested and found to comply with the limits for a Class A digital...

Отзывы: