background image

SECTION 5 

TROUBLESHOOTING 


21 


Printer (continued) 

CONDITION 

PROBLEM 

SOLUTION 

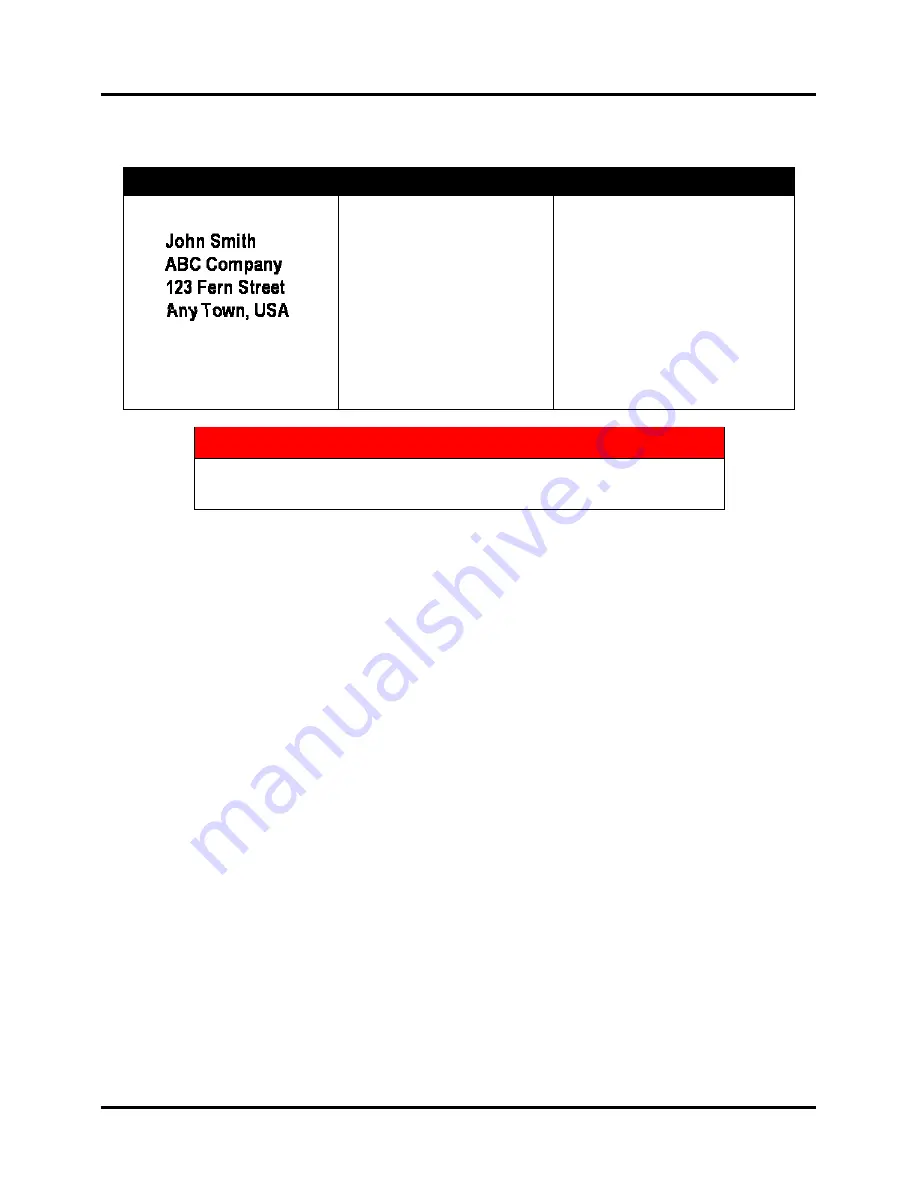
Uneven split line of type 


Some, but not all, of a line 
of type across two 
Printheads matches up. 

Reposition text in layout so 
that it does not print across 
two Printheads. 
Check Sheet Separator 
adjustment. Separators should 
just touch media. 
Check that Printhead is set at 
proper height. If Printhead is 
set too high, media slips as it 
passes under Heads. 


WARNING! 

DO NOT REMOVE SIDE COVERS OF THE PRINTER! 

HIGH VOLTAGES PRESENT BEHIND COVERS!


Содержание IB-9000-6P

Страница 1: ...ASTROJET IB 9000 6P IB 9000 8P PRINTER OPERATOR MANUAL ...

Страница 2: ...vers Covers enclose hazardous parts that should only be accessed by a qualified service representative Report any cover damage to your service representative This machine requires periodic maintenance Contact your authorized service representative for required service schedules To prevent overheating do not cover the vent openings Use this equipment only for its intended purpose In addition follow...

Страница 3: ...nter Driver 4 SECTION 3 Operating Printer 5 Printer Operation 5 Purge While Printing 8 Printer Driver Properties 8 Printing from Microsoft Word 12 Print Recovery after a Jam 14 SECTION 4 Maintenance 15 Inkjet Cartridges 15 Cleaning Printhead 16 Jams in Printer 17 Cleaning 18 Cleaning Media Sensor 18 SECTION 5 Troubleshooting Guide 19 HP Inkjet Print Cartridges 19 Printer 20 APPENDIX A IB 9000 6P I...

Страница 4: ...TABLE OF CONTENTS ii NOTES ...

Страница 5: ...f Base is equipped with a Conveyor that can be controlled from Printer 6 ENCODER CONNECTOR Connects Encoder which provides timing pulses to Printer 7 FEED CONNECTOR If Base unit is equipped with a Feeder that can be controlled remotely it connects here 8 PARALLEL PORT Connects Printer to computer 9 USB PORT Located on Rear Cover Connects Printer to some types of computers 10 PRINT CARTRIDGE HOLDER...

Страница 6: ...ey scrolls to the next selection 4 key In Menu Mode this key scrolls to the previous selection 5 ENTER key Starts and stops printing 6 MENU key Use to enter Menu Mode to access Printer functions 7 DISPLAY Indicates Printer s status including menus and error messages 8 RESET key Resets Printer to standby state 9 TEST PRINT key Puts Printer in Test Mode and prints a sample copy to check Printer s ou...

Страница 7: ...r end into a 120 Volt AC 60 Hz grounded outlet CAUTION DO NOT USE AN ADAPTER PLUG OR EXTENSION CORD TO CONNECT PRINTER TO WALL RECEPTACLE Installing Inkjet Cartridges NOTE For optimum image quality during the run refer to Cleaning the Printhead Printer is configured with either 6 or 8 Inkjet Cartridges 1 Remove Inkjet Cartridge from packaging taking care not to touch copper contacts metal plate or...

Страница 8: ...e Printheads Installing Printer Driver Printer Driver included must be installed on your computer before you install the AstroPrint Software NOTE Install Printer Driver using steps below 1 Close any applications running on your computer Restart the computer before beginning Driver installation 2 Install the CD in the CD drive and click START Click RUN then type the following D Setup exe where D is...

Страница 9: ... must be On Line Press ON LINE display changes to Printer Online Waiting for Data In this mode when a job is sent Printer will be ready to print when ENTER is pressed Printer Control Panel keys are used to access functions that help operator control Printer TEST key Press TEST to place Printer in Test Print mode Working appears in lower half of display Display changes to Enter to feed Press ENTER ...

Страница 10: ...r Purge is completed next piece will be the first record of your database Once this feature is turned ON it remains ON even if the Printer is turned OFF Address Recovery In event of a Printer jam you can recover up to 10 pieces by pressing MENU then stepping to Address Recovery Then press ENTER Enter Recover 1 Piece appears Use the key to select the number of pieces to reprint 1 10 then press ENTE...

Страница 11: ...lay the current BIOS version Bulk Ink Not used on this Printer No provisions are made to install larger cartridges key Use these keys to step through options in various Menu modes ON LINE key If ON LINE key is ON display shows Printer Online Waiting for Data and light is lit Printer is ready to print the job when it is sent To have the Printer start printing immediately when the job is sent the Au...

Страница 12: ...ration and allows you to send fixed and variable text and graphics to the Printer Within your data management software is a Print function In that Print function is a Properties button It is through Properties that you control Printer output Properties button can be used to customize Printer output To start printing click File then Print Print window opens To print the job click OK To use special ...

Страница 13: ...ures Tab Features Tab Advanced Options depending on operating system is used to change speed and resolution of Printer to add a delay to the feed to provide separation between the pieces and to print and overlay with the job First feature Print Quality has two settings 1 for resolution of print quality and 2 for appropriate speed Changing resolution to a higher number e g 200 DPI to 600 DPI increa...

Страница 14: ...then Print from the dropdown menu to open the Print window for the application Click on Properties then on the Features tab Then click on the dropdown menu under Overlay and click Previous job contains overlay Click Apply then OK When the Print window reappears click OK to send the job to the Printer To start printing press ENTER To print a second job using the same overlay simply open that job an...

Страница 15: ...rinter is turned OFF changes that made this way return to the original settings Inverse Printing Paper tab contains one element that is used to reverse or invert the printing on the Printer In normal operation printing is read from the operator side of the Printer It is sometimes necessary to turn the printing direction 180 degrees from the normal direction This happens when the layout or the meth...

Страница 16: ...tup in the File menu Set all margins to 0 NOTE Printer must be selected before you do the setup so that the setting will be registered Next select Page Size tab and Custom Page Layout Size should be 3 high by length of piece being printed This example uses width of a 10 envelope 9 5 Orientation is always Portrait Effective printing area is 3 x 15 Click OK once step is completed Next create a text ...

Страница 17: ... opens Click Create then Envelopes Microsoft Word window opens Click Active Window button and then click Get Data button Next click Open data source Locate the data file you intend to use This example uses a Microsoft Excel file Select the file and the Microsoft Excel window opens Select entire spreadsheet and click OK Next click Edit Main Document Click Close Use the Mail Merge toolbar click Inse...

Страница 18: ...rs Printer Control Panel displays Jam Reprint Lost pieces To recover lost pieces 1 Press MENU and use the key to step to Address Recovery routine 2 Press ENTER and screen displays Enter Recover 1 piece 3 Use the key to select the number of pieces you wish to recover NOTE The next two pieces are in the Printer buffer when the jam occurred so to recover the piece that jammed step to 2 pieces To reco...

Страница 19: ...ridge then pull Cartridge up and out of Holder 2 Remove new Inkjet Cartridge from packaging taking care not to touch copper contacts metal plate or gold printhead Remove protective tape from Printhead 3 With Cartridge s Printhead pointing down slide Cartridge into Holder and push down and toward contacts in Holder 4 Make sure Cartridge is seated in Holder Close Latch Lever to secure Cartridge DO N...

Страница 20: ...out When Cartridges are ready to be used again Printhead may need to be cleaned Disposal Cartridge may be disposed of in a normal manner In case of an ink spill use soap and water to clean up any problem areas Abrasive soap works well in getting ink off hands Cleaning Printhead To maintain good print quality it is important that the Printheads are kept clean During the printing process ink spray p...

Страница 21: ...ing MENU and then the key Load media and press ENTER to purge Repeat if necessary 3 Wipe Printhead again with a moist cloth NOTE For more information refer to Troubleshooting Printheads in Section 5 Troubleshooting Guide Jams in Printer If a jam occurs STOP the Printer Up to 10 missed addresses can be recovered See Section 3 Operating the Printer Print Recovery After a Jam Some possible reasons fo...

Страница 22: ...ttachment to help loosen the dust particles Take care not to damage the PC Boards or electrical wiring Exterior may be cleaned with any standard nonabrasive household cleaner that does not contain plastic harming solvents CAUTION NEVER SPRAY OR POUR CLEANERS DIRECTLY ON OR INTO THE PRINTER EXCESS LIQUID COULD HARM ELECTRONIC PARTS ALWAYS DAMPEN A RAG WITH THE CLEANER AND APPLY IT TO THE PARTS TO B...

Страница 23: ...Black streaks in text Lint or paper dust on Printhead Clean Cartridge Nozzles with a clean lint free cloth moistened with distilled water Cartridge will not print Sheet is blank even after going under Cartridge s Check to make sure protective tape is removed from Printhead Remove and reinsert Cartridge into Carriage Holder Install a new Print Cartridge White streaks in text or graphics Lint or dus...

Страница 24: ... Unit not receiving power Use proper cable Check plug connections ON OFF Switch and Fuse on back panel Not printing on media Media not positioned properly Adjust Printhead vertically Adjust margin setting in layout software Print too light or missing character dots Clogged or dirty Printheads Running out of ink Purge or clean Cartridges Replace Inkjet Cartridges Blurry address Image is not sharp P...

Страница 25: ...eads matches up Reposition text in layout so that it does not print across two Printheads Check Sheet Separator adjustment Separators should just touch media Check that Printhead is set at proper height If Printhead is set too high media slips as it passes under Heads WARNING DO NOT REMOVE SIDE COVERS OF THE PRINTER HIGH VOLTAGES PRESENT BEHIND COVERS ...

Страница 26: ...SECTION 5 TROUBLESHOOTING 22 NOTES ...

Страница 27: ...der Up to 1 2 with ASF 3000 Vacuum Shuttle Feeder MEMORY 64 MB PRINT COLORS Standard and Versatile Black Red Blue Green and Yellow INK Water based may require drying assistance for coated stock SOFTWARE Windows TM Printer Drivers for Windows TM 98 2000 ME XP DIAGNOSTICS Resident in firmware FIRMWARE UPDATE Flash PROM update PC INTERFACE Centronics Parallel or USB COUNTERS One operator resettable j...

Страница 28: ...t Inc Dealer Supplies Black Inkjet Cartridge HP 51645A Yellow Inkjet Cartridge HPC6173A Red Inkjet Cartridge HPC6168A Green Inkjet Cartridge HPC6169A Blue Inkjet Cartridge HPC6170A Versatile Black HPC8842A Image Quake IQ2392 Optional Equipment Vacuum Feeder ASF 3000 Friction Feeder FF 14 Conveyor Stacker Available Stand Dryer Dryer Base ...

Страница 29: ...int Cartridge 1 I IB 9000 6P 1 IB 9000 8P 1 Inkjet Cartridges Disposal 16 Holders 1 Install 3 Maintenance 15 Remove Replace 15 Storage 16 Troubleshooting 19 Install Cartridges 3 Printer 3 Printer Driver 4 Interface Connector 1 Inverse Printing 11 J Jams Print Recovery 14 Printer 17 Remove Media 17 L Locking Latches 1 M Main Power Switch 1 Maintenance 15 Cleaning 18 Inkjet Cartridges 15 Printhead 1...

Страница 30: ...ecfications 23 Supplies Optional Hardware 24 Troubleshooting 19 20 USB Port 1 Printer Driver Features Tab 9 Install 4 Paper Tab 11 Print Heads Tab 11 Properties 8 Printhead Cleaning 16 Purge Printer 8 R RESET Key 2 7 S Set Up Microsoft Word 12 Printer 4 Specifications 23 Storage Inkjet Cartridges 16 Supplies 24 T Tape Reflective 1 TEST Key 5 TEST PRINT Key 2 Troubleshooting 19 Inkjet Cartridges 19...

Страница 31: ......

Страница 32: ...Copyright 2015 All rights reserved 04 02 2015 Part Number 200 IB 9000 6P IB 9000 8P Rev B ...

Отзывы: