6
GTO KEYPAD
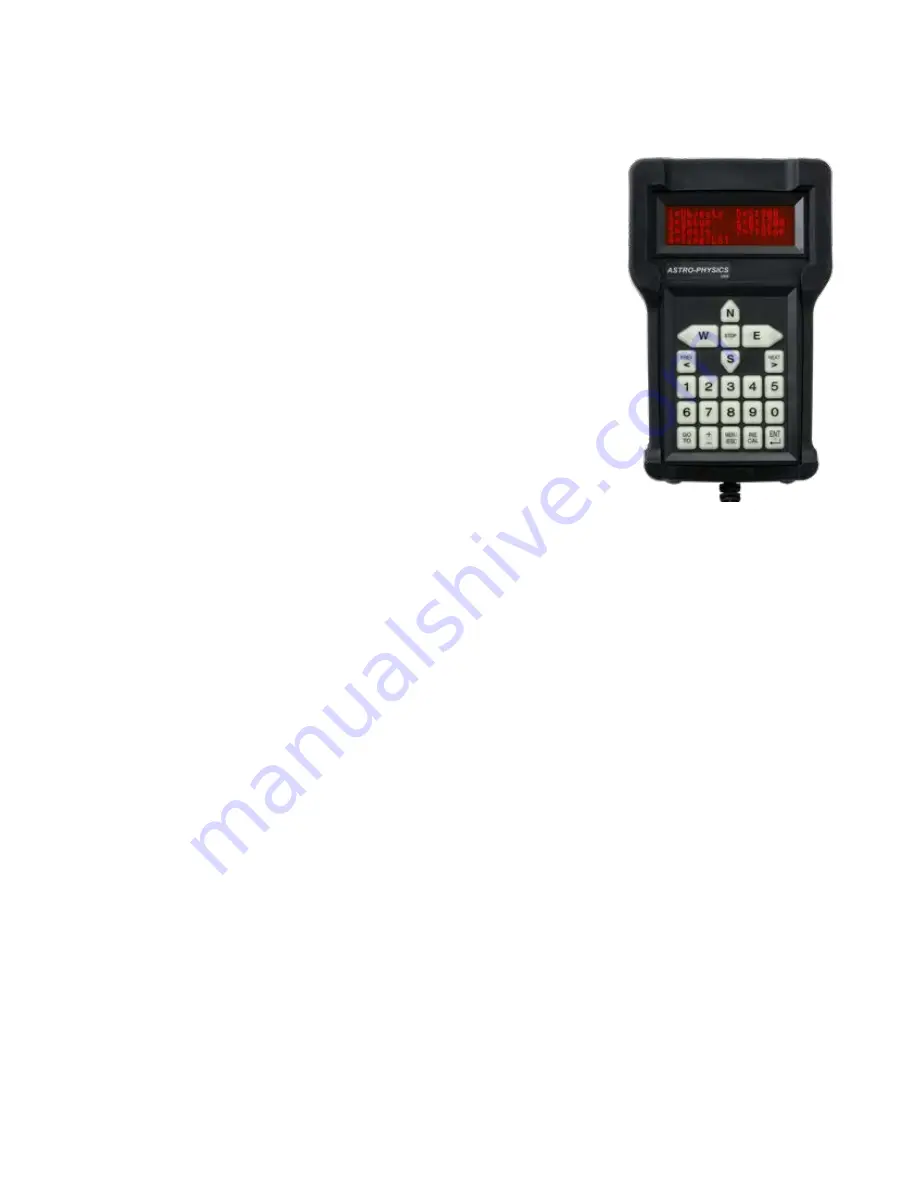
The GTO keypad is the communication center for the operation of your GTO mount. We have designed this unit to be
as intuitive and easy to use as possible while filling it with terrific features to make your observing session productive and
pleasurable. With a few keystrokes, you can slew to objects by their common name or catalog number, set up search
parameters to find all the open clusters (in the Messier catalog) that are visible on a given night, focus your telescope
for astrophotography, set the countdown timer for the exposure, enter RA and Dec
coordinates to find the newest super nova, and much more.
Note:
Please understand that the keypad is NOT the brain of the mount. The real
control is in the CP4/5 Control Box. The keypad simply provides data for the CP4/5
to do its job. Likewise, a computer with software can also duplicate everything that
the keypad does. The mount can be operated using only the keypad, using only a
computer, or using both.
The heart of the controller is the 4-line display window that will guide you through all
operations. The alphanumeric keypad itself is translucent and backlit with red LEDs
for easy visibility at night. The buttons are also made with a phosphoresce material
that will glow in the dark for a brief time. Shine an LED on them to extend their
luminescence.
Button functions are clearly defined on the button itself or as an instruction on the
display window. You do not have to remember shift key patterns or complex keystroke
sequences. The directional buttons are shaped like arrows to help you find them in the
dark without looking at your keypad. The stop button is readily accessible if you need
to cancel any slewing request immediately.
The menu system is very easy to navigate. Each window will display several choices,
which correspond to a number button. Simply press the number button to initiate the
command, e.g. 1=M, 2=NGC. When you press 1 the Messier entry window will display and you can enter the number
of the object that you wish to see. Press GOTO, which will cause the mount to slew. The <PREV and NEXT> buttons
will allow you to scroll quickly through the lists of common names or to find more data about the object you are viewing.
To adjust most settings, you will press the number indicated on the window several times to scroll (toggle) through your
choices and stop at the one you want.
Layout and Buttons of the Keypad
Vacuum Fluorescent Display
The keypad features a four-line, 20-character alphanumeric display. The brightness of the display is adjustable with dim
the keypad in the daylight, you will need to shade the window from the direct light with your hand in order to see it more
clearly or drape a dark cloth over your head.
N-S-E-W
Directional Buttons
These four buttons are arranged so that the E and W buttons control the movement in right ascension and the N and S
buttons control the declination. Depending on which side of mount the telescope is on and if you are using a star diagonal,
when you press the N button, the star should move in an upward direction toward the top of your eyepiece field. If the
movement does not match the direction shown in the eyepiece, you may wish to use our RA/Dec reverse feature as
described in “RA/Dec Reverse” on page 39,
In addition, you can press two buttons simultaneously for diagonal movement, e.g. the N and W buttons will cause a
Northwest movement. Note: north and south buttons can be misleading concepts in movement of the Dec axis. The
reality is that N moves the Dec axis counterclockwise and S moves the Dec axis clockwise.
STOP
Button
Press the STOP button to cancel a slewing command and stop the movement of the telescope immediately. The mount
will know where it is, so you can proceed to your next command.


