English
28
6
CPU_F
AN1
RGB_LED1
CPU_F
AN1
RGB_LED1
USB_1_2
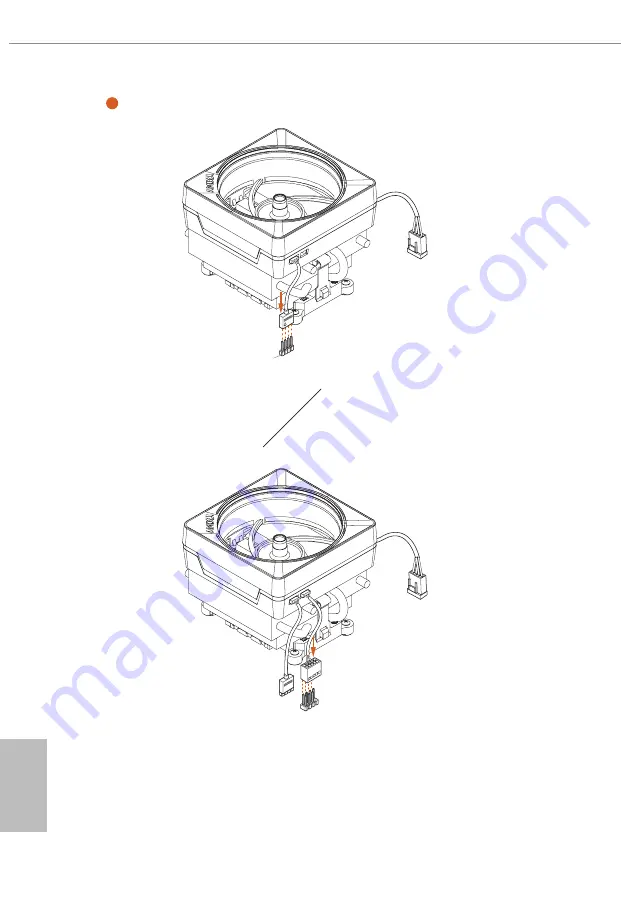
Please note that only one cable should be used at a time in this step.
If you select
RGB_LED1
, please install ASRock utility "ASRock Polychrome SYNC".
If you select USB connector, please install AMD utility "SR3 Settings Software".
*The illustrations shown here are for reference purposes only and may not exactly match
the model you purchase.
+12V
or
Содержание Taichi Carrara X670E
Страница 1: ......
Страница 22: ...English 18 Carefully place the CPU in as flat as possible Do not drop it 4 1 2 A B 3 ...
Страница 25: ...English 21 X670E Taichi Carrara 4 3 C P U _ F A N 1 ...
Страница 26: ...English 22 Installing the CPU Cooler Type 2 2 1 ...
Страница 27: ...English 23 X670E Taichi Carrara 3 4 C P U _ F A N 1 ...
Страница 29: ...English 25 X670E Taichi Carrara Installing the CPU Cooler Type 3 2 1 ...
Страница 30: ...English 26 4 3 ...
Страница 31: ...English 27 X670E Taichi Carrara 5 C P U _ F A N 1 ...
Страница 34: ...English 30 1 2 3 ...
Страница 36: ...English 32 2 5 Installing the Motherboard ...
Страница 37: ...English 33 X670E Taichi Carrara 2 6 Installing SATA Drives 1 2 Optical Drive SATA Drive SATA Data Cable ...
Страница 38: ...English 34 3 4 SATA Power Connector SATA Data Connector ...
Страница 39: ...English 35 X670E Taichi Carrara 2 7 Installing a Graphics Card 1 CLICK ...
Страница 41: ...English 37 X670E Taichi Carrara 2 8 Connecting Peripheral Devices ...
Страница 42: ...English 38 2 9 Connecting the Power Connectors 7 3 5 7 9 ...
Страница 43: ...English 39 X670E Taichi Carrara 2 10 Power On 2 3 4 1 ...


