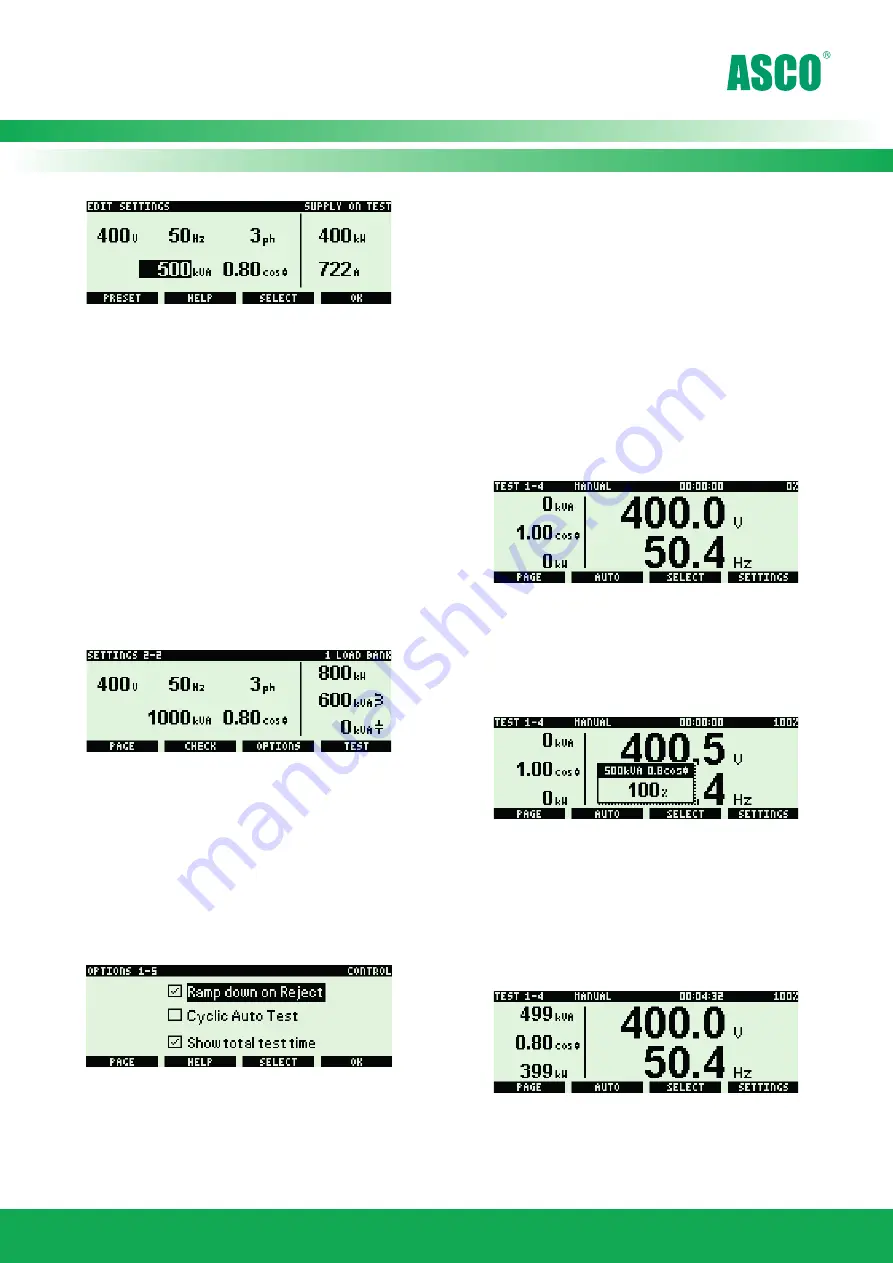
• Press either
PRESET
or use the
+
and
–
keys to set the size
of the supply in kVA.
HELP
provides further information on each selected item. You
can press
SELECT
to change between kVA, Power Factor, V, Hz
or Phase.
• When the supply size is set correctly press OK.
You are now ready to start load testing, so:
• Press
TEST
(now turn over and look at section 5 Apply
Load).
4. Settings and Options
Press
PAGE
, when in
SETTINGS
, to view the second page.
From the second
SETTINGS
page you can look at the load
bank capacity or change
OPTIONS
.
CHECK
will search for any new load banks and reset any load
bank errors.
There are five options pages that control how your IHT system
looks and works.
•
Press
OPTIONS
•
The options are enabled or disabled by pressing the
+
and
–
keys.
You can press
HELP
for further information on the selected item
or press
SELECT
to change between items. Press
PAGE
to change
to the next page.
•
When finished press
OK
to go back to
SETTINGS
.
•
Then press
TEST
, to start testing
The
OPTIONS
are automatically saved so you only need to set
them once.
5. Apply Load
There are four
TEST
pages; which offer different views of the
instrumentation. When you select
TEST
for the first time the
following page is displayed.
You can select and apply load on any of the four
TEST
pages
in the same way.
•
Select the required load using the
+
and
–
keys. By default
load control is in percentages. The screen will change to
show the load selected pop-up.
Pressing the
SELECT
key changes between load control in %, kW
or kVA and power factor. If a resistive-only load bank is used, then
the selection will be % and kW only.
•
Apply the load by pressing the green l key. The load
selected pop-up will disappear and the green LED on the
IHT will light up.
The selected load pop-up will disappear after 3 seconds or when
another key is pressed, but selected load is always displayed on
the right of the status line.
Froment
Sigma IHT Version 4 - Quickstart Guide


