GigaNIX Mac OS X Server Driver Installation
GigaNIX 1000T User Manual
Version 2.0
21
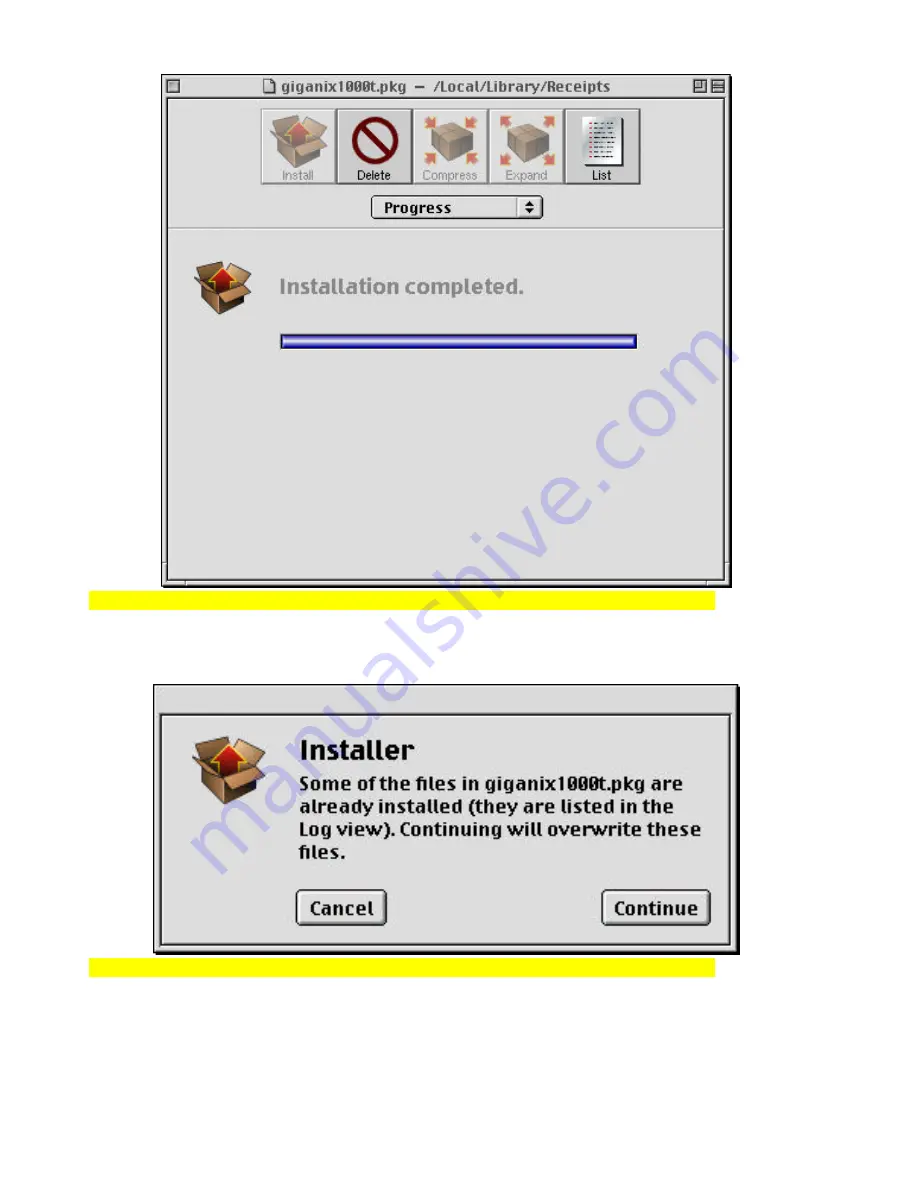
NOTE:
On successful completion of the GigaNIX adapter, the window above will be
displayed.
NOTE:
If you are re-installing the GigaNIX, this message will be displayed. Select
Continue button to re-install.


