4. Accessing the grid overlays:
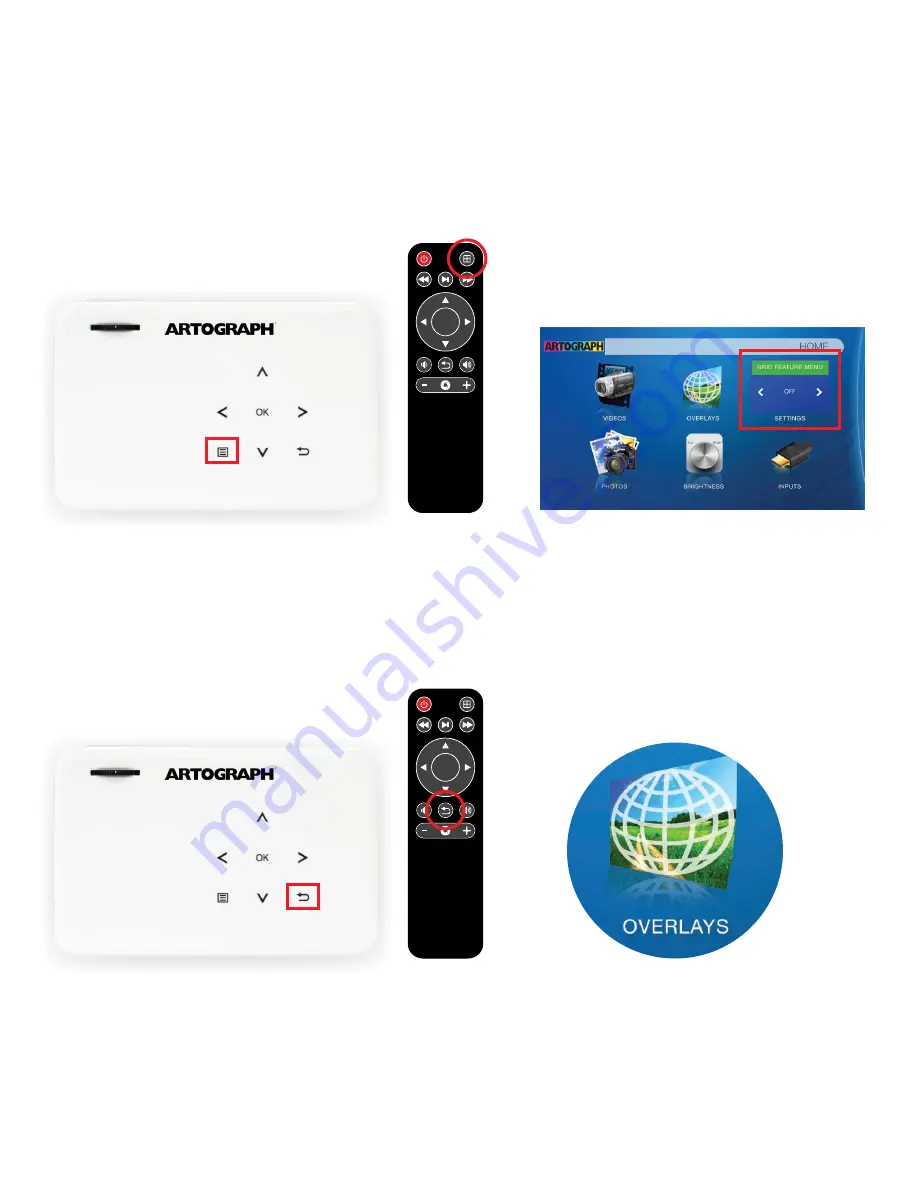
There are multiple ways to access the 12 built-in grids. The easiest way is to press the
“GRID” button on the remote control or the file icon on the top of the projector. These two
options are best for accessing the grids AFTER you have selected an image to project.
Once the grid dialog box appears, you can change between different grids by simply
pressing the left or right arrows on the remote control or the top of the projector.
Once the grid dialog box appears, you can change between different grids by simply
pressing the left or right arrows on the remote control or the top of the projector. To dismiss
the dialog box and return to the main menu so that you can locate the image you want to
project, press the “return” button on the remote or the top of the projector. Once you have
returned to the main menu, follow the instructions in step 3 to locate your file.
To dismiss the dialog box after selecting the desired grid, press the “return” button on the
remote or the top of the projector. Alternatively, you can access the grids BEFORE you
select an image by selecting the “OVERLAYS” icon in the main menu.
OK
OK


