41
5.3.3.
How a Light Sensor Works
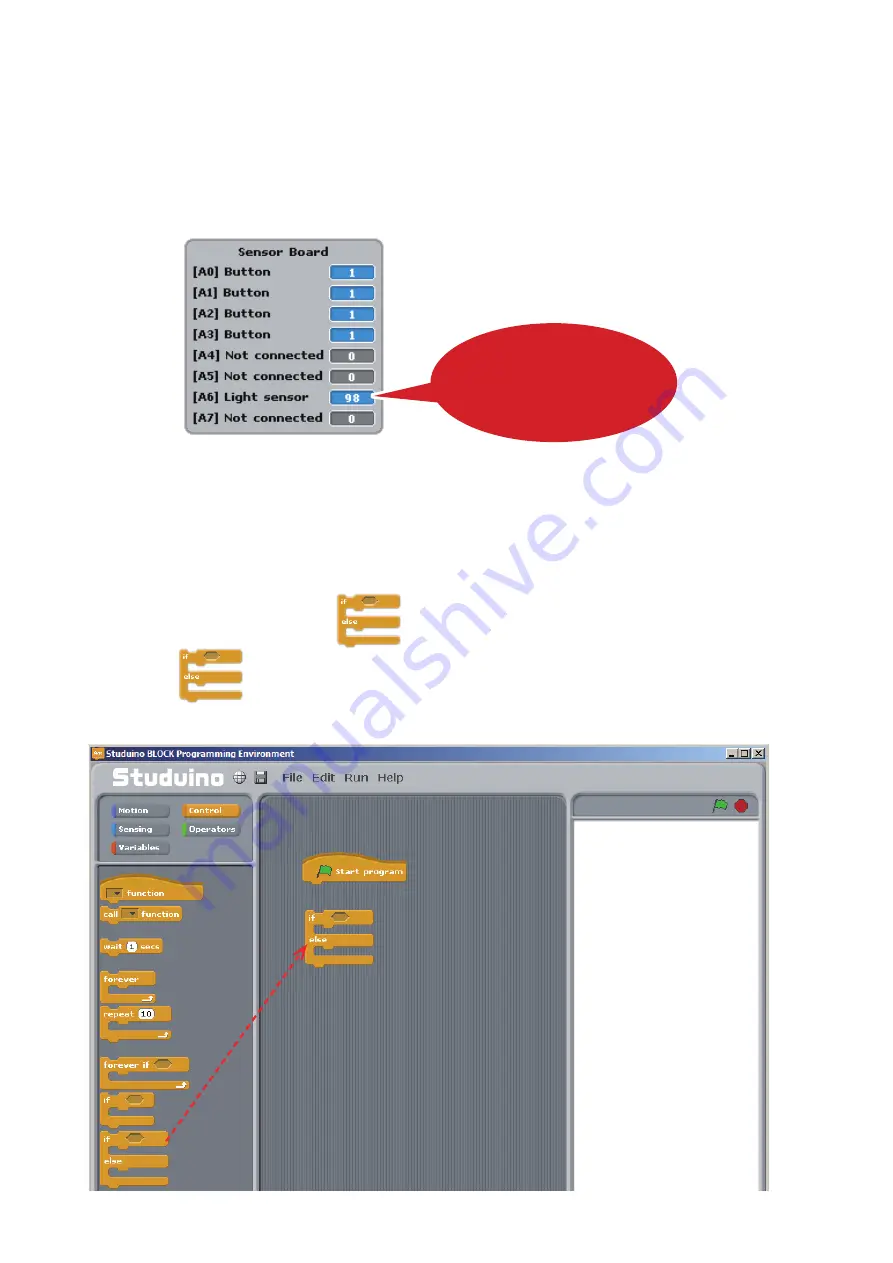
Let’s take a look at your Light Sensor’s values. Use a USB cable to connect your Studuino to your PC. Now
choose
Test ON
from the
Run
menu. Start Test Mode and you’ll see the Sensor Board displaying
[A6] Light
Sensor
.
The Light Sensor has a range of 0-100, with 0 being complete darkness and 100 being bright light. Now try
covering the Light Sensor with your hand while you look at the Sensor Board to see how the values change.
Once you’re finished, choose
Test OFF
from the
Run
menu to close Test Mode.
5.3.4. Programming
Now we’re going to program your LED to turn on as the Light Sensor detects darkness.
We’ll also be learning how to use the
block.
①
Drag
from the
Control
Palette to the Script Field.
The Light Sensor’s values will
change in response to the amount of
light
Drag and drop


