


18
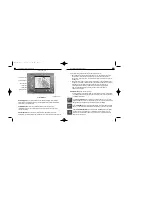
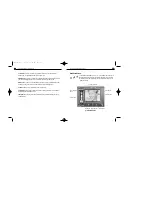
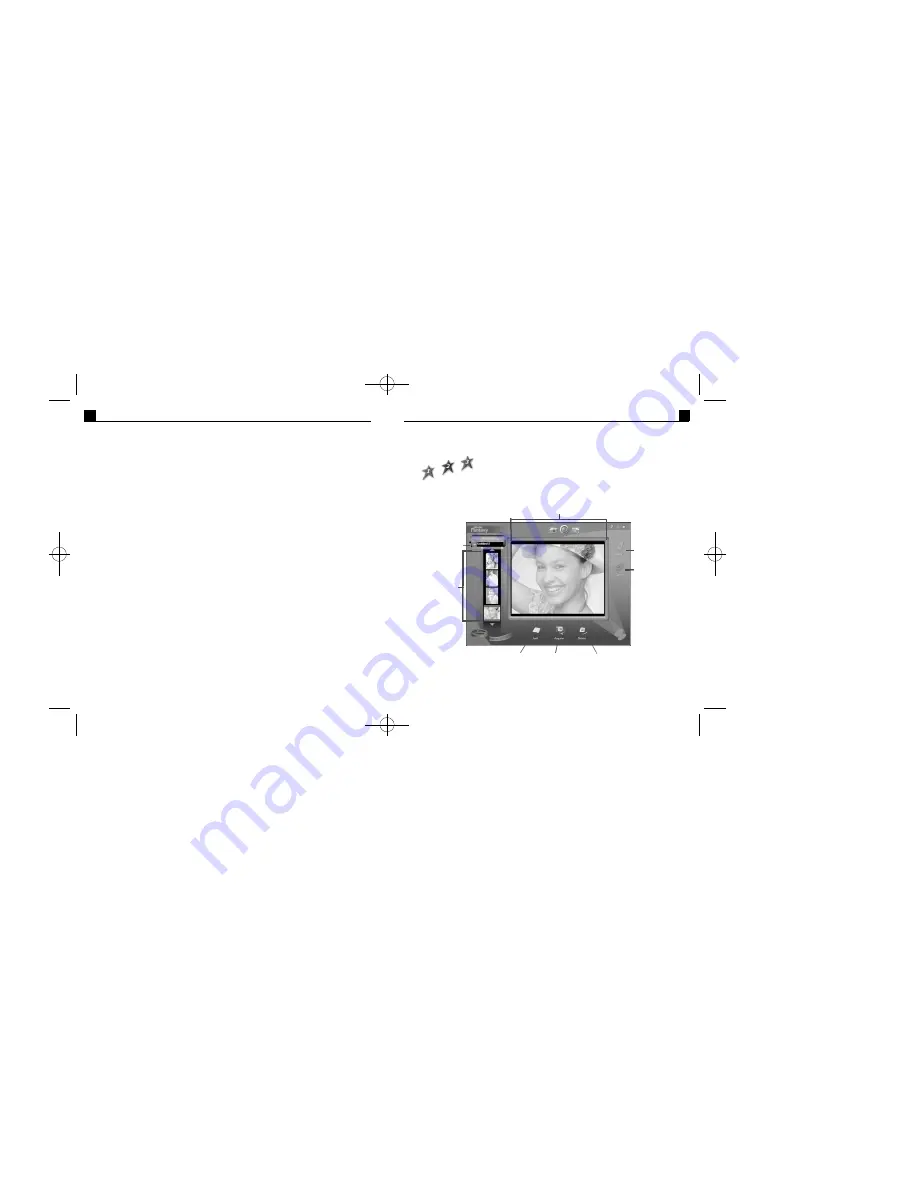
Get Photo Screen
Clicking the Get Photo Button 1,2 or 3 in the Main Screen takes you to
the Get Photo Screen. Here you can choose the photos f or your photo
fantasy and create new categories of photos. Please refer to Fig. 4 when
reading this section.
PhotoFantasy 2000 Quick Start Guide
17
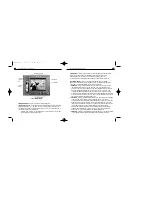
Contrast Tool
- lets you increase or decrease the contrast in your entire fantasy
background. To adjust,slide the bar to the right or left.
Saturation Tool
- lets you increase or decrease the saturation (intensity of the color) in
your entire fantasy background. To adjust,slide the bar to the right or left.
Zoom In Too
l - gives you a more detailed, close-up look at your fantasy ba ckground.
Zooming in also gives you more precise control over the Masking Tools.
Zoom Out Tool
- returns the fantasy to the o riginal view.
Okay Button
- returns you to the Get Fantasy Screen and places your newly created
fantasy in the Fantasy Display Area.
Cancel Button
- returns you to the Get Fantasy Scr een, without keeping your newly
created fantasy.
PhotoFantasy 2000 Quick Start Guide
Fig.4
Get Photo Screen
Okay Button
Cancel Button
Photo Display Area
Photo Category
Menu
“photo slides”
Delete Button
Add Button Acquire Button
PFANTASY.200 3/14/01 10:28 AM Page 19


